Click to Enlarge | On Flickr
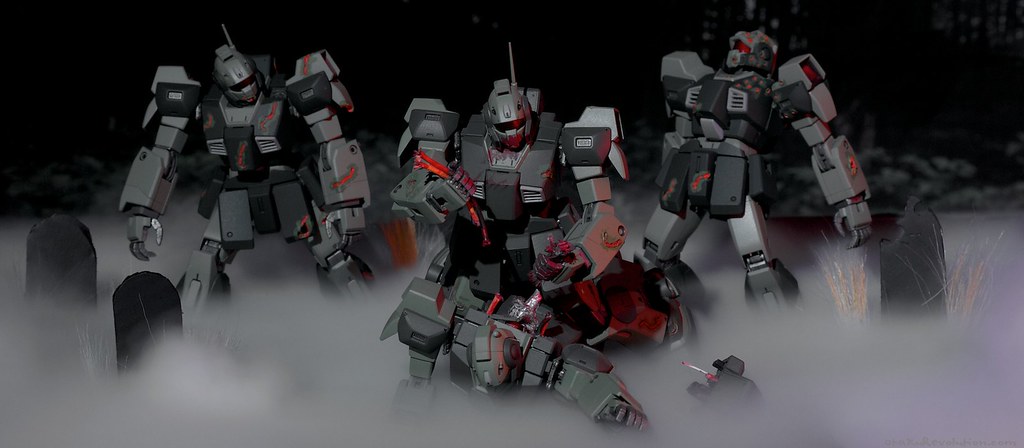
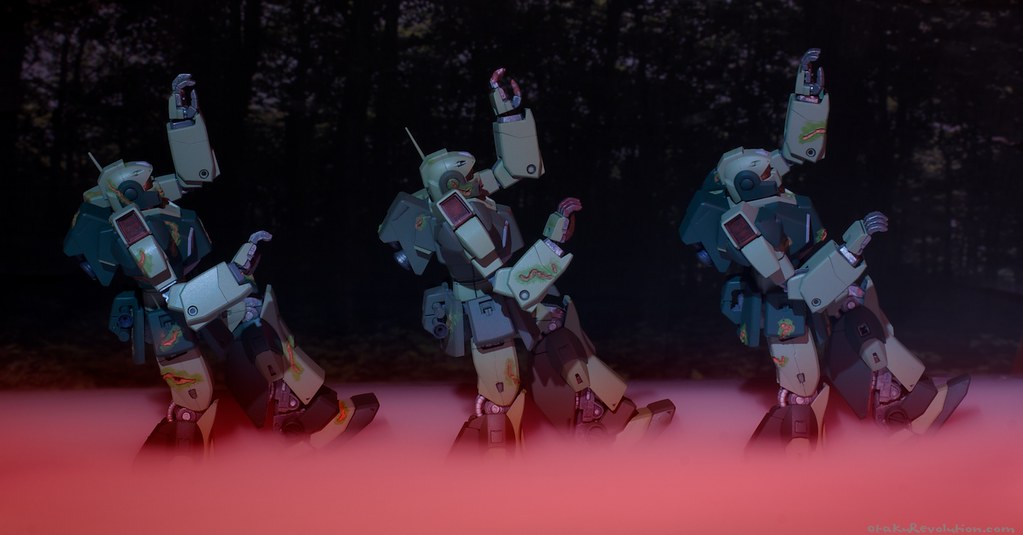
At long last, my zombie Nemo project has finally come to a close.*
The original project started way back in October 2009 and two out of the four Nemo kits were completed less than a month after. The display base never came together as I would have liked and sat outside on my deck for at least a year before I finally tossed the whole thing. The remaining two Nemos remained boxed up, parts carefully separated and labeled, half painted, until late December 2010. (I actually have a fifth, unbuilt, Nemo around here somewhere)
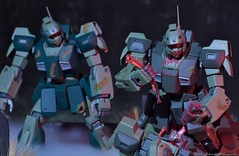
I finally decided at the very least I could clear up shelf space by completing these guys. You can easily identify the newly completed kits by their darker green parts. I used the same red and green for the sores although they look a lot more vibrant v. the faded older zombie.
Predictably I had planned on photographing the whole set together. The full scale that you see here wasn't something I originally planned. In fact, I'm not 100% sure when the premise popped into my head. The idea exploded in my head late Saturday while at work. I scavenged boxes and plastic pieces from work on a brainstorm binge. When I got home I quickly started laying the scene out and painted components.
The individual parts are pretty basic, a large cardboard box for containing the fog, several cardboard graves, and a few base pieces. There are two types of base pieces - the first is some wavy shipping foam, painted, I figured they would look great poking out of the mist. I also used a cardboard piece painted various shades of green and topped with hobby grass leftover from my
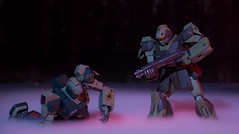
Turn A base. While I would have preferred to just do the entire scene in the wavy foam I needed a base platform for the victim to be reaching for his dropped shotgun. What you can't see in any of my shots is that I added struggle detailing such as the victim clawing outward.
Click to Enlarge | On Flickr
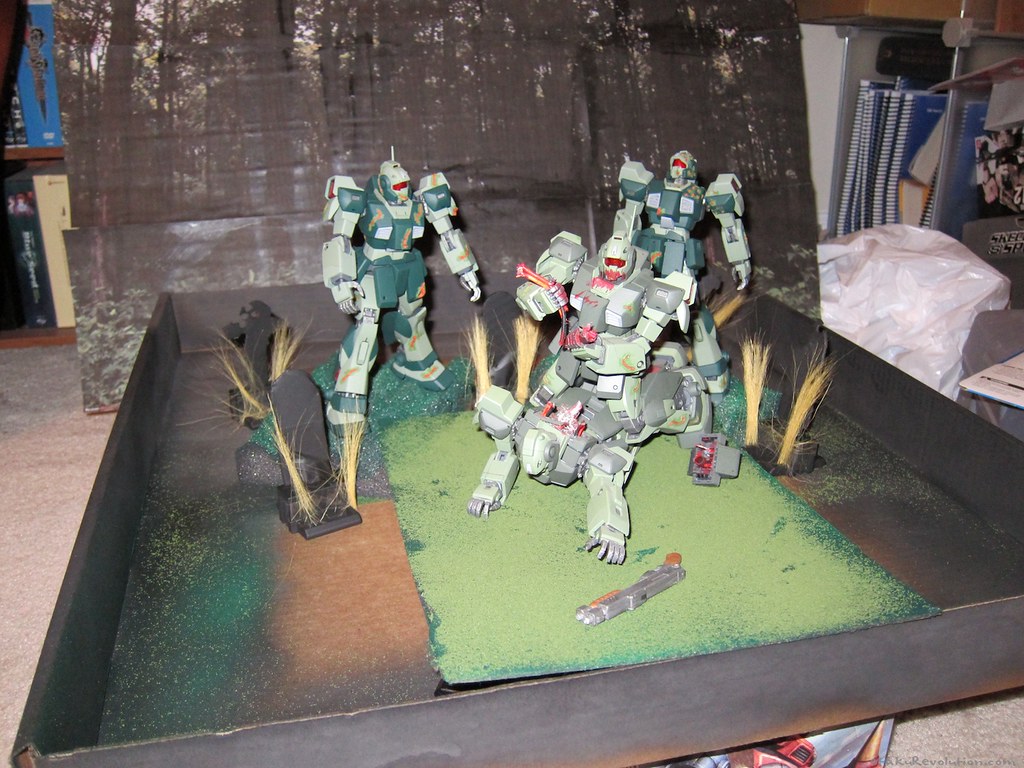
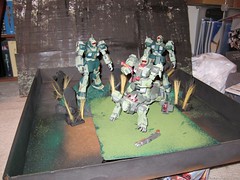
An early shot. The strong flash make the difference in greens a lot more grabbing than they really are.
The gravestones were cut from cardboard, painted, and attached to leftover plastic clips (more scavenged trash) serving as a base. To that I taped on some "Harvest Gold Field Grass," another unused remnant of Turn A's stand.
The background was created simply by printing out an image of a dark forest (thanks, Google) and gluing it to more scrap cardboard. I used a program called
PosteRazor to break the image up into several pages.
The backdrop looks like shit for a very good reason, I didn't give a shit. It was a rush job that I never expected to look that great. The intent was to move the figures far enough out front that with the appropriate DoF those imperfections wouldn't be visible. And I regret it. If I had spent more time on the backdrop the photos would have looked way better.
Click to Enlarge | On Flickr
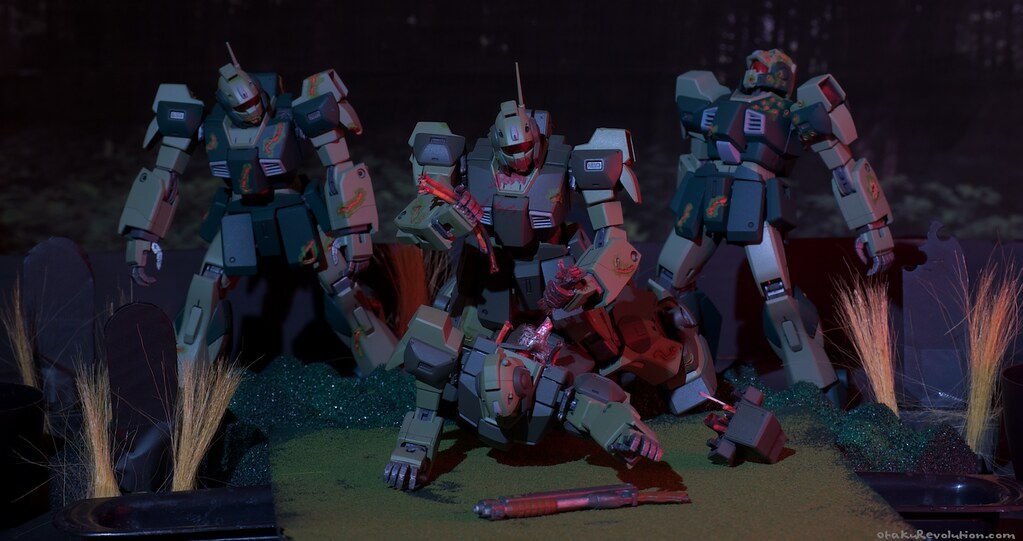
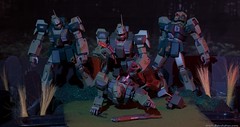
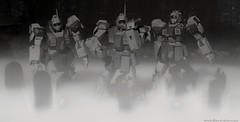
Once I had everything crafted I set up and took a bunch of test shots to get the right shot settings. Normally this wouldn't be necessary but the final ingredient would make me work against the clock... dry ice.
Creating fog with dry ice ended up being more difficult than I expected. When the ice is dropped in warm water the immediate effect is spectacular. Unfortunately it's very short lived. Before you I knew it I had to reset to get the same impact. Initially the plan was to use painted jar tops but after trial and error I found that pieces fully submerged in water produced a lot more mist. As a result I turned to a couple of George Foreman drip trays and spray can tops.
So, in the end, was it worth it? I like to think so...
Click to Enlarge | On Flickr
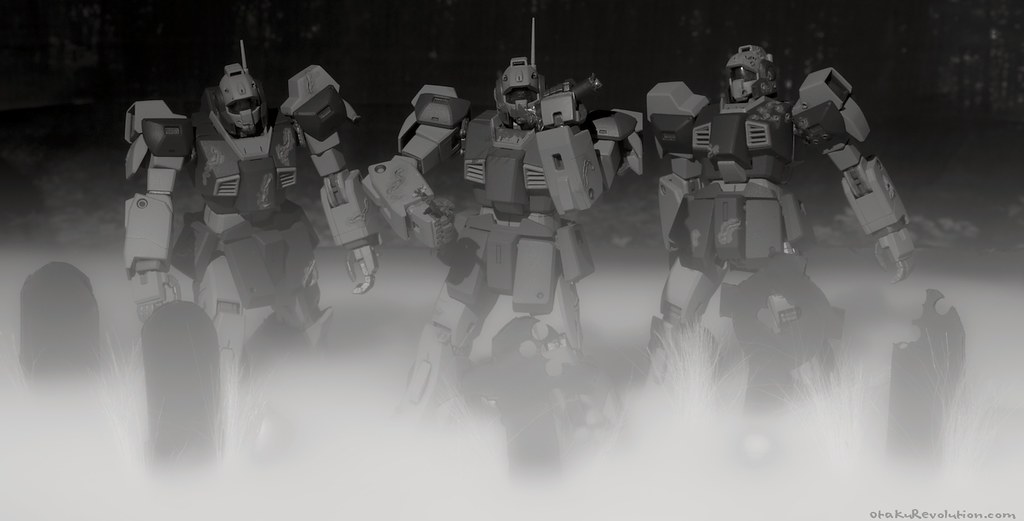
[Asinine Opinion]I was never a fan of overly shopped model photography. I say photography loosely, since once you add fake backgrounds and lens flare you're off in a different world all together. I, from time to time (and in a few shots below), will touch up or edit some of my photos. Yet I feel that adding wholesale components to the image only serves to degrade the subject that should be able to standout on its own. Granted, this has less to do with models an more with my general viewpoint regarding photography. General touch ups are fine. Adding and removing objects only results in dishonest work.[/Asinine Opinion]
The experiance goes to show that you can create unique photos with just a little bit of hard work and imagination. Which, if you're building gunpla, shouldn't be hard to come by.
TL;DR - Leftover components and a bit of imagination can result in a unique photo.
Now then, enough of my rambling, enjoy some more photos!
Click to Enlarge | On Flickr

Click to Enlarge | On Flickr
The blue lights were from
light up ice cubs IBM recruiters gave me three years ago.
Click to Enlarge | On Flickr
Click to Enlarge | On Flickr
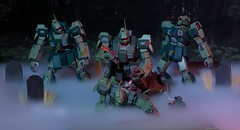
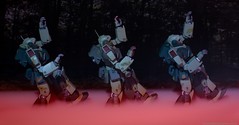
For the above shot I cut some holes in the bottom of the box and sealed it up with tissue paper. Underneath I placed some red Christmas lights an pursuit of a creepy lighting effect. Unfortunately it didn't come out quite as I would have liked. There's an obscene amount of potential when it comes to lighting fog for these kinds of shots. It's a shame I haven't the time (nor dry ice) to try them all out. Maybe a Lite-Brite or computer monitor would make a great base...
And before I forget, one last photo for Mike...
Click to Enlarge | On Flickr
* Who knows, I may just come up with a permanent diorama one of these days.