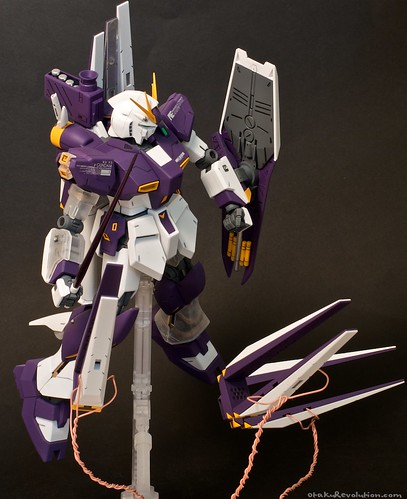
Behold, my finished MG Nu Gundam…

Click to Enlarge
Some of you may remember when I posted work in progress photos of my Master Grade Nu Gundam and reviewed the clear pieces themselves even earlier. After a long delay I’ve finally finished the kit.
Over all, the MG Nu is a fine kit. It’s old school gunpla made with the purest of intentions. There’s a quality and design element lost with kits of this era that hasn’t translated to the modern MG kits (for better or worse). While over all the kit is pretty basic, the most impressive element was how Bandai bothered to include die cast metal parts for the lower legs. They dramatically lower the center of gravity and increase stability. Even the rest of the kit is quite sturdy. To sum things up, if you like the Nu design, this kit is a must have.
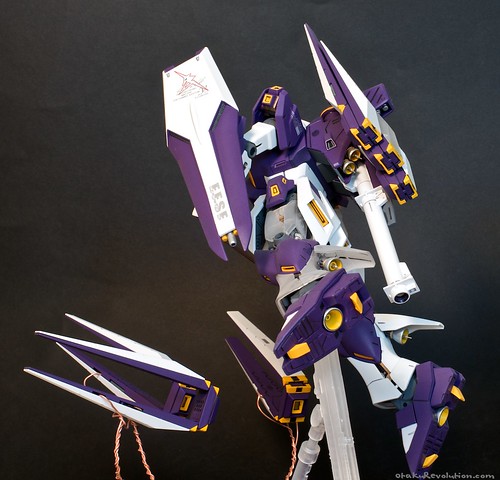
As for my work, it centered around some Valspar satin “premium enamel” spray paint that caught my eye at Lowe’s one day. I really need to stop using spray cans, it coats too thickly if you’re not careful. Yet, if you’re being a lazy SOB like me, these Valspar paints should do you right.
Besides the purple I air brushed the yellow bits with Insignia Yellow from Model Master. After testing out a bunch of yellows I found this shade looks fantastic. In my opinion it’s the best match for kits of this area when Bandai, for reasons unknown to me, decided off yellow (sometimes even orange) plastic was a better idea.
For the internal details I just brushed on gold and silver. I wasn’t very precise since I knew I would be frosting the clear parts, masking a lot of imperfections. This was the first kit I used Tamiya Flat Coat on. To me the kit looks too dusty now. I’m guessing that I just applied too much. I do regret killing the luster on the silver verniers that existed before hand. Next time I’ll mask or remove ’em before top coating.
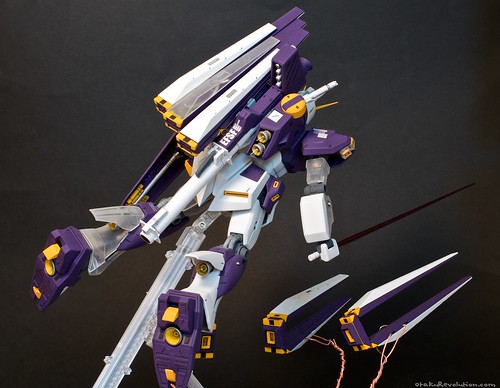
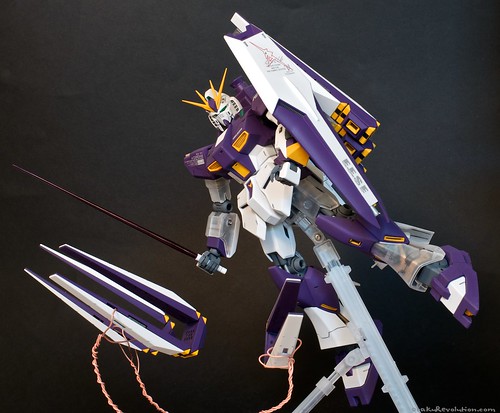
The funnels are held up using twisted copper wire that was being trashed at work. Despite the display looking really good on my shelf the funnels look disoriented in my photos. Perspective is a bitch.
This is the first kit I’ve used IC sockets on and I think they look great. Not sure what I’m talking about? They’re the little round bits you can see on the calves, forearms, and vulcans. You can see them in their full form sticking out the small thrusters on the back and legs. I’ll have a tutorial up as soon as I find a fitting kit to demonstrate on.
I’ll also be using experiance on this kit to write a short tutorial on how to pain super sexy thrusters.
I think that about covers my work. As always, criticism and questions are welcome.
More pictures, all of the images link to my flickr account…