After all that work, cutting, building, priming, painting, lining decals, weathering, and the top coat, you’re all done. Before you stands the latest addition to your collection. There’s only one thing left to do, and that’s show it off. Now you can’t exactly go traveling the country randomly presenting it to passing strangers (well, if you really wanted to…) so you whip out your camera and snap a few shots. While everyone does kits their own way I feel that getting proper photos should be important whether it’s a straight build or plethora of pla plate craftsmanship. Don’t let anyone fool you, a $80 point and shoot will perform just as admirably as a $2000 DSLR when it comes to this task. Here a are a few basic tips to get you started…
Gunpla

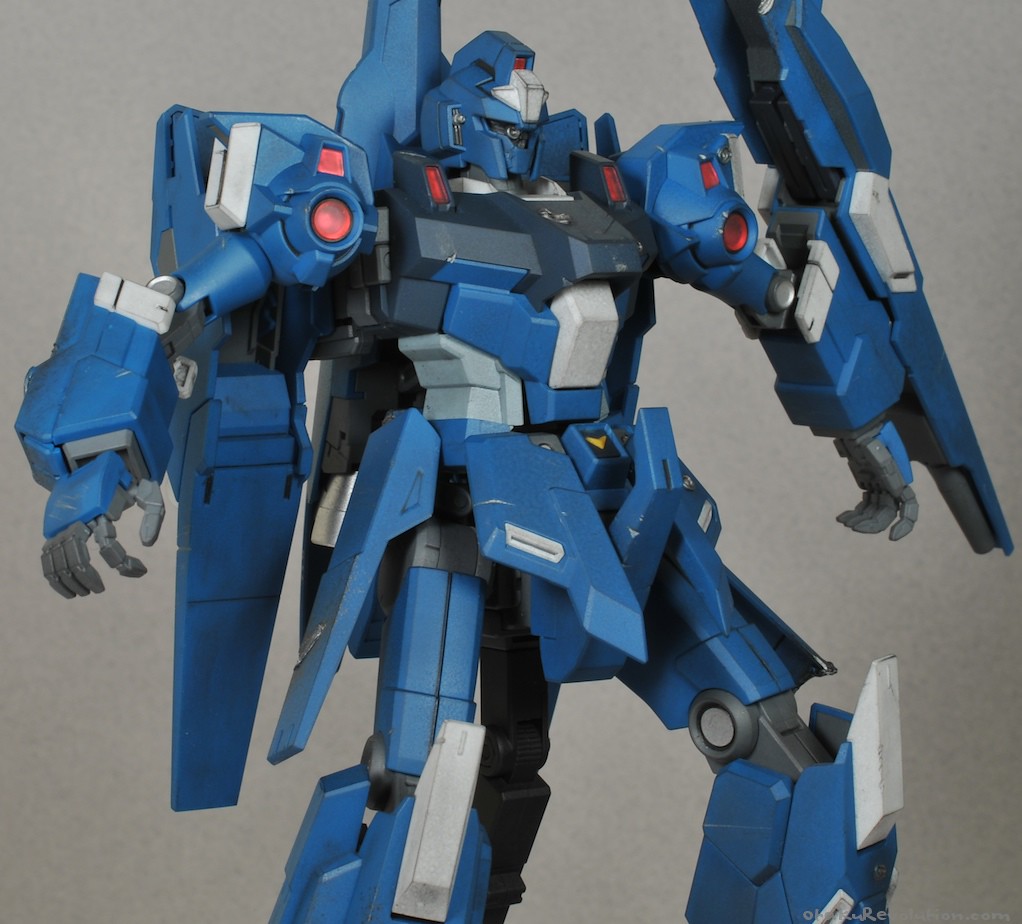
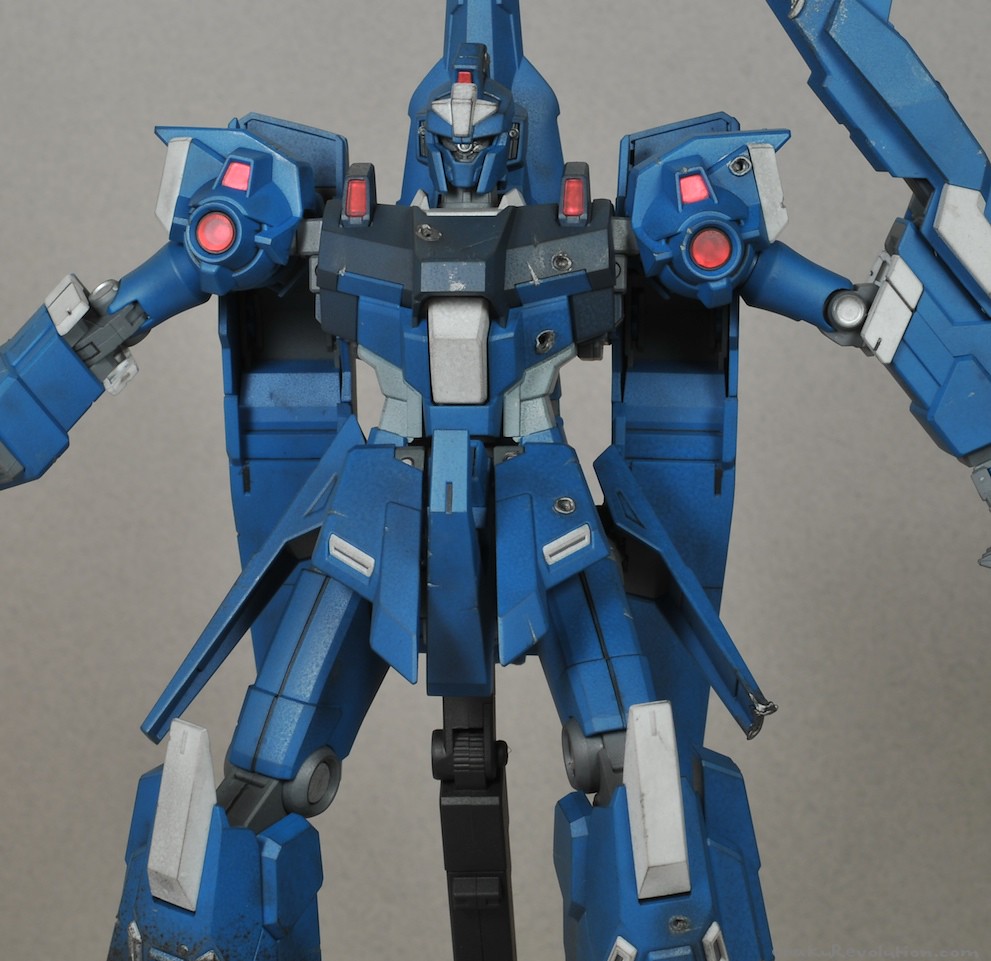
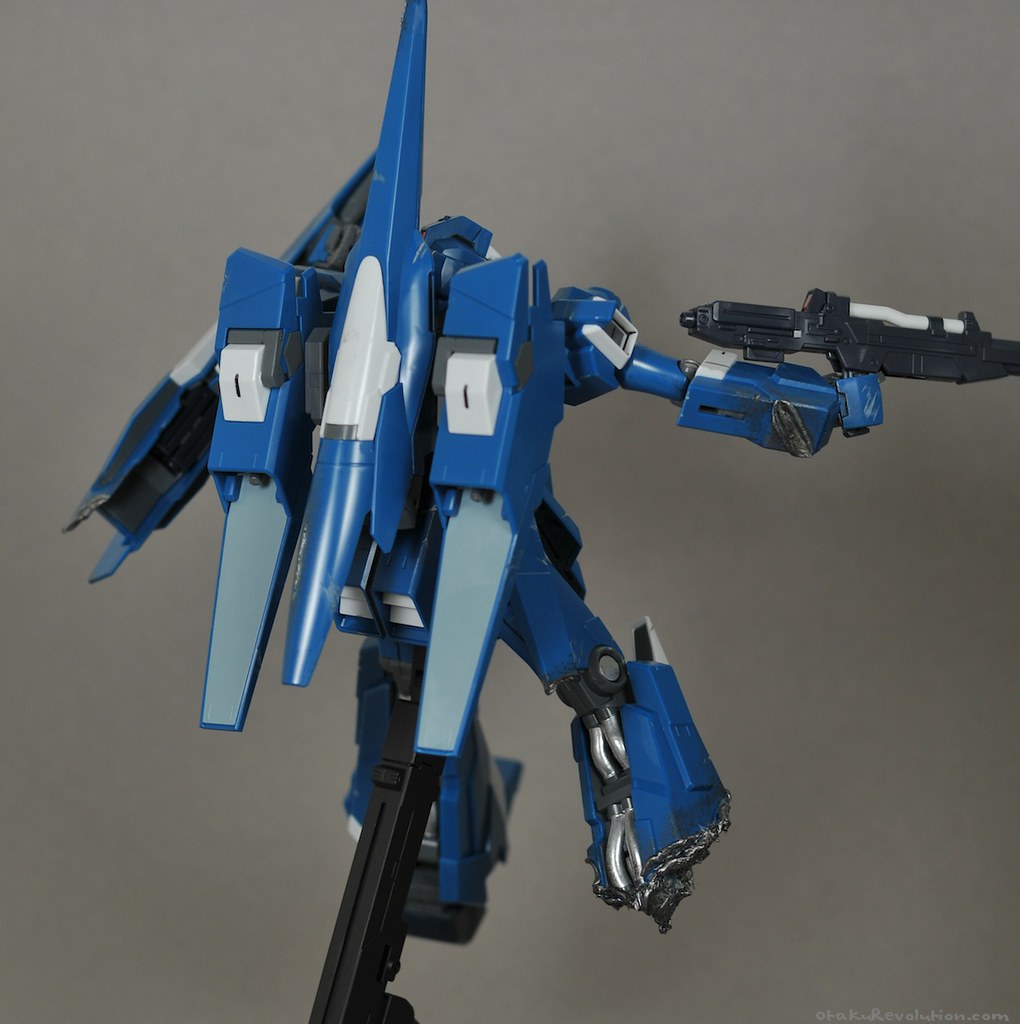
Wounded ReZEL WIP Update 02: Pastel Woes
For my damaged ReZEL I decided to give pastel weathering a shot. Everything was going good until I gave it a top coat of Testor’s Dull Cote. All of the pastel soaked up into the coat and nearly disappeared.
Click to Enlarge | On Flickr
Click to Enlarge | On Flickr
The outcome was better than I expected, but completely out of left field. (Better because I expected to wake up and see an unsalvageable mess)
The whole situation is no different than when a dirty car gets hit with a little bit of rain. Dirty little water spots.
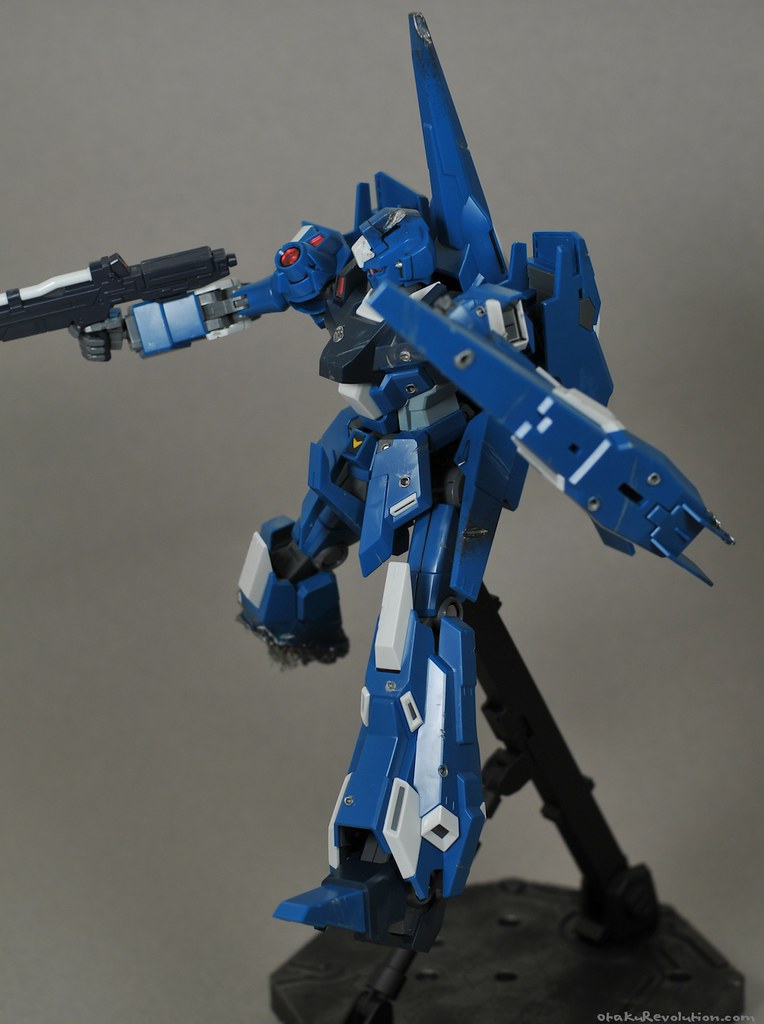
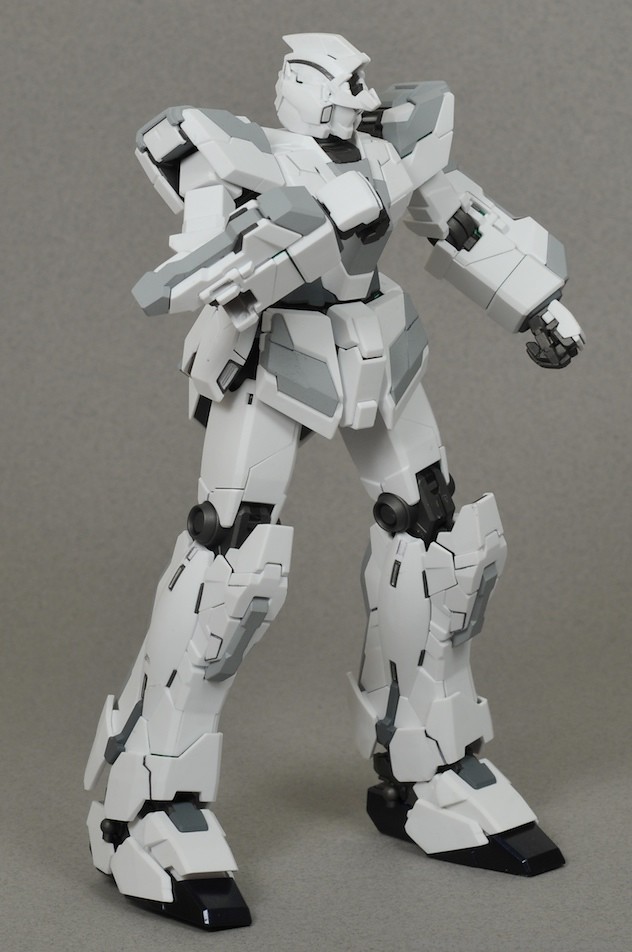
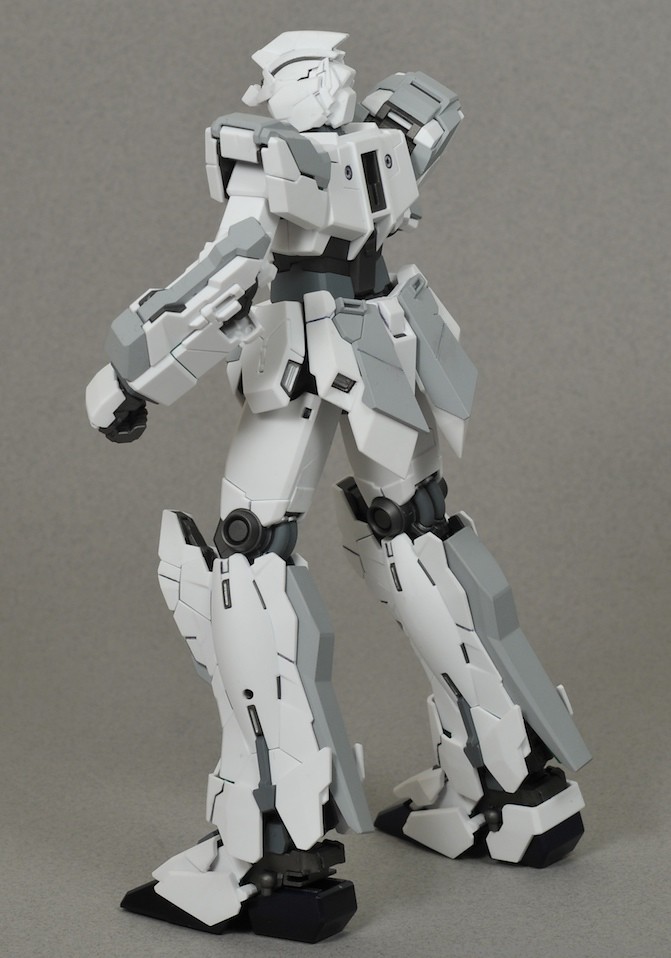
Wounded ReZEL WIP Update 01
Built this guy a few weeks ago, finally had sometime to get started on it today. (Mainly because I’ve all but run out of paint for last pieces of my FA Unicorn)
Anyhow, this is a short and simple attempt at a battle worn ReZEL inspired by the Unicorn episode two. While in the ep, the leg is severed at the knee, I thought that would be too easy. So I decided to cut (err, melt) at the thickest part.
Click to Enlarge | On Flickr
Click to Enlarge | On Flickr
Click to Enlarge | On Flickr
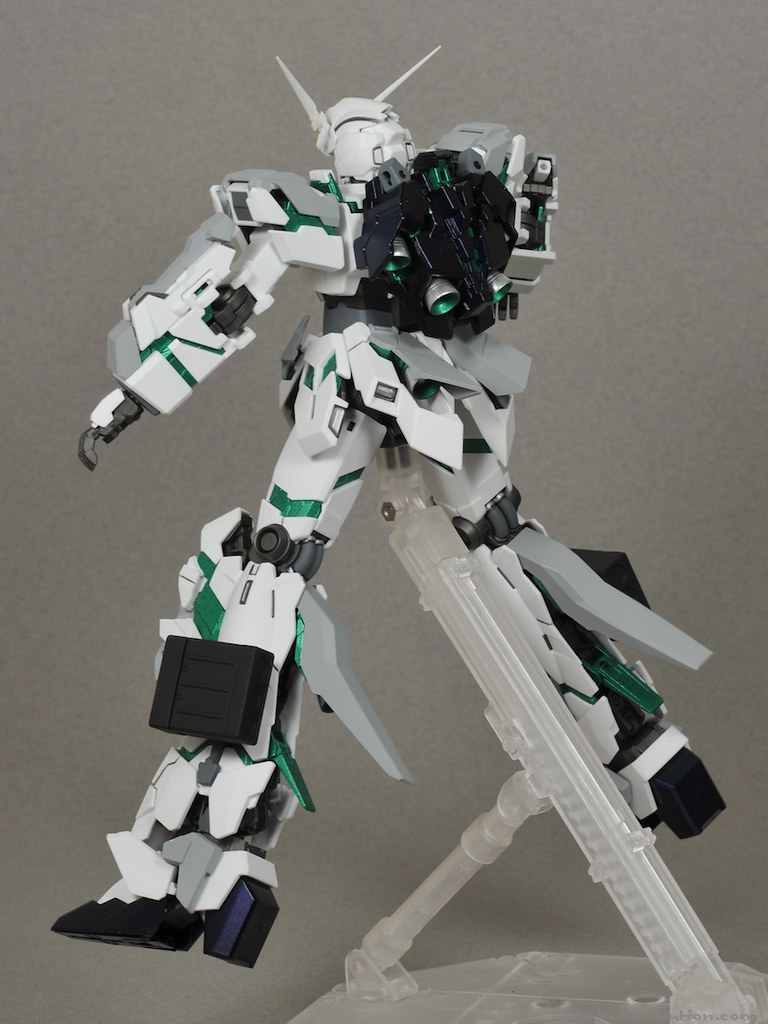
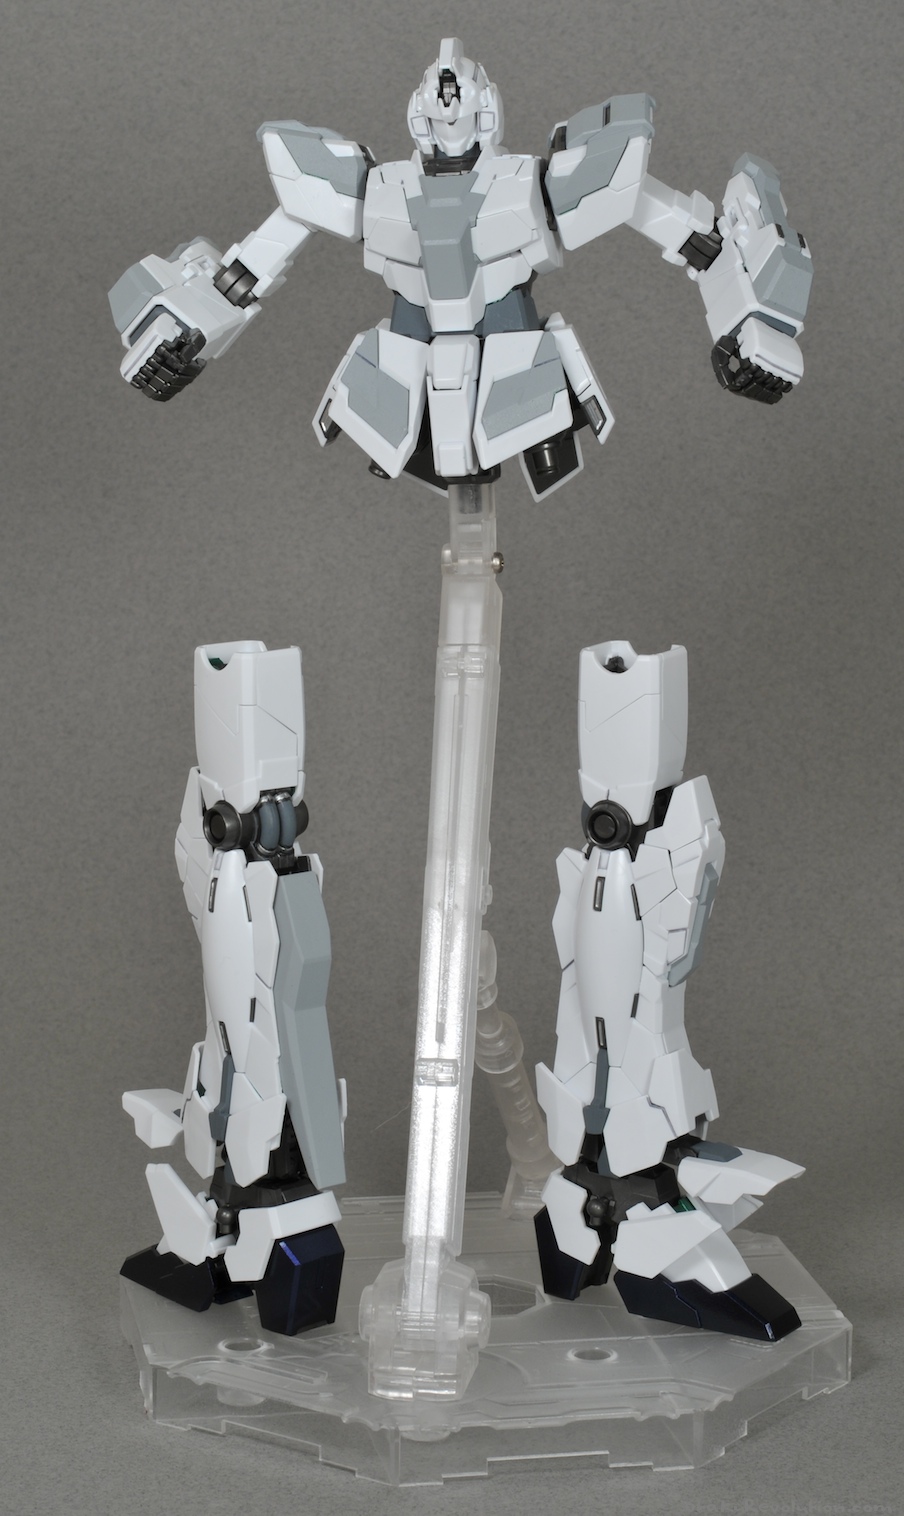
Full Armor Unicorn Prototype Ver. WIP Update 03
It’s been a while since I posted any updated shots.
This is how the kit looks prior to transformation. Missing a few parts here and there. It will probably never be in this configuration again.
Click to Enlarge | On Flickr
Click to Enlarge | On Flickr
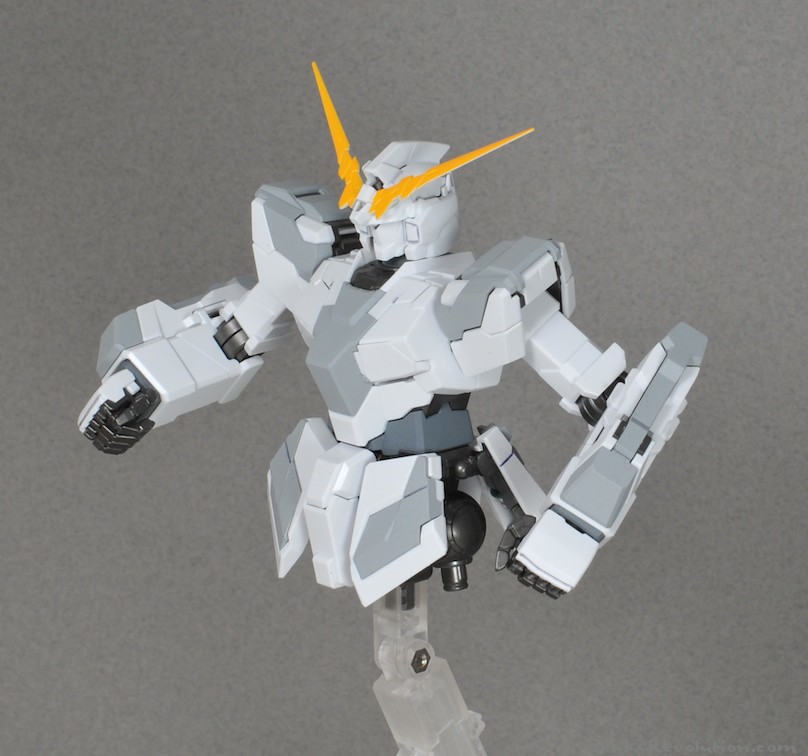
Might as well go all in and dazzle you with the fully exposed psycho frame…
Click to Enlarge | On Flickr
Click to Enlarge | On Flickr
Click to Enlarge | On Flickr
The weapons are still in various stages of completion. Not sure when I’ll get around to those though. Hopefully I’ll find some free time this week to get some more work in.
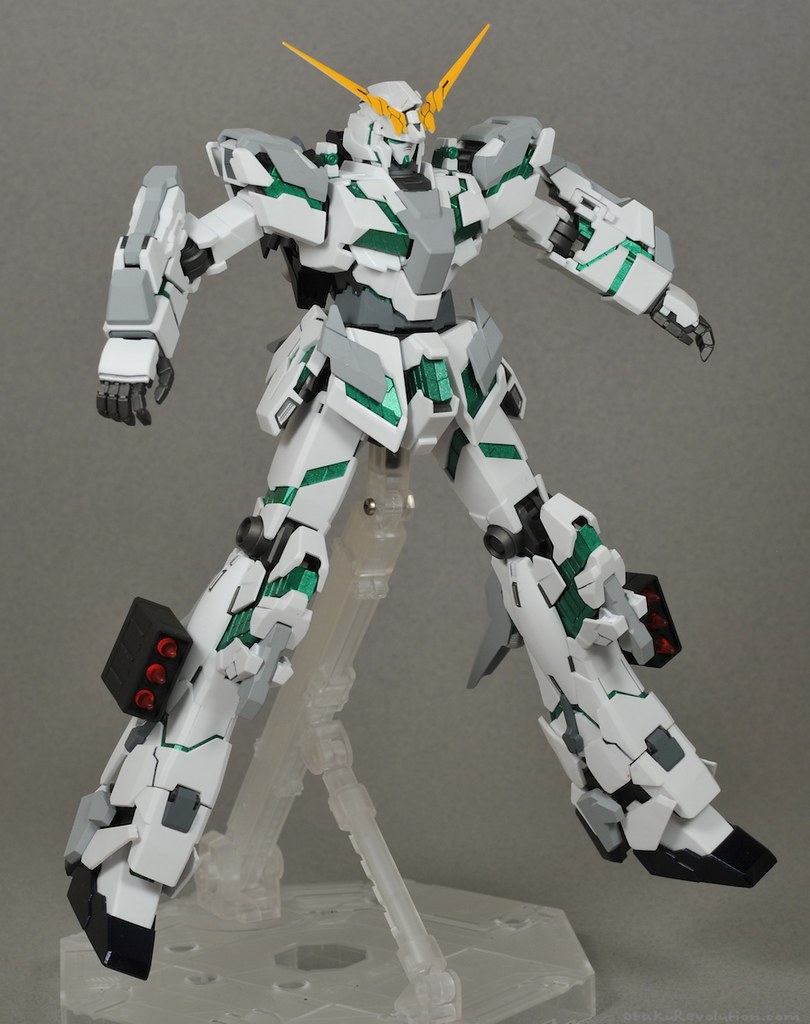
Full Armor Unicorn Prototype Ver. WIP Update 02
How about an update? Plus another shot of the metallic green!
Click to Enlarge | On Flickr
The legs are finished. A few pieces are over drying still. It’s almost ready for a top coat but I’m still debating whether or not to do some decals.
But first I need to finish the leg launchers.
Click to Enlarge | On Flickr
I’m modifying the launchers from an old Zaku kit. For the leg connections I drilled some holes and luckily for me, a toothpick was just the right size. I’ll paint and finish the launcher before I cut the pole down to size and glue it in.
Full Armor Unicorn Prototype Ver. Introduction
Click to Enlarge | On Flickr
A while back I set into motion a rather ambitious project. A third MG Unicorn themed off of the Full Armor version.
It’s not going to have all of the bells and whistles though. It’ll be toned down a little bit, but should be impressive none the less. It’ll also feature a four toned paint job (white, light gray, gray, dark gray) and a brilliant metalic green for the psycho frame.
Here are some early shots. Depending on my workload this week I’d like to get the legs done and start prepping the backpack. I’ve already figured how I’m going to mount the cannons and I can’t wait to see if it actually works.
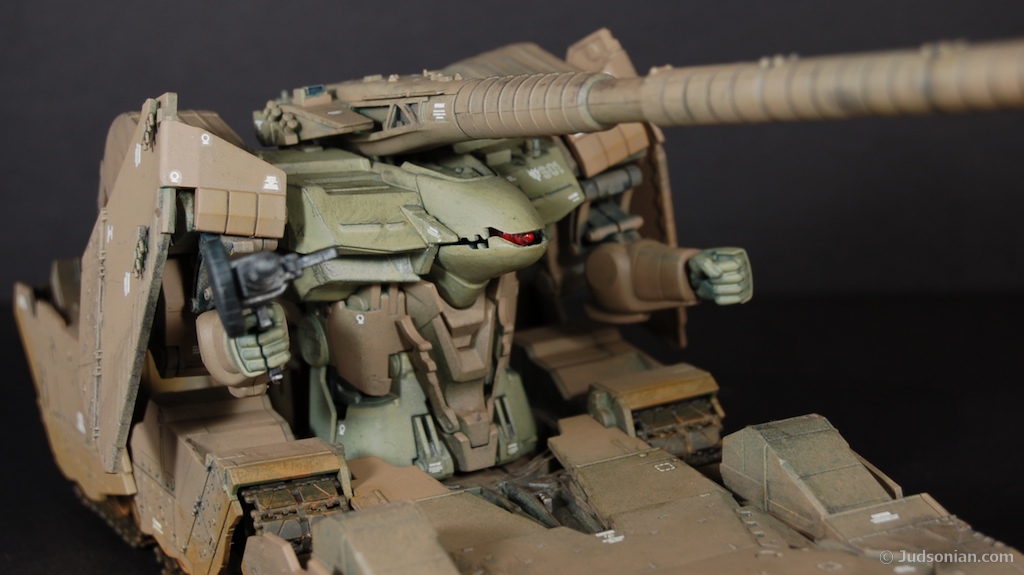
1/144 Hildolfr
Behold, the kit that got things rolling again…
Click to Enlarge | On Flickr
This kit was a load of firsts. It was the first kit I painted, the first time I used an air brush, the first time I weathered, and the first time I used water slide decals.
Painting and using an airbrush for the first time turned out better than expected. The paint went on easily and looks fantastic. If you look closely you can see that in my naivety the coverage is down right terrible. Luckily, on this kit, I was able to pull it off. With the weathering it looks natural. It just goes to show that sometimes you just get lucky.
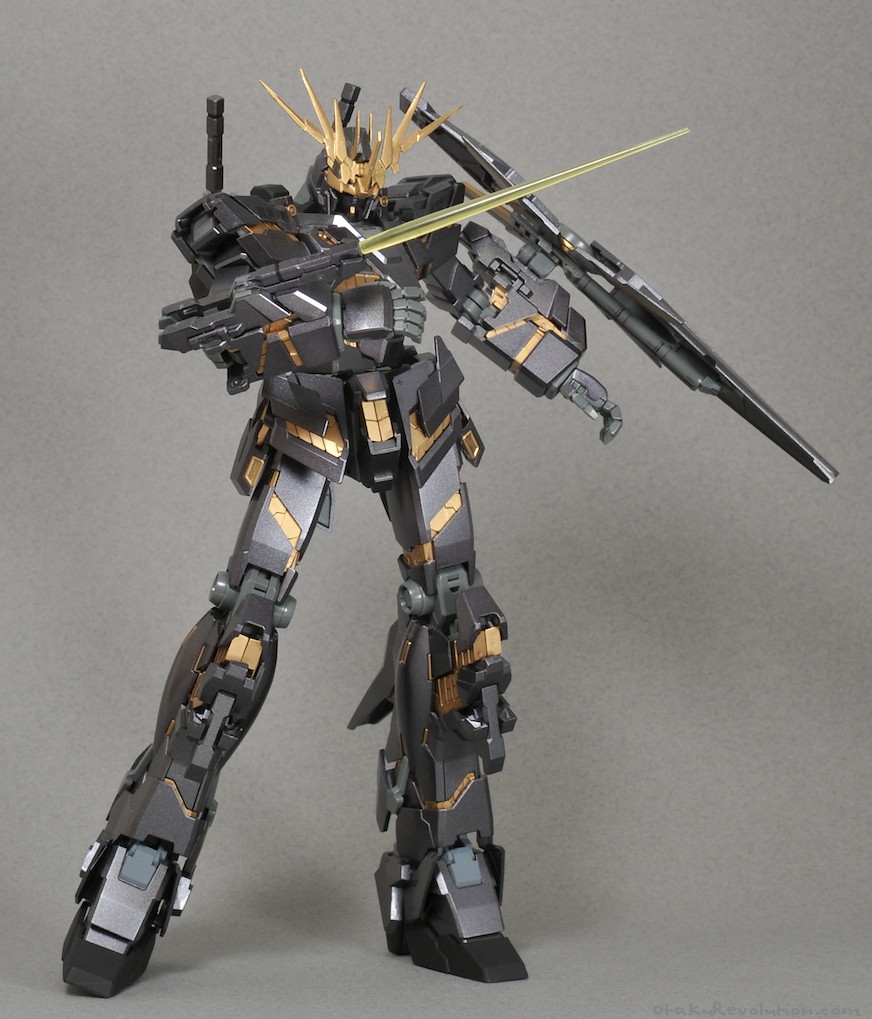
MG Banshee… Completed
So, technically I finished this guy back in July, but I don’t think I ever shared the pictures on OR…
Click to Enlarge | On Flickr
Click to Enlarge | On Flickr
Click to Enlarge | On Flickr
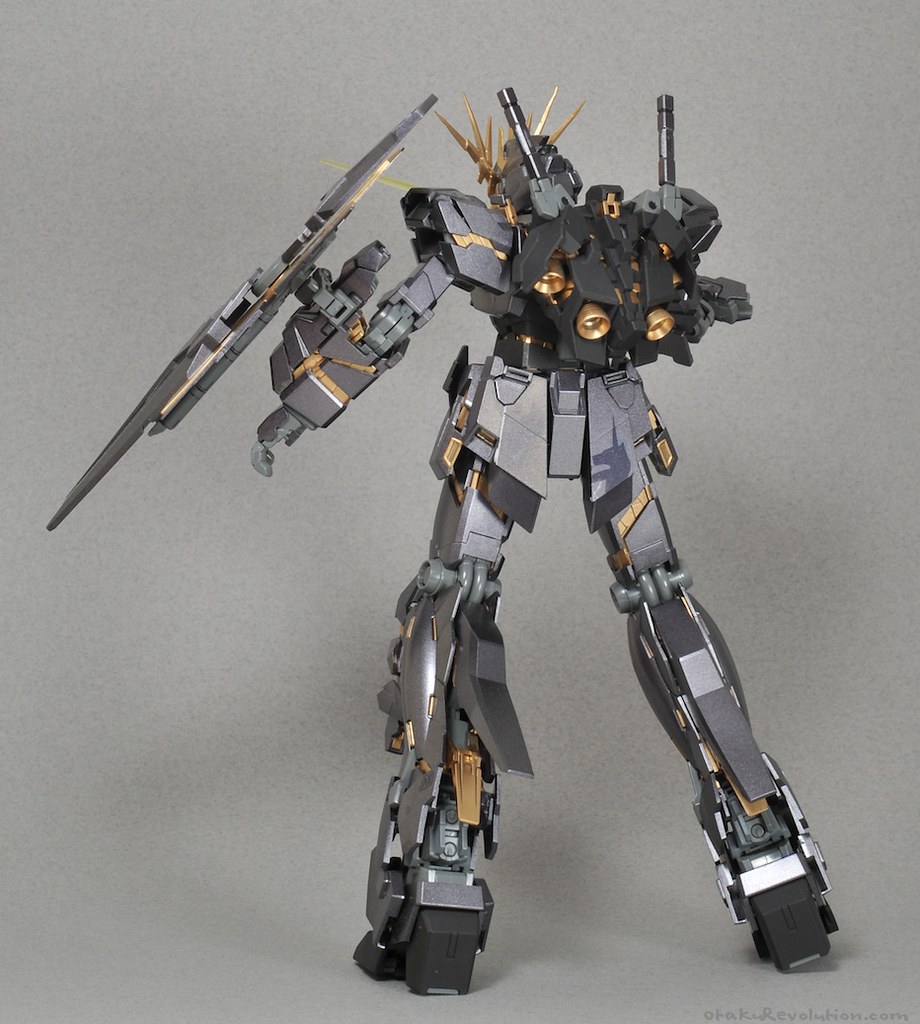
Thoughts?
In retrospect there are a lot of issues I would’ve fixed then but opted not to since I just wanted to finish the kit. There are a few places where the paint is too thing and looks lighter against the white plastic. There are a couple other blemishes/scratches stashed about here and there. There are even a couple caused by either Micro Sol or Set (used for applying decals). Can you spot them all? It’s like a Where’s Waldo of failure.
The End of Ngee Khiong, A Divided Community?
Click to Enlarge | On Flickr
The Lonely Man
Today was the beginning of a rather sudden end to Ngee Khiong, the leading source for Gundam and mecha related toy news on the internet. For as long as I can remember, having gotten back into Gunpla, I would visit Ngee Khiong on a daily basis (if not more than that). For the English speaking community there is no greater source for breaking news, price announcements, official & show photos, and even front running reviews. Unfortunately NK has decided to close down the site, leaving a giant gap in the community. Leaving a community shocked, saddened, confused, and angry. A community, apparently to blame.
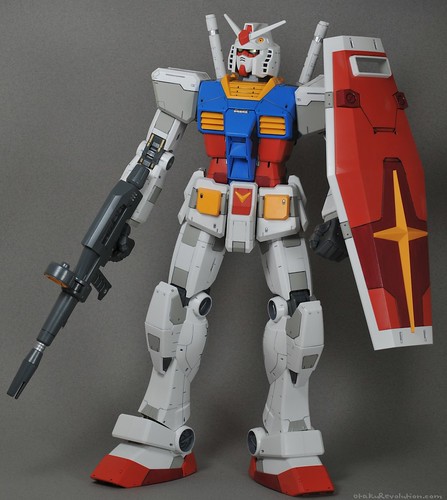
1/48 Gundam, WIP Update #3
I really need to keep track of what updates I post here. Apparently all of my 1/48 Gundam status updates have different titles and different tags. Stupid me.
Anyhow, here’s my Mega Size 1/48 Gundam as it stands right now…