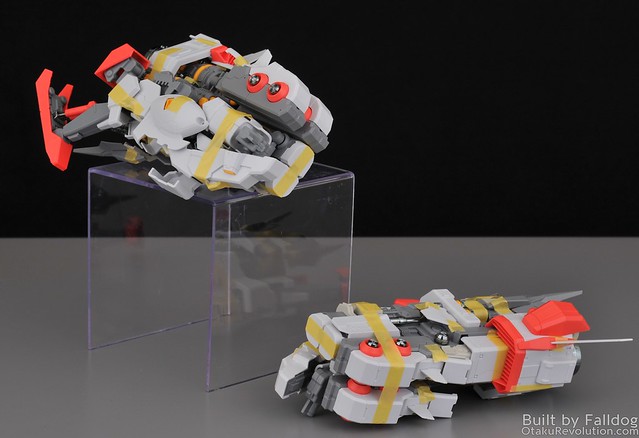
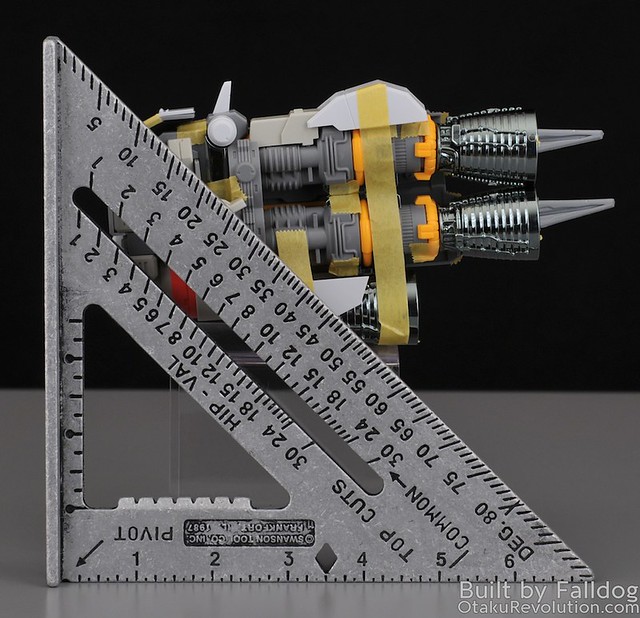
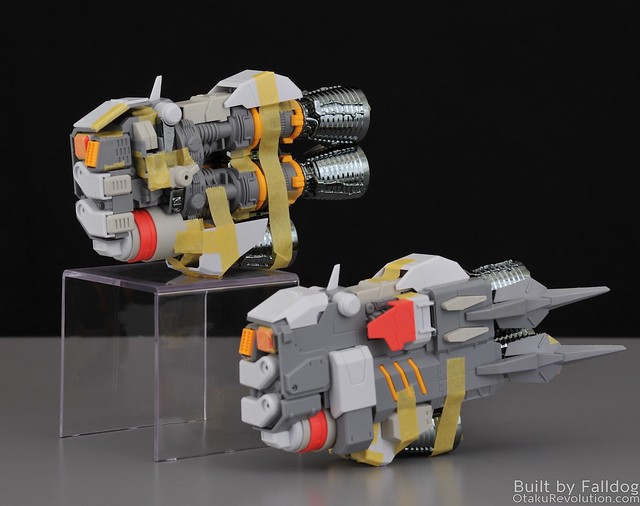
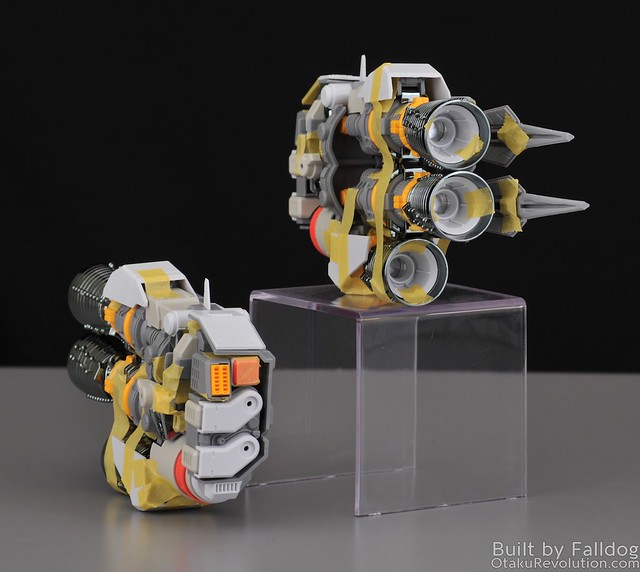
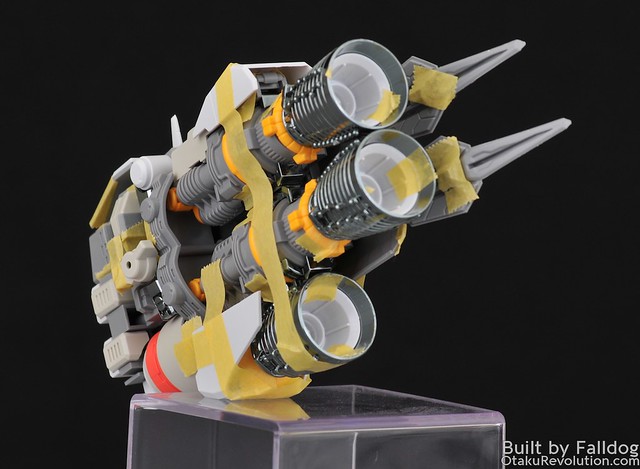
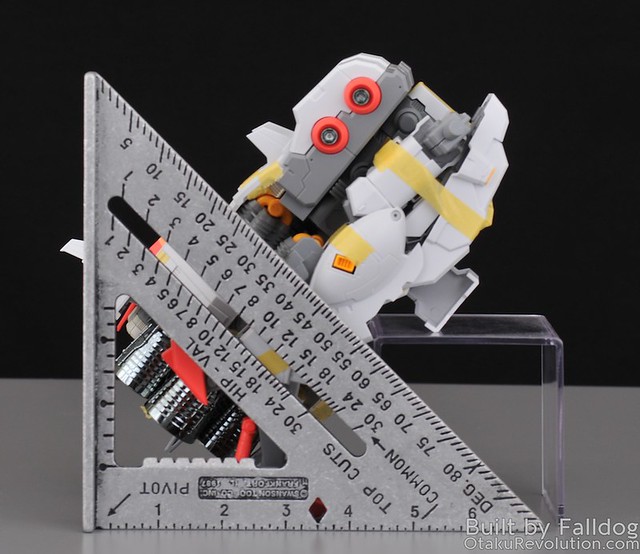
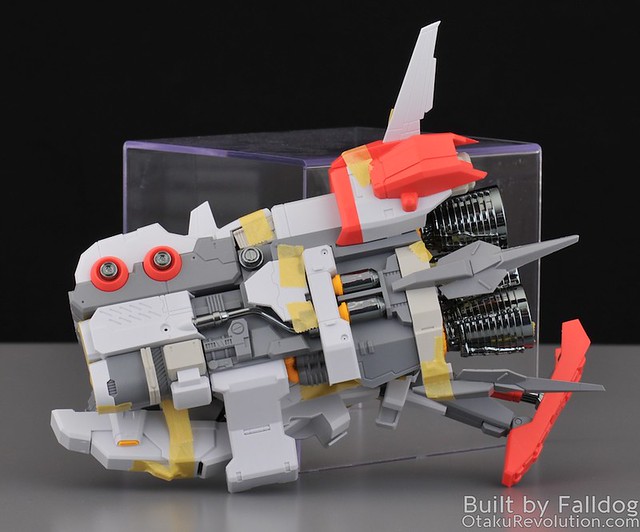
Welcome back to my multi-part review of the of Mechanicore’s 1/100 scale Tief Stürmer. In this section I'm going to cover the rear boosters which consists of two large units that are incorporated in the legs and two smaller units that come out of the back.
Review Menu:
- Part 1: Kit Introduction
- Part 2: Head and Torso (Steps 1 through 5)
- Part 3: Booster Pods and Rear Booster Module (Steps 6 and 7)
- Part 4: Main Gun and Radar (Steps 8 and 9)
- Part 5: Arms, I-Field Generator, and Secondary Gun (Steps 10, 11, 12, and 17)
- Part 6: Rear Boosters and Booster Legs (Steps 13 through 16)
- Part 7: Stand and Final Assembly (Step 18 and 19)
- Part 8: Final Kit Review
Common Issues
This is a quick list of the common issues on the build. They apply pretty much across the board and pop up so much that I'd probably go crazy trying to specifically mention each time it occurs throughout the build.
- Beware pegs and holes with fitment issues. Whenever inserting pegs watch to make sure that the peg actually fit. Quite often they're too large for the hole they're supposed to go into. This can be resolved by a properly sized drill bit (use an hand held driver instead of an electric one, or be very careful, to avoid going through the other side of the piece) or with a fine round metal file to widen it from the inside out.
- Beware pieces who's sprue connection often coexists with an important piece. In other words, runners have been connected to the pieces themselves in areas that are also happen to be connection points to other parts of the kit. Never cut flush with the plastic to get it off the runner (which you shouldn't be doing anyway. For the second cut, make sure you check out the part and how it's going used to make sure you don't lop off something important.
- Beware pieces with subtle flashing around the connection points. Connection points may have subtle flashing issues that result in a poor fit. If something doesn't quite work like it should, make sure this is not the case before proceeding. Use of a hobby knife is recommended to clean these areas up.
Build Notes
- There are quite a few piece that really should be glued into place. Since I intend to go back and paint I'm holding things together with masking tape.
- Because I'm going back and repainting I'm not applying any of the metal detail parts at this point. When I finish the build, and add them, I'll add any additional thoughts regarding their application to this review.
Back Boosters
A couple of notes regarding step 13.5.... the first is that fitment of 13.8 into the rest of the piece depends on how snug the 13.8 components are set together. If it doesn’t seem like 13.8 fits around 13.3 then the pieces aren’t tight enough on 13.8.
The order of pieces to go together in 13.5, as listed in the guide, is not correct. The first thing you need to do is get 13.7 in place (see the next note as well), then piece 13.8, followed by 13.3 and 13.6 last.
13.7 and 13.6 didn’t remotely fit tightly the rest of 13.5, notable compared to the rest of the kit that needs to be glued because it’s sooo loose and will later support the weight of a thruster.
Step 13.11 does not include placement of the previously completed step 13.10. That slots in below where piece 32-31 and needs to go in before 32-31.
The steps early on in 14 are numbered out of order. Put 14 together just like you did in step 13. (14.4, 14.5, 14.6 and 14.7 leading into 14.3. Then Steps 14.1 and 14.2).
In step 14.6, part 31-10 is really 33-10. The rest of 14.6 is in line with steps 13 prior.
Legs/Leg Boosters
At quite a few points during the construction of the legs you go through something similar to steps 15.5 and 15.6. See how they have you put the 15.4 barrel things in to 15.5 after 22-14 is in place? Well that won’t work. You need to put the barrel into place, then fit the 25-4/5 and 22-14 pieces together afterward.
The 15.24 pieces are used to connect both legs to the rest of the kit. They, and their connection to behind and to the side, have to bear a lot of awkward load. Everything 15.24 should be glued together tightly, then later with the rest of its connections, in order to support that weight.

