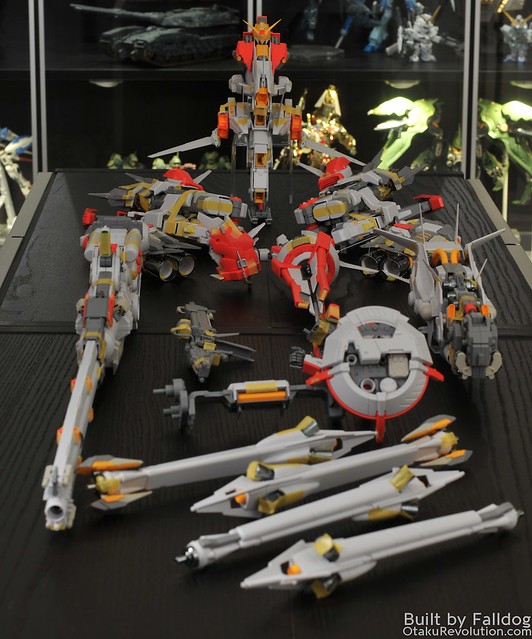
Welcome back to my multi-part review of Mechanicore’s 1/100 scale Tief Stürmer. In this section I'm going to talk about the stand and how things went assembling all the various components.
Review Menu:
- Part 1: Kit Introduction
- Part 2: Head and Torso (Steps 1 through 5)
- Part 3: Booster Pods and Rear Booster Module (Steps 6 and 7)
- Part 4: Main Gun and Radar (Steps 8 and 9)
- Part 5: Arms, I-Field Generator, and Secondary Gun (Steps 10, 11, 12, and 17)
- Part 6: Rear Boosters and Booster Legs (Steps 13 through 16)
- Part 7: Stand and Final Assembly (Step 18 and 19)
- Part 8: Final Kit Review
Common Issues
This is a quick list of the common issues on the build. They apply pretty much across the board and pop up so much that I'd probably go crazy trying to specifically mention each time it occurs throughout the build.
- Beware pegs and holes with fitment issues. Whenever inserting pegs watch to make sure that the peg actually fit. Quite often they're too large for the hole they're supposed to go into. This can be resolved by a properly sized drill bit (use an hand held driver instead of an electric one, or be very careful, to avoid going through the other side of the piece) or with a fine round metal file to widen it from the inside out.
- Beware pieces who's sprue connection often coexists with an important piece. In other words, runners have been connected to the pieces themselves in areas that are also happen to be connection points to other parts of the kit. Never cut flush with the plastic to get it off the runner (which you shouldn't be doing anyway. For the second cut, make sure you check out the part and how it's going used to make sure you don't lop off something important.
- Beware pieces with subtle flashing around the connection points. Connection points may have subtle flashing issues that result in a poor fit. If something doesn't quite work like it should, make sure this is not the case before proceeding. Use of a hobby knife is recommended to clean these areas up.
Build Notes
- There are quite a few piece that really should be glued into place. Since I intend to go back and paint I'm holding things together with masking tape.
- Because I'm going back and repainting I'm not applying any of the metal detail parts at this point. When I finish the build, and add them, I'll add any additional thoughts regarding their application to this review.
The Stand
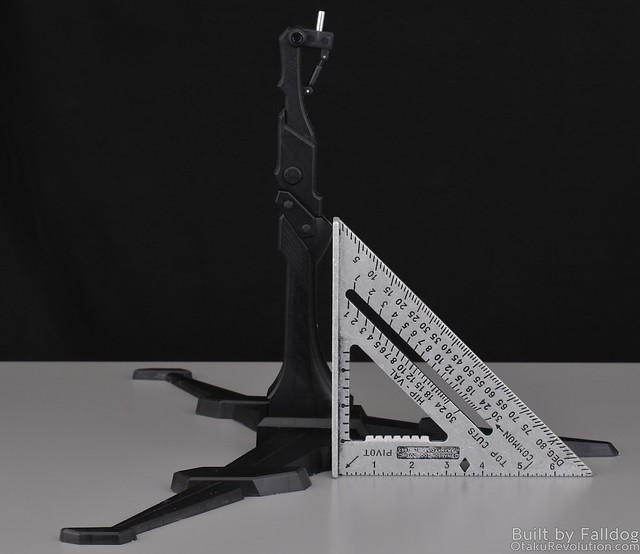
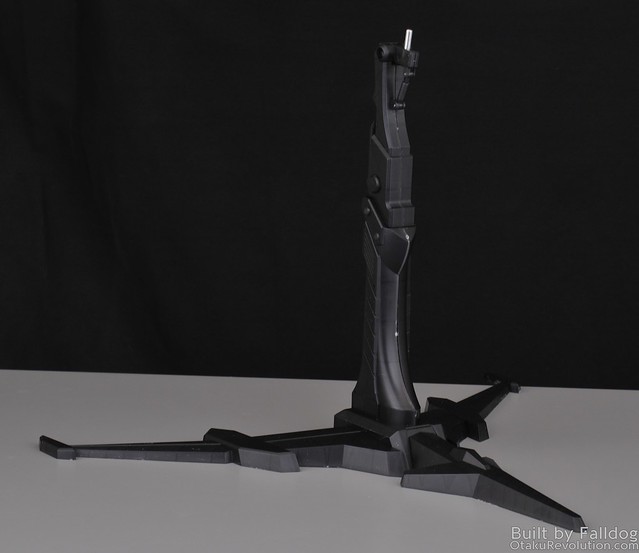
The stand is rather well made to support the rest of the kit. It's build from thick, semi-transparent black plastic. It's nice and sturdy but you have to be careful when removing the pieces from the runners. Transparent plastic is generally more brittle than coloured plastic and more likely to have separation anxiety. That is, nub marks. Combine that with the added thickness of the pieces and you've got a recipe for some nasty nub marks. Don't be wanker like I was rushing through construction, take your time and use a sharp hobby knife here.
What's interesting is that all the metal pieces that make up the stand, the nuts/bolts and the T shaped piece that connect directly to the rest of the kit, were molded in plastic on these runners. At some point Mechanicore must have anticipated being able to support all the weight of this kit with only plastic. Only realizing later that they needed to use metal.
Final Assembly
What, you thought I'd share photos of everything together now? Nope, gotta check those out in the final second of this super long review.
The final assembly went pretty much as I anticipated from the start. Not a total shit show, but not a walk in the park either. It helps that I planned ahead, learning from the Kshatriya debacle. On hand I had a bunch of wood dowels and poster putty to help support anything that wouldn't manage on its own. I also had an extra set of hands to help me manage. For this build copious amounts of tape helped as well. When things are all said and done, that'll be replaced by even more glue.
For some reason Mechanicore included an updated sequence of assembly events in the appendix. I'm not sure what their intention was because that's wrong as fuck. Assemble the kit as originally documented. Attach the torso components, throw on the back pack, then instead of doing step 19.3 (original or appendix version) skip to 19.4 and get those metal struts in place. It's a lot easier to do it now than when you also have to worry about the main gun and sensor package.
Once 19.4 is complete, and the metal struts in place, head on over to 19.3 either as noted in the appendix or the original instructions. If you put the boosters that attach to the back in place, as directed by the appendix version, you won't be able to get in and properly affix the struts. What they were thinking here I have no idea.
The rest of the assembly is pretty straight forward, if you've secured all your screws and glued everything together in earlier steps. If not, you end up applying more tape and other quickly rigged methods to prevent shit from falling apart.
Quite a few parts, mainly the various booster appendages, have a lot of weight and a small amount of hard point connection. It's ridiculously poorly engineered so glue, glue, glue.
For the most part things seem like they would hold together properly if every piece was glued from the start. The biggest issues I noted with the over all stability is that the main gun sags down quite a bit.
Of course, the left arm with the sensor dome can't support the wight. And there's no mechanism on the right hand to properly grasp the gun. I had to secure the whole thing with putty. Luckily parts of the gun rest on other parts of the kit (poor design BTW) and take up some of the load.
Speaking of poor design, the leg boosters have a shitty fit around the wing things of the lower torso (steps 5.6 and 5.7). The forward protruding fins are supposed to fit in gaps in the leg construction and the knee armor on the legs is supposed to be nearly vertical and fit right behind the aforementioned parts.
If you made it this far in the build, you should be okay. A bit of patience and some luck and this beast will finally be complete.


