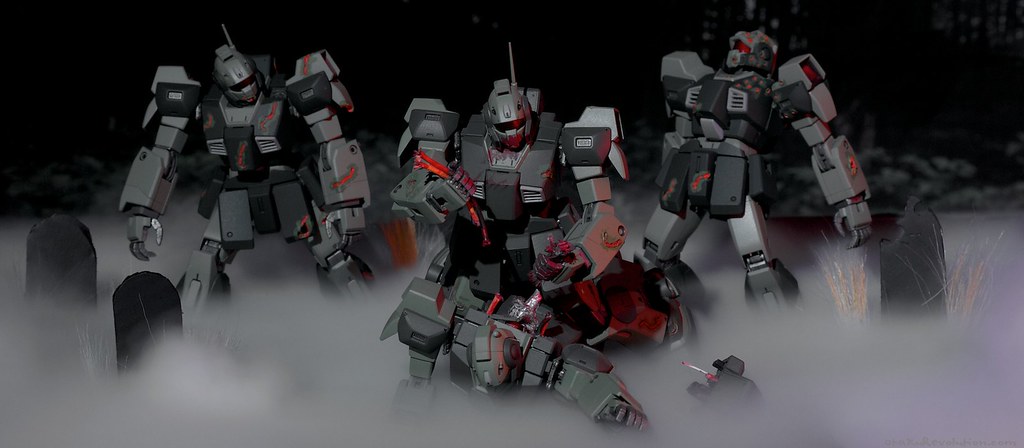
A very long while back I bought 5 MG Nemos on a whim. I had different plans for them but after watching 28 Weeks Later I happened upon a great idea, zombies! My intent is to have a little diorama featuring three infected Nemos attacking a fourth. I will be trying a lot of new methods for this project and use my experience to upgrade the guide.
I’ll be updating this page so you can follow my progress and see my steps after it’s all said and done. I’m sure professionals will shake their head at some of the shit I do.
Pictures not posted directly on this page can be found in my flickr gallery.
And yes, I know that the baddies in 28 Weeks Later weren’t zombies.
 10/06/09 – Construction & Planning the Sores
Click to Enlarge
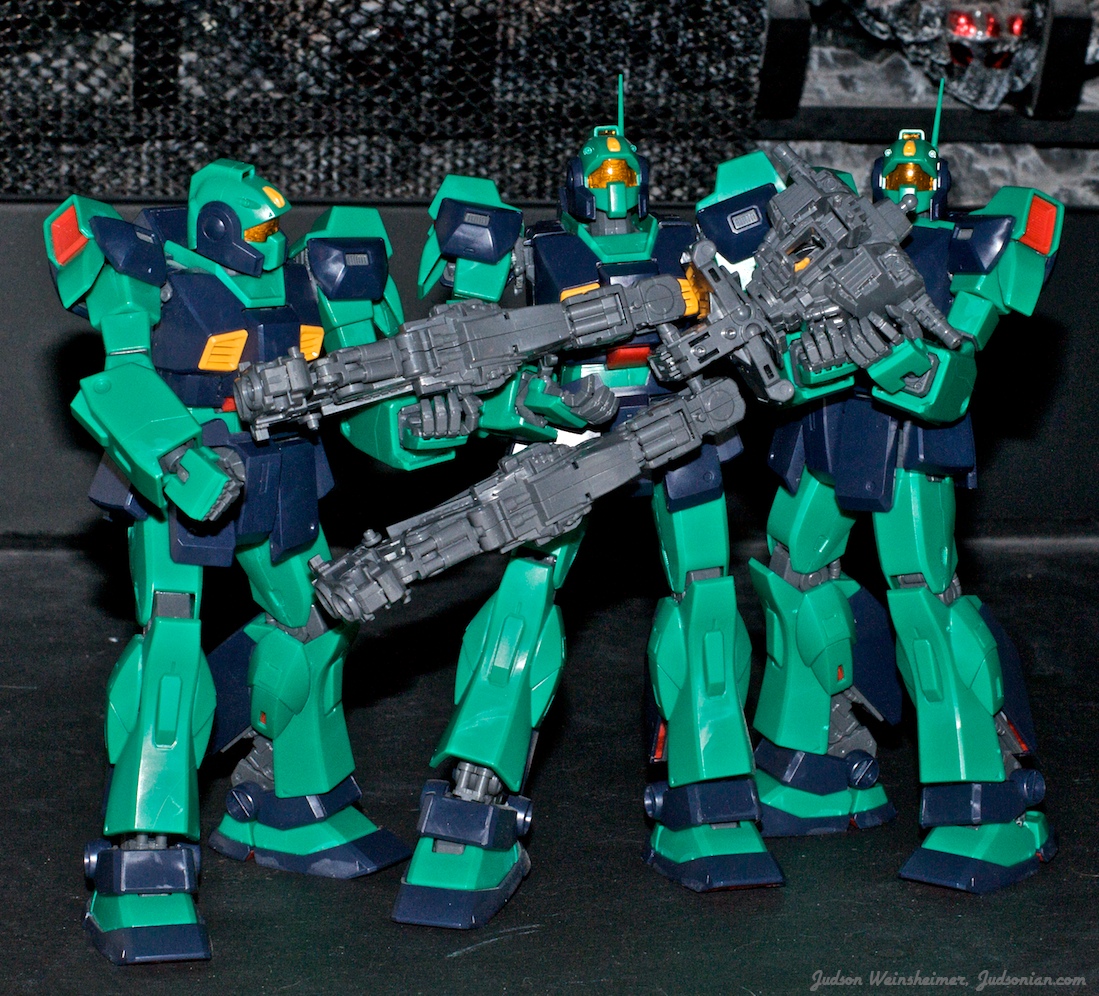
At long last, four MG Nemo’s have been built. One of them has already been deconstructed down to the frame. I can use the guys still in their armor as a reference to which parts of the frame are clearly visible. I intend to give the internal workings of the kit some sort of simple paint job, possibly my first dry brushing expedition, with extra detail on the visible bits.
Click to Enlarge
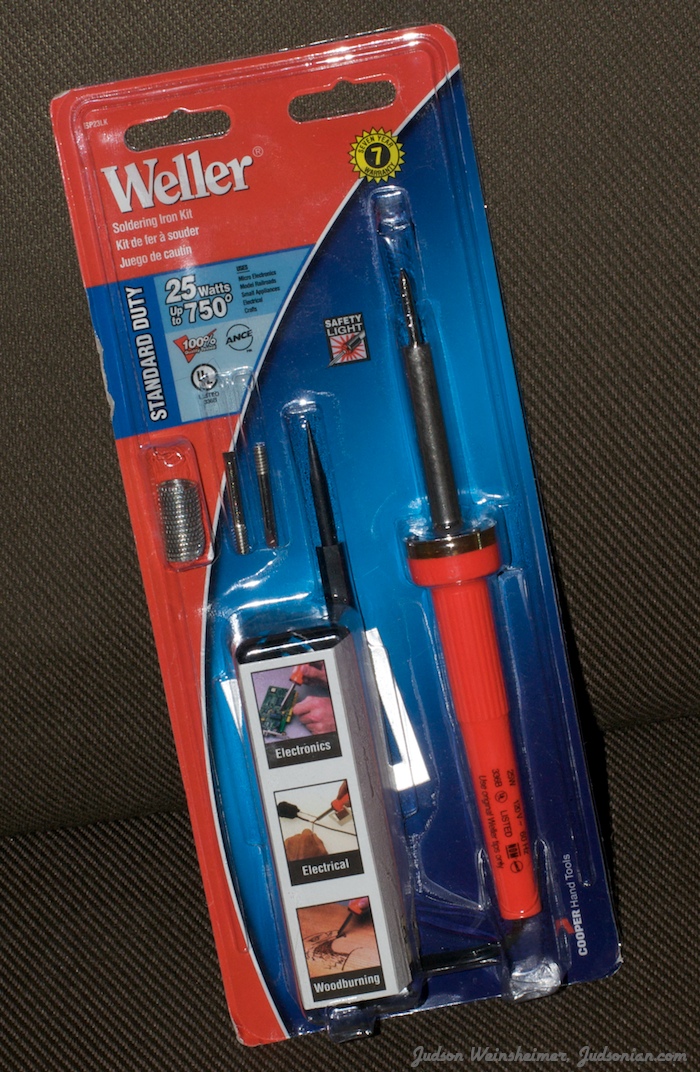
I want to give my zombie Nemos some open sores. To do this I’ve bought a cheap, $17, soldering iron. I’ve heard they’re good for melting and cutting through the plastic to create battle damage. I have high hopes for this aspect. If it works out you’ll probably see a lot more projects from me that feature battle damage, including an Ez-8 that’s been standing around unfinished.

Click to Enlarge
Since I’m painting the kit I used a sharpie to mark out the areas where I want to place sores. I also rushed through and nipped the pieces off the runner right at the plastic. Notice the discoloration of the plastic?
Next steps include opening the sores and planning out the color scheme for these guys. I don’t intend to deviate too much from the current colors.
10/08/09 – Burning the Sores
Click to Enlarge
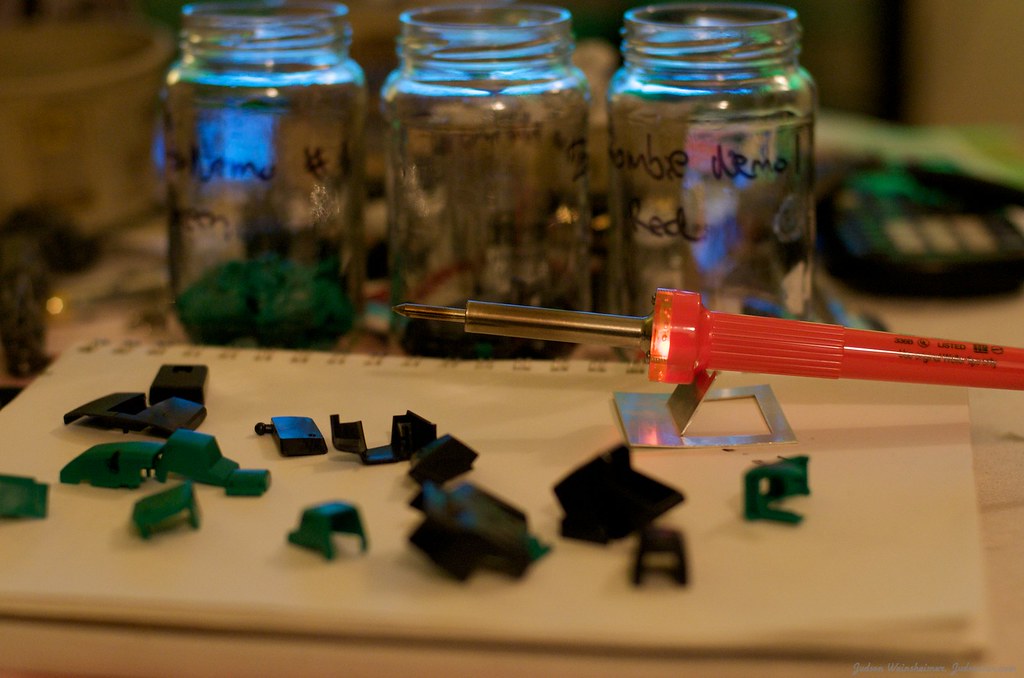
Today I used my brand new soldering iron to burn the armor in areas that will eventually be open sores on the zombie units. I was surprised at how efficiently it melted, more so burned away, the plastic.
I found it’s easy to get carried away and burn way too much so caution is a must. Since it melts so quickly any slight pause during your soldering slice will create an uneven mark. Good for me, considering the type of effect I’m looking for.
The plastic cools almost instantly which is nice.
I’ll try and get some decent photos of the final result soon (no macro lens).
Note that I’ve used leftover mason jars to keep my parts a bit organized until I prep them for paint.
10/09/09 – Dry Brushing
Click to Enlarge
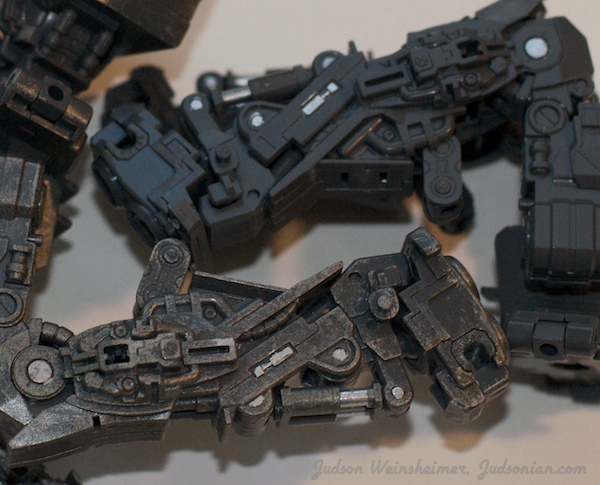
Dry brushing is now my new most favorite thing in the world.
The process I followed is a mishmash of several tutorials I’ve read over the past year. Basically it involves a very old toothbrush, an old plastic bowl, and some spray paint.
The paint I used was ‘Krylon Fusion Metallic Shimmer’ which was around $5 at Michael’s Crafts, sprayed into the bowl, and applied lightly with the toothbrush. I also used the paint for the base of my MG Exia action base. Any paint would work, I just used what I have in excess.
I’ll be trying to get a better detailed process written and entered into the guide soon.
Note that I applied some details (some not seen in that photo) in different colors of paint. This helps add a lot more detail. If you wanted to leave a frame fully exposed you could paint all the little details to your hearts content.
10/10/09 – Painting
I nearly wore myself out today, but I accomplished a damn lot for a single day.
Click to Enlarge
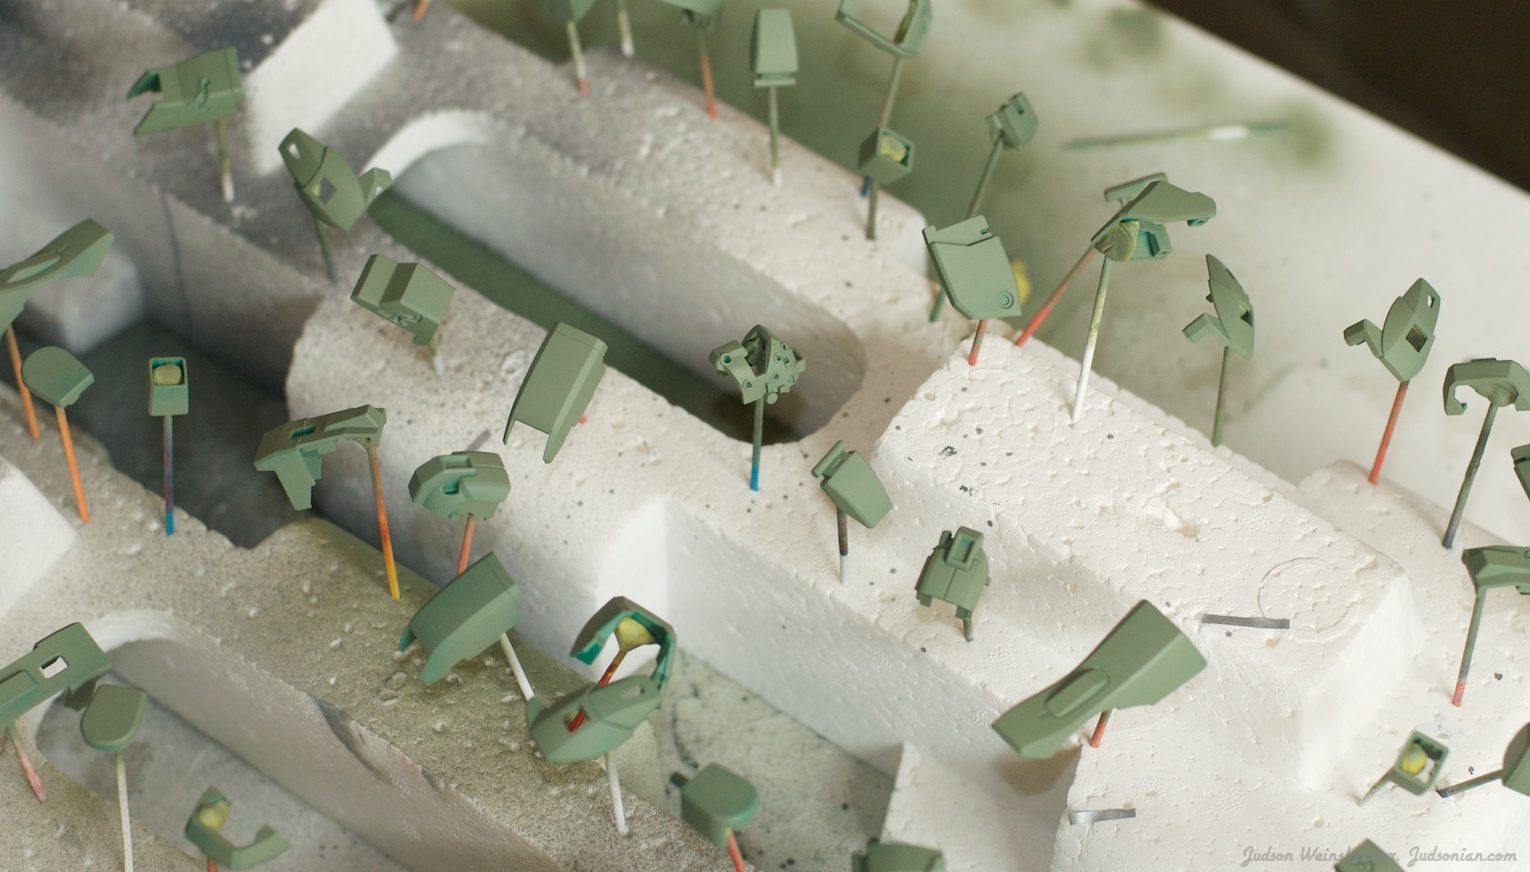
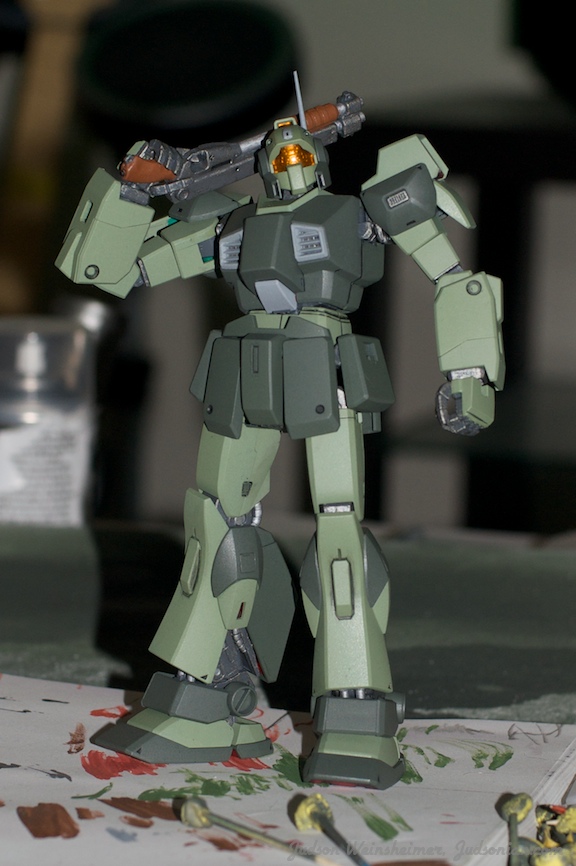
What you see above are the light colored armor pieces for two of the four suits. That’s either the first or second of three or four light coats they’ve received. The next step for these guys is a light gloss coat to protect the paint before detailing.
Getting Closer…
A late update, as within the past few days I’ve gone from painting the dark parts…
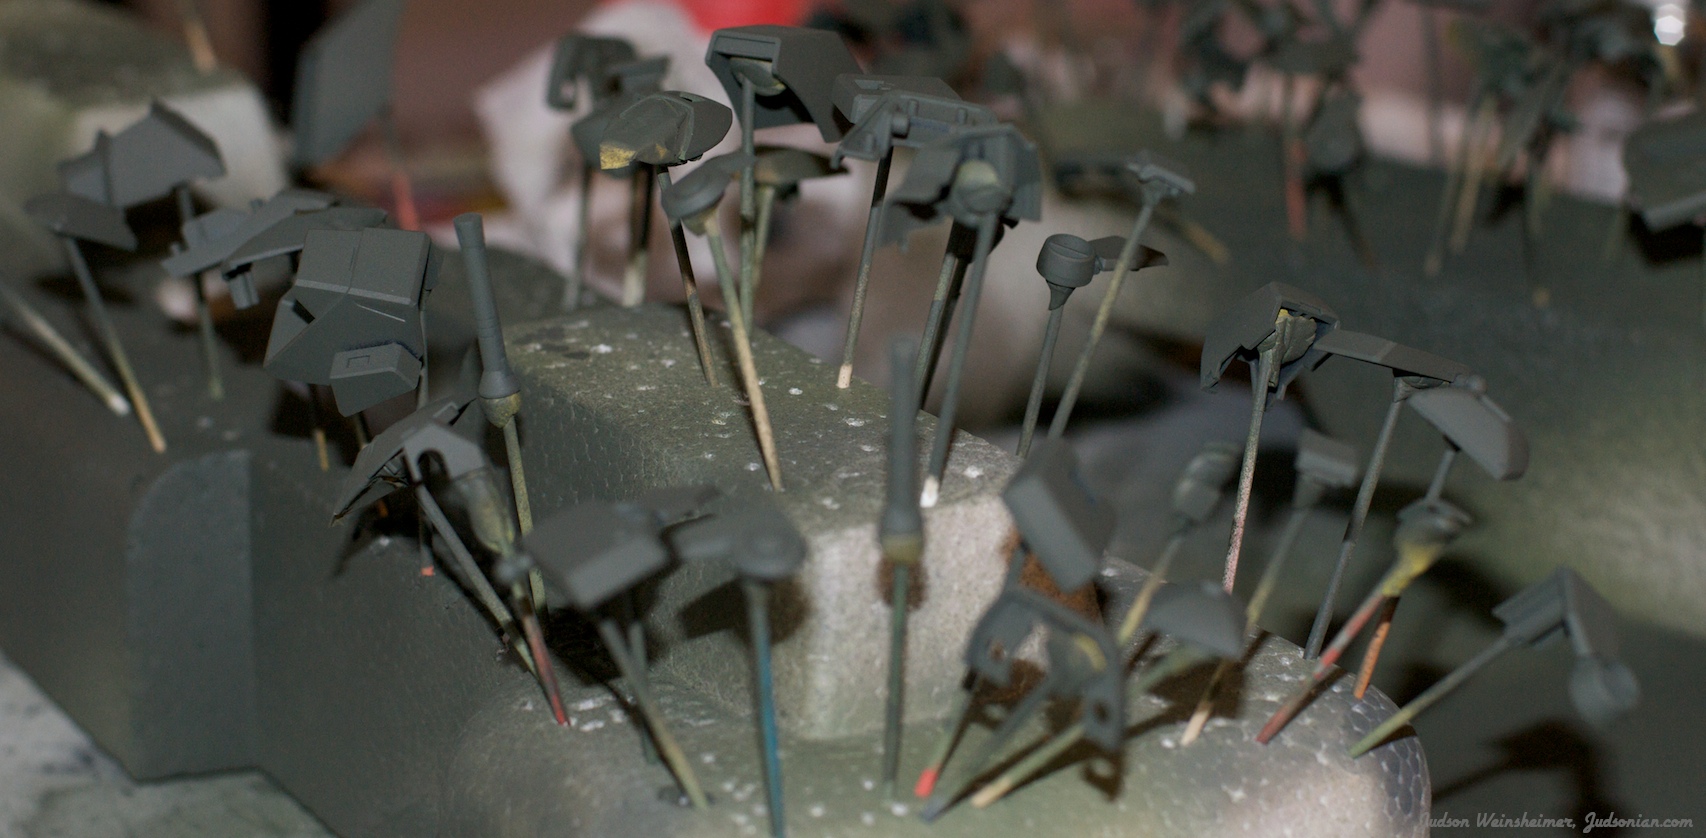
Click to Enlarge
To the start of assembly…
Click to Enlarge
I’ve decided to focus on getting these two guys finish for the time being so I can submit ’em to this one gunpla competition.
Right now they’re getting a good gloss coat before I give lining another shot. I tried initially and either the first gloss coat wasn’t enough or my mix was too thinner heavy, and it ate at the base coat. Since my base is enamel, and my gloss is a lacquer, I’m going to try and find some black acrylic tomorrow.
I also need to paint a big piece I accidentally left in the box. Unfortunately the paint mixture I used for that guy is running low, I need to be more careful. More info about my colors and what I mixed to get them later.
10/20/09 – Lining On two of ’em complete
I’ve lined two of the Nemo’s and there’s just a few touch ups left before I start painting the sores.
Click to Enlarge
I haven’t put the head together yet because I don’t want the visor to get any of the top coats I put on/plan to put on.
I didn’t have any luck using watered down acrylic paint to do the lines. For whatever reason it didn’t flow down any of the lines no matter how much water I mixed in. I reverted to using my good ol’ Real Touch Gundam Markers.
Click to Enlarge
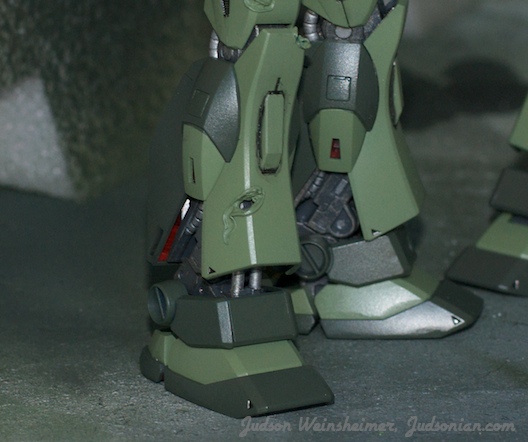
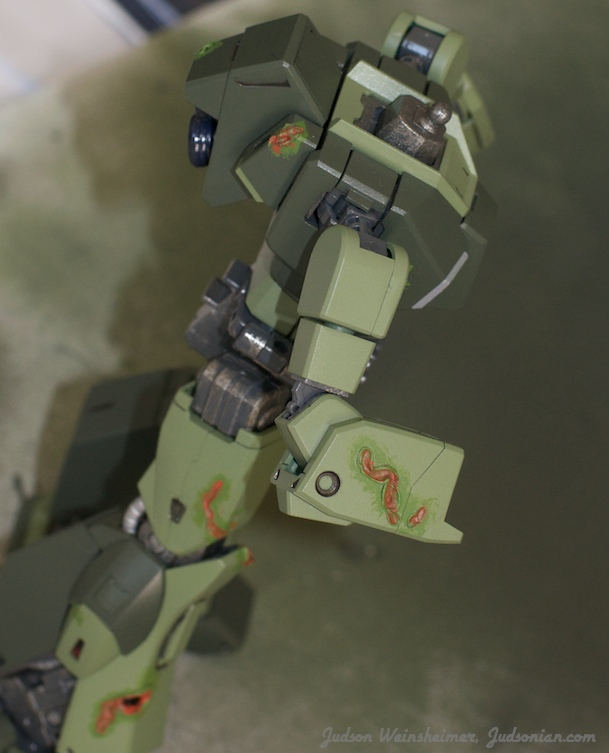
Here you can see the some of the marks created by the soldering iron.
Click to Enlarge
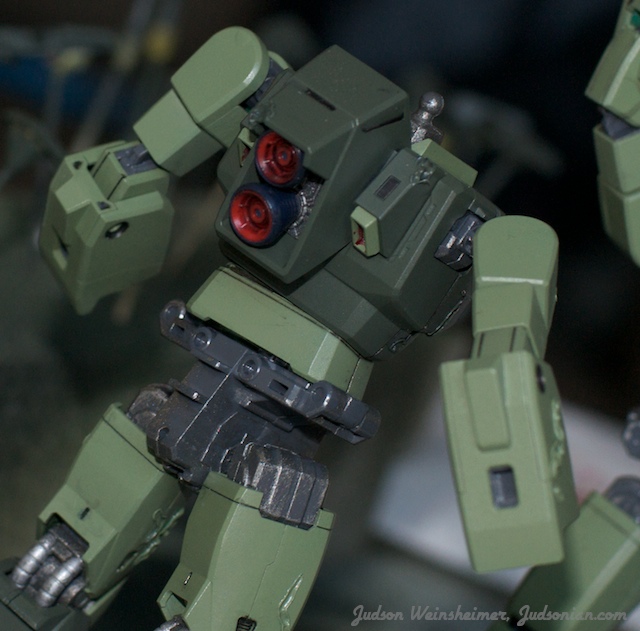
Last but not least, a view of the back. Needs a few touch-ups. Notice that I didn’t paint thrusters. I did a dry brush w/ black paint but I don’t like how it looks. I think I’ll try it with the same silver I used for the frame.
10/21/09 – Big Update Today
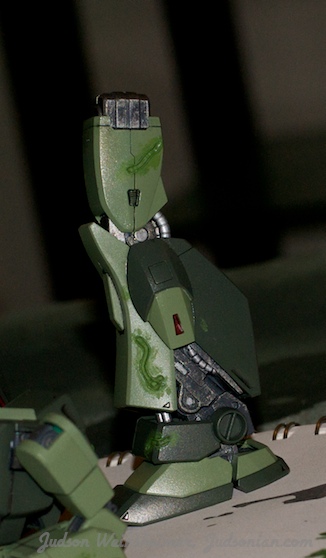
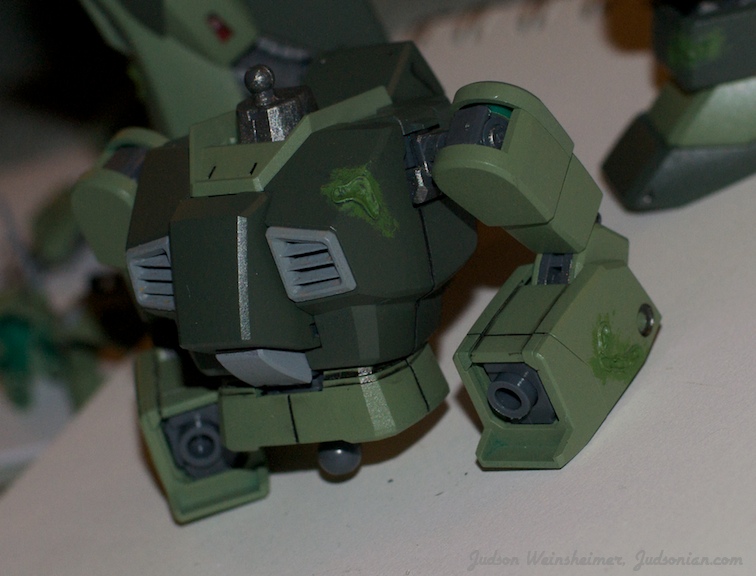
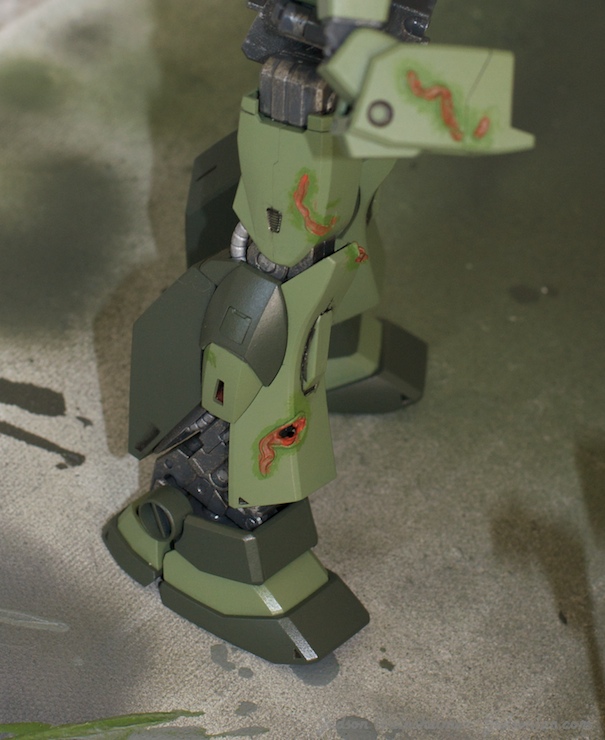
The sores are finally finished!
I started by applying some green paint lightly in and around the marks I made previously…
Click to Enlarge

Click to Enlarge
Click to Enlarge
Then I used took some light red paint and applied small amounts within the sores themselves…

Click to Enlarge
Click to Enlarge
Click to Enlarge
10/21/09 #2 – A look at the display
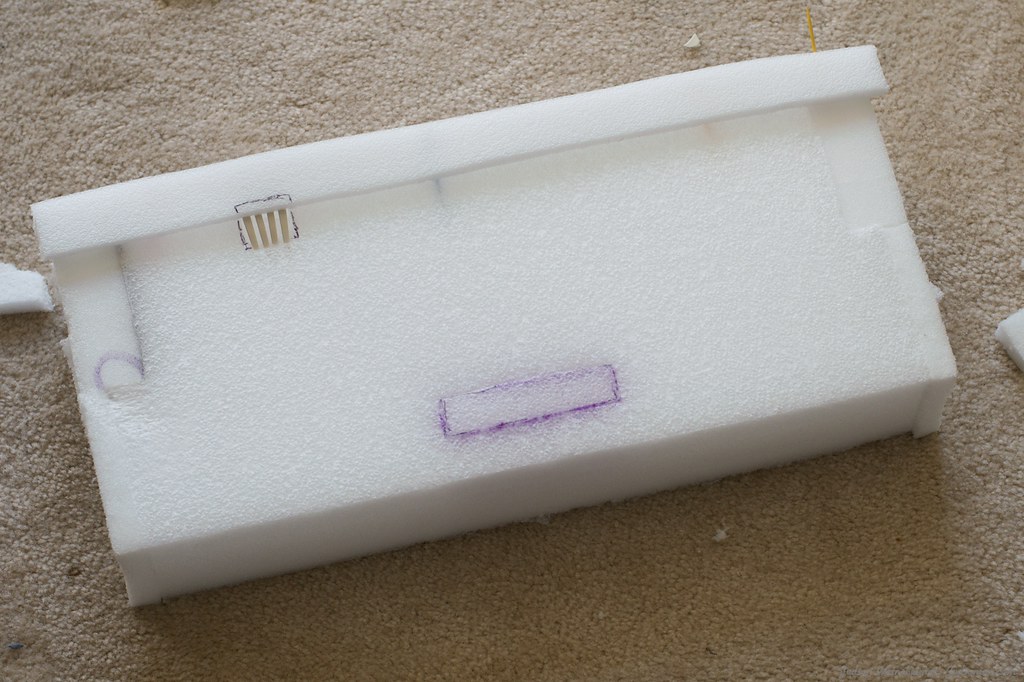
For the eventual existence of four completed Nemos I wanted to come up with a display to hold them all. Since it’s my first attempt at a custom scene I decided to keep it simple and place them along a deserted road.
Click to Enlarge
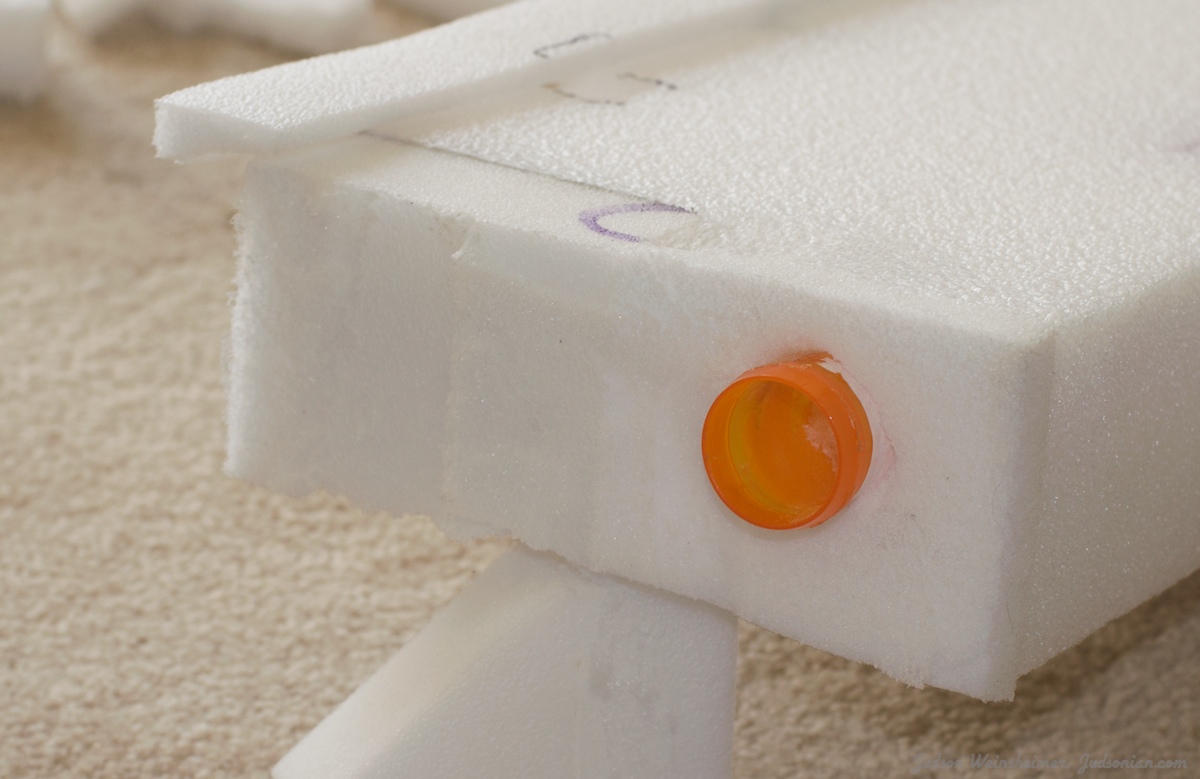
Using some plastic packing foam I carved up a block 19″ by 8″ with a raised sidewalk to one end. The purple is just the glue I used when I filled in a hole in the piece.

Click to Enlarge
The sidewalk is held on with toothpicks so it can be easily removed.
Click to Enlarge
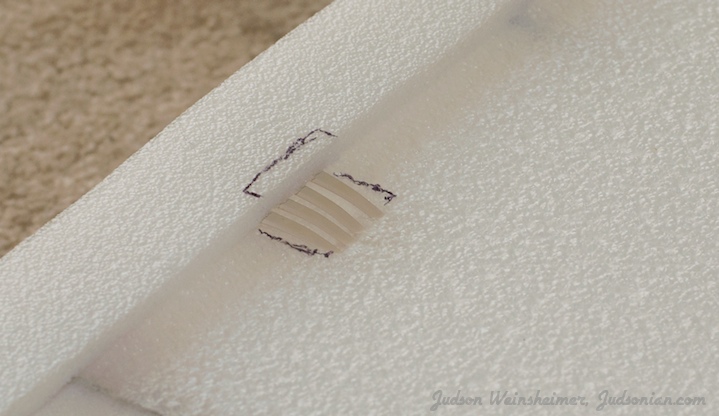
I’ve also crafted a storm drain, using an old plastic fork as the metal grate. With any luck it’ll look better painted.
Click to Enlarge
Last but not least I wanted to add some detail to the outside of the piece. Since I’m showing a cutaway road segment, cutaway pipes would fit perfectly. Here I used the top of an old medicine bottle as the end of a large pipe. I’ve also mutilated several pens to create smaller pipes. They’ll also be painted when all is said and done.
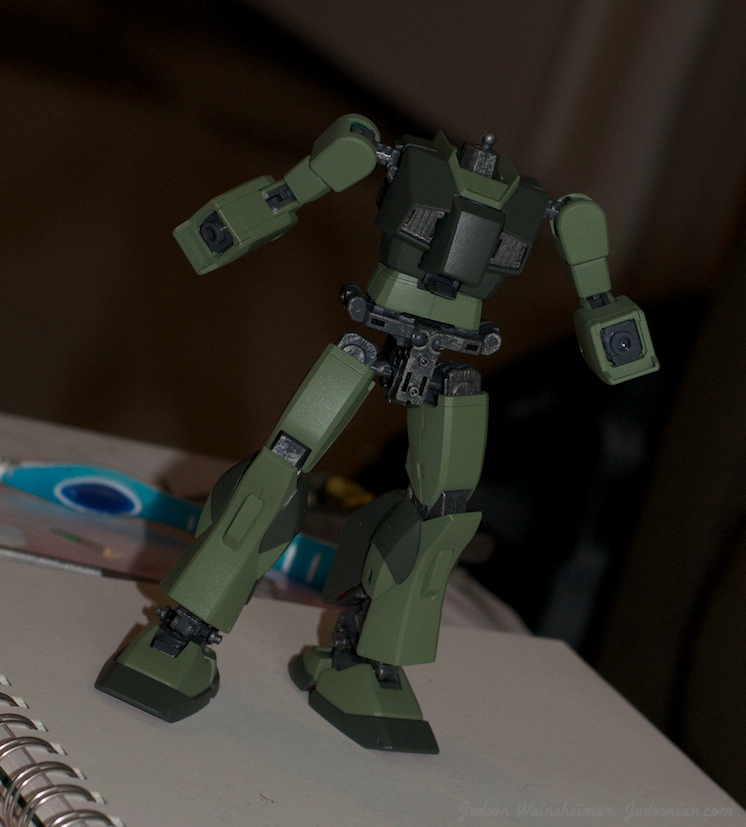
10/24/09 – A first glimpse at completion
Click to Enlarge
“Good… bad… I’m the guy with the gun.”

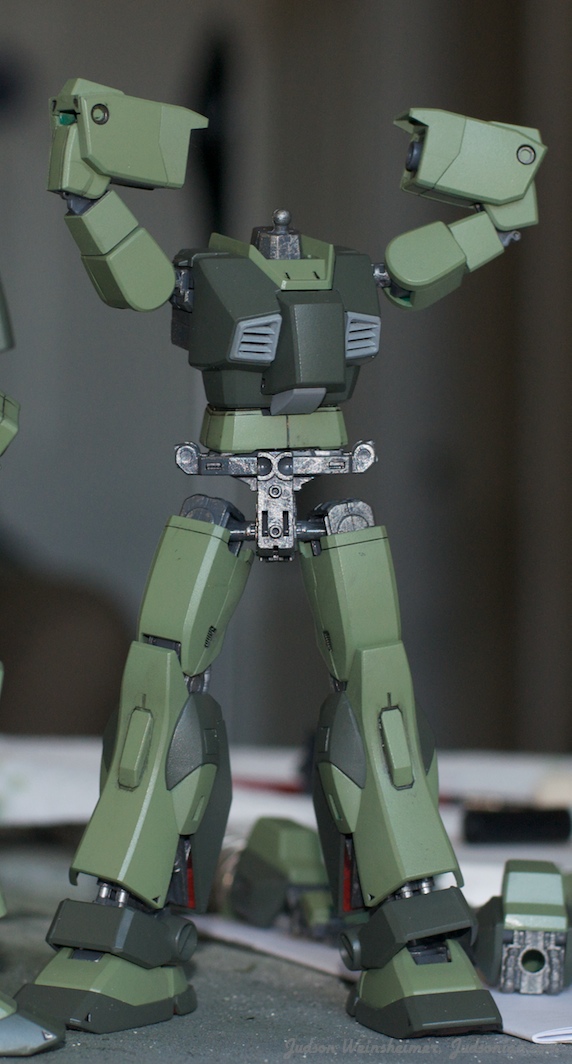
Click to Enlarge
“gaaaarrrrrrrr rr r”
10/26/09 – Almost there…
Minus a few finishing touches, here’s two Nemos. All of the little thumbnails link to version in the Night of the Living Nemo flickr gallery.
The Uninfected Nemo…
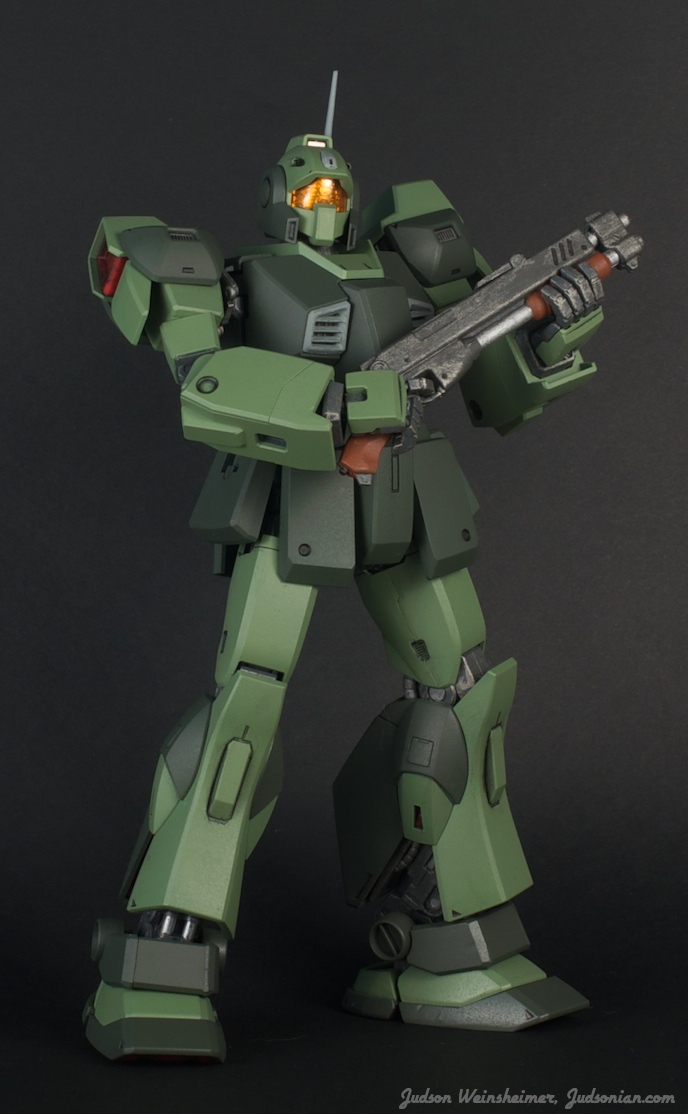
Click to Enlarge


Apparently he looks like the guy from box of the original Doom. And a lot like Master Chief.
Note the back of the Nemo. A little hidden treat that I don’t think showed up in any of my earlier photos. Early on I cut and melted some damage into his back because I wanted one of the Zombies to be ripping him to pieces. I took some old cables (that will never be used again, now) cut them up and glued them into place. As close as a Nemo is going to get to having his entrails spilling out.
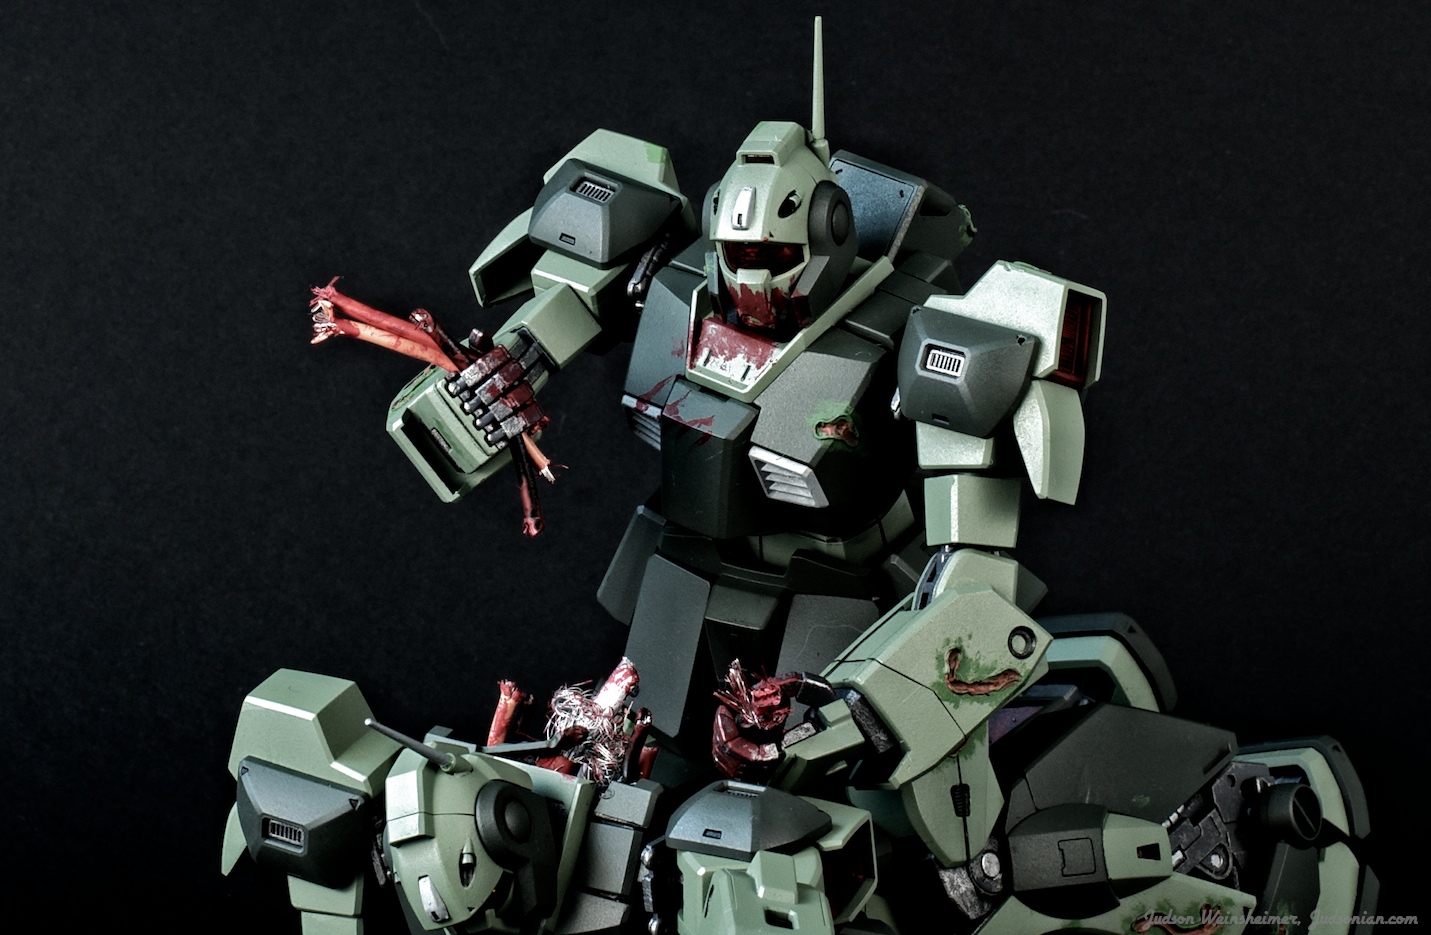
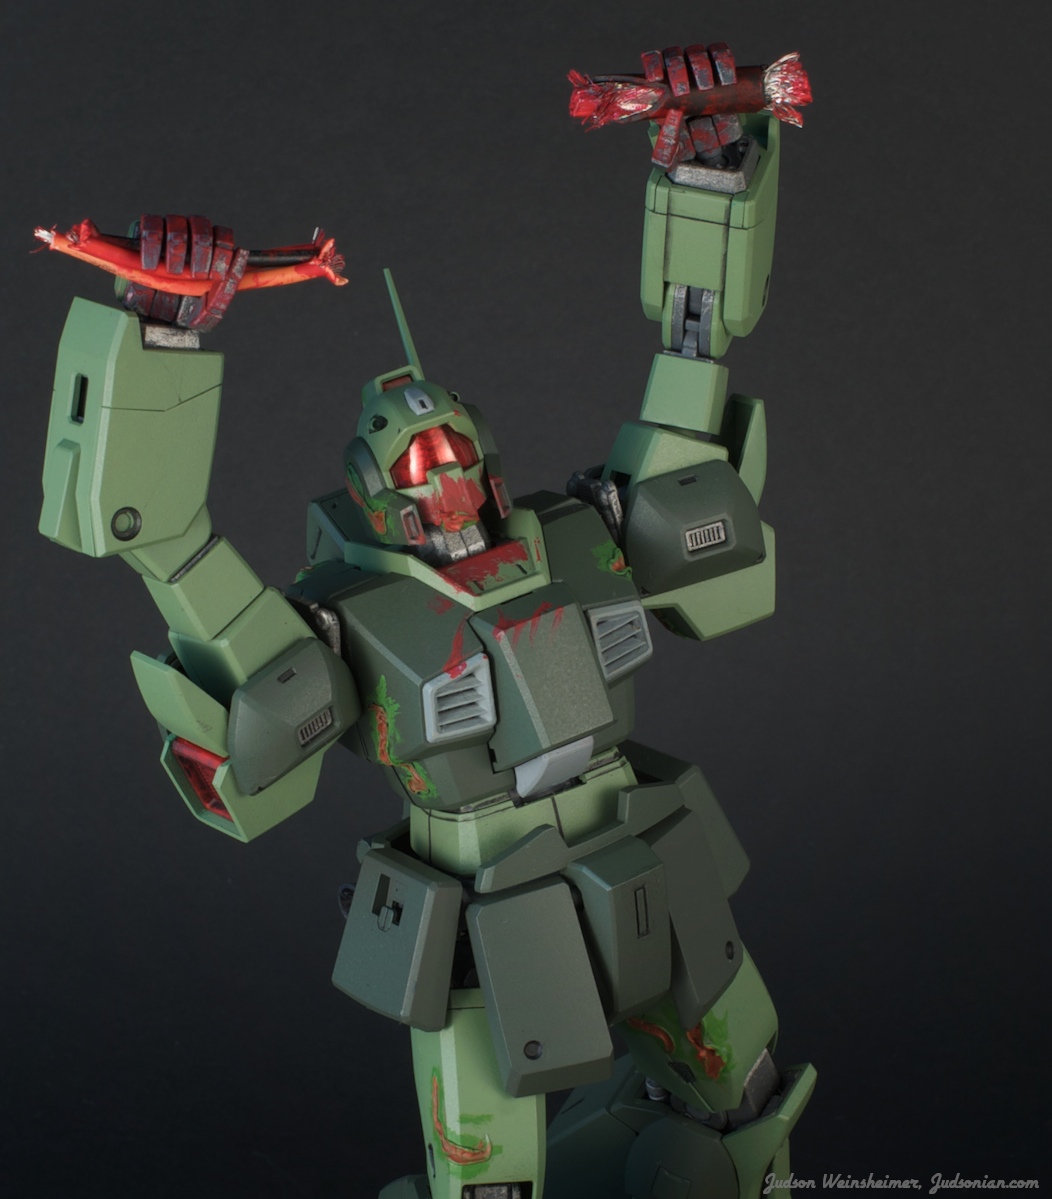
The Undead!
Here’s a look at the zombie fellow.

Click to Enlarge


10/27/09 Done at last! Sorta!
Two of the Nemos have finally been finished. The unfortunate victim and the undead finally grace the world…
Click for Full Size
Click for Full Size
Like my last update these link to the flickr gallery…


As a little treat, since my color scheme made it look like the Doom guy, I tried to replicate the pose,

Click to Enlarge
1/12/2011 – Now I’m done…. For a year at least…
Click to Enlarge | On Flickr
Ah, the zombie Nemo project has finally come to a close.
View the final shots here. Thanks for reading!