


Applying physical damage to a kit is extremely easy. The downside is that it’s the hardest addition to undo. Here are some popular, simple methods…
 Bullet Holes and Sword Wounds
There are a lot of heat weapons in Gundam. Lasers that burn through metal, swords that melt through shields. Creating that effect is easy. The plastic Bandai uses melts nicely under heat and cools quickly. I have yet to see any discoloring, burning, or warping of pieces outside of the effected area. I highly recommend getting a soldering iron for this task. Some people out there use a candle to heat up a nail. You can find inexpensive soldering irons for $10, money I don’t mind spending for the considerable safety benefit of not running around with a hot nail and open flame. Allow me to demonstrate how quickly soldering irons melt right through…
The ease that it cuts into the plastic is a double edged sword. The simplicity is hindered by the speed, it’s easy to do go too far if you’re not paying attention. I love how the plastic cools to the touch within a few seconds. This allows you examine your work and go at it for a second pass if need be. Adding bullet holes is just as easy…
What’s hard to tell in that previous video is that I marked where I wanted the holes to go before hand with a pencil. Had I intended to paint I would have used a marker. When you’re in the thick of things it’s easy to go overboard. Planning ahead of time will help keep you from going crazy. Adding beam slashes involved taking the tip of the iron and cutting along where you want a mark to be. This is sort of an issue for folks like me who have a difficulty drawing a straight line. I recommend jury rigging a setup so that the iron moves in a perfectly straight line. Once you’re done with your markings apply a little bit of paint to detail the area to your liking.
Scratches
Many use dry brushing to create the appearance of fine scratches. You can also create them physically by actually scratching the plastic. Some use a Dremel, I prefer to use the corner of my metal file. Simply score where and as deep as you like. To make it stand out apply some paint and wipe off any excess. Here’s how my MG ReZEL looked after it was attacked with a soldering iron and file…
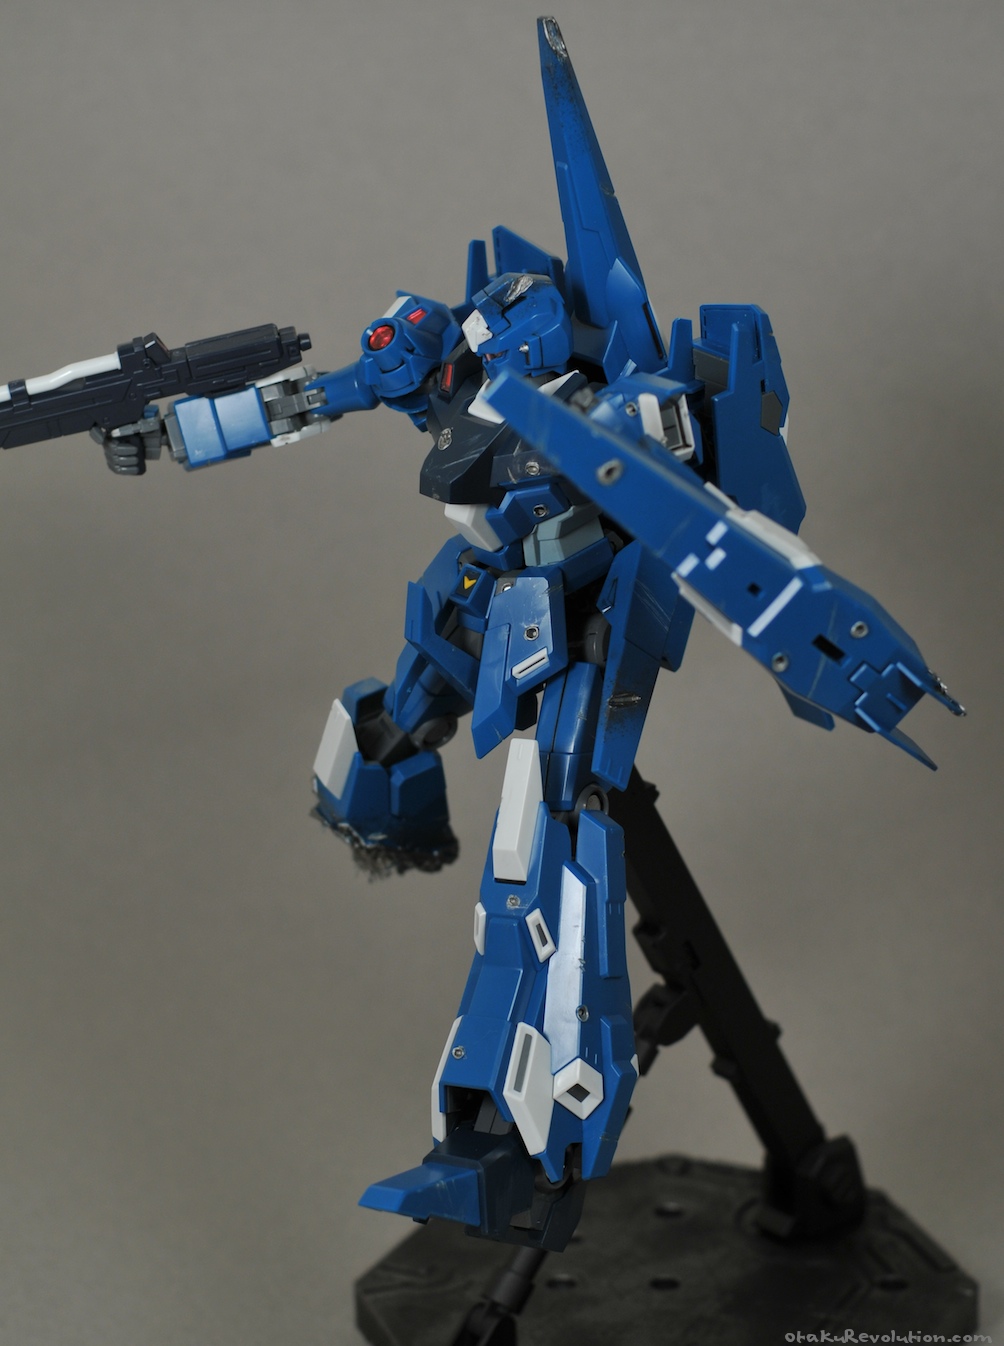
Click to Enlarge | On Flickr