Another revamp in progress! New stuff at top, old at the bottom.
The further into the hobby you get the more and more odd tools and bits of equipment get picked up. This is a partial list of some of the miscellaneous equipment I’ve used here and there for the years. It’s not a comprehensive list by any means but may help stir some brain cells. Note that these are items you will not need for a basic build, paint, or detail only project.
Large Cutters
Have a pair of large cutters laying around? They’re no good for removing pieces from runners but are great for taking apart runners. If you strip down a length of runner it will make a good paint stir or even a support when you paint a piece. Some kits feature extra or unused pieces. One option for storing them is to trim down the runner and only save where pieces remain. Sure, you can do that with your regular nippers, but larger cutters make the task easier.
Dremel
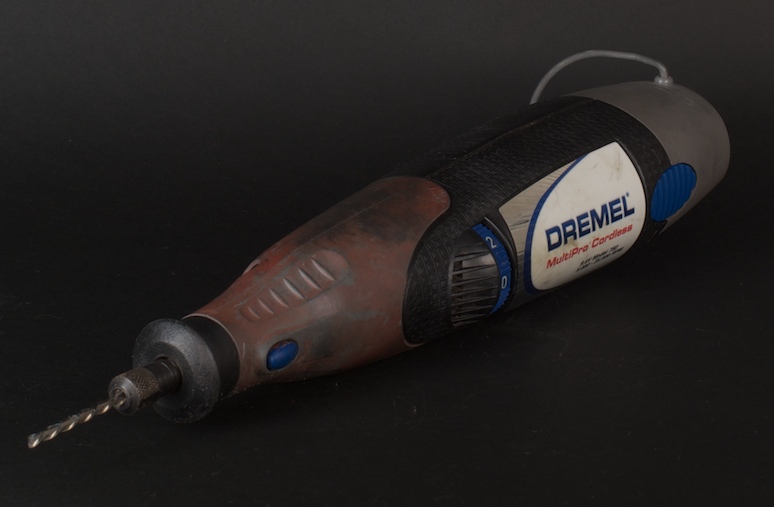
A Dremel is one of those tools that can lead you into trouble quick. It’s easy enough to drill or cut a hole using manual tools but when you pull out a Dremel you’ll be done in no time. Using a Dremel is recommended for advanced or adventurous builders only, it’s easy to mess up a kit when the power tools come out. Also, make sure to follow the Dremel’s safety instructions during use!
Leftover Jars or Tupperware
Leftover jars (think empty salsa jar) and tupperware containers make for great organizers. If I’m working on a large kit and only painting portions at a time I’ll leave the rest in a sealed container. This will help prevent the loss of a piece and make it easier to go from paint colour to the next without having to recall how you separated the pieces out in the first place. If I have a lot of loose pieces leftover after finishing a kit, or between straight build and panting, I will store them in containers as well.
Jars make it easy to organize and store tools such as markers and paint brushes or store toothpicks and poster putty.
Soldering Iron
Click to Enlarge
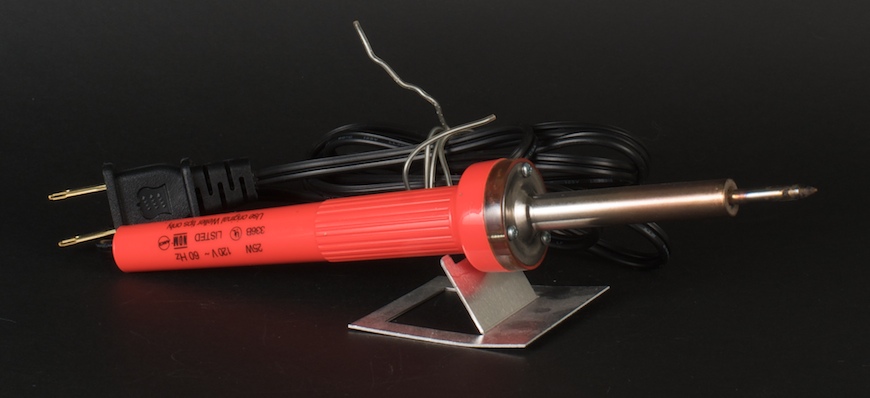
Soldering irons are fantastic at melting plastic. As such they can create fantastic looking damage effects. Since a cheap iron can run as low as $10 it’s a hard investment to pass up for someone wanting to make a battle damaged kit. Just be careful when using on. It’s really easy to take off too much plastic or burn all the way through a piece. It’s best to try it out on some junk pieces first. For more information, check out our section on Battle Damage.
Glue
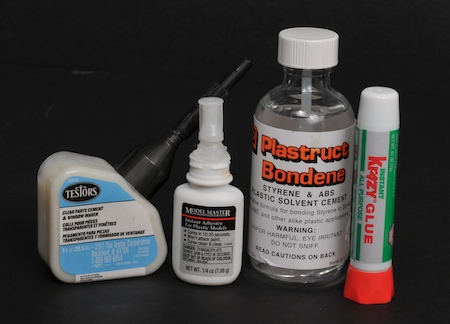
Inevitably you will encounter a v-fin that won’t stay on or accidentally break a piece. You don’t really need a huge tube of modeling glue so I like to use a little Super Glue (or in this case, Krazy Glue). A warning though, Super Glue can cause fogging on some surfaces. Glues made for modeling are designed not to fog though they don’t always operate as advertised. In addition there are forms of plastic cement out there that essentially melt plastic pieces together. Very effective, but very dangerous.
For more informaton check out the Guide to Glue!
 Stronger Clippers
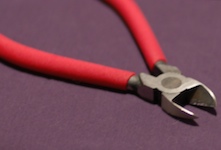
What you see above is your standard set of wire cutters. When it comes to working on Gunpla, I’ve only used these once or twice. That’s when I wanted to cut up runners into different sections for pre-paint. They will make short work of runners without having to worry about messing up your regular pair of clippers.
 Dremel
Click to Enlarge
A full writeup on all the trouble you could get into with this guy is coming soon.
 Large Jars
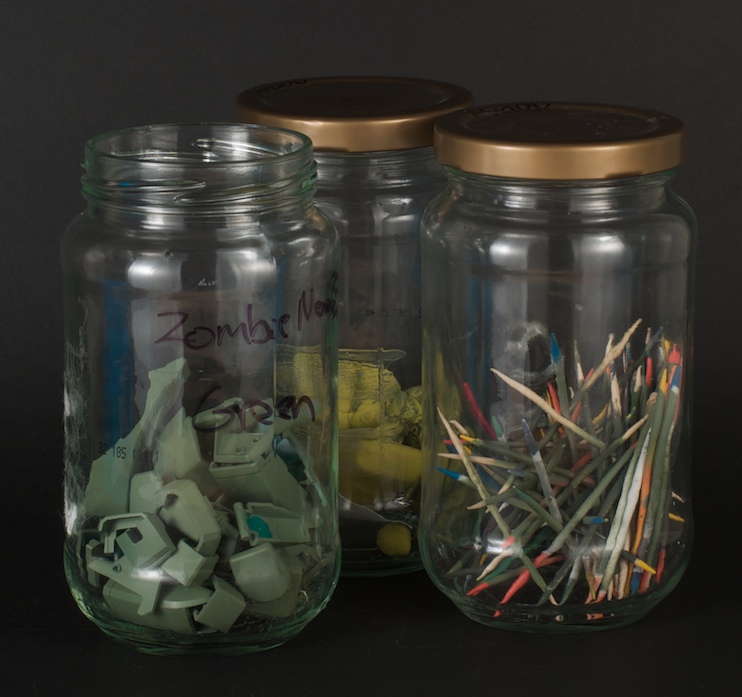
Click to Enlarge
I love to make spaghetti so sauce jars are always left over. After a good cleaning they make handy little containers to store parts. Tape & a marker make quick label. Sure there are much better management solutions out there but this is me being cheap.
 Larger Paint Jars
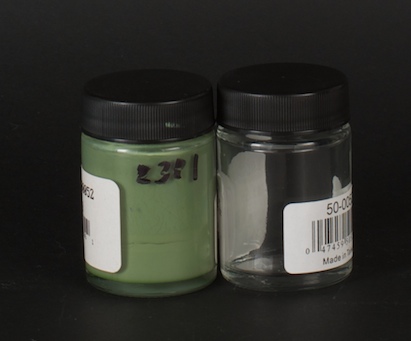
Click to Enlarge
There’s another word I’m looking for here, not jars, but it escapes my mind. Regardless, I like larger jars for mixing paint in. Plus large quantities of mixture helps ensure I won’t run out.
 Milliput
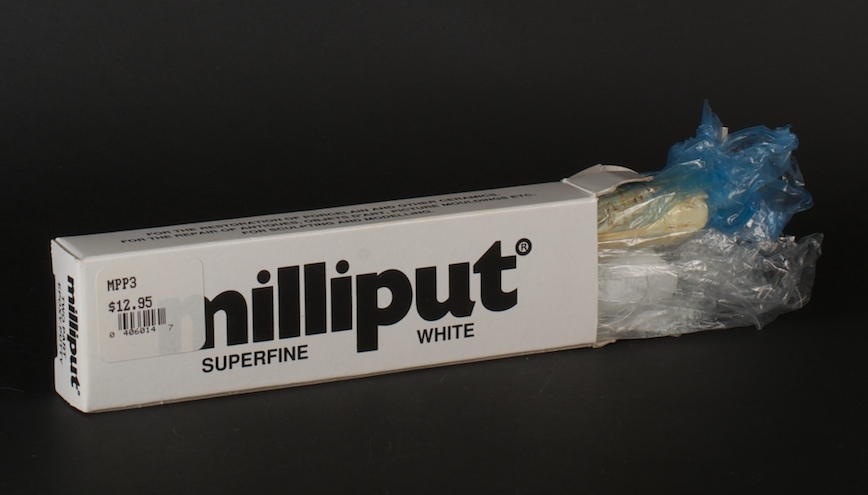
Click to Enlarge
Milliput is an epoxy putty that comes in several shades. There are two tubes of material that when mixed dry solid as a rock after a day or so. It’s great for modifying a kit, such as filling in a gap. After it drys it can be sanded and painted.
 Soldering Iron

Click to Enlarge
Soldering irons are fantastic at melting plastic. As such they can create fantastic looking damage effects. Since a cheap iron can run as low as $10 it’s a hard investment to pass up for someone wanting to make a battle damaged kit. Just be careful when using on. It’s really easy to take off too much plastic or burn all the way through a piece. It’s best to try it out on some junk pieces first. For more information, check out our section on Battle Damage.


