


For awhile I tried the simple approach to painting gunpla by using spray cans. It’s certainly easier than air brushing since there’s no mixing of paints or equipment cleanup afterward. Truth be told, it’s possible to achieve great results. Take a look at my MG Nu for example. Unfortunately, there are some negative trade offs vs. using an air brush.
Paint Thickness
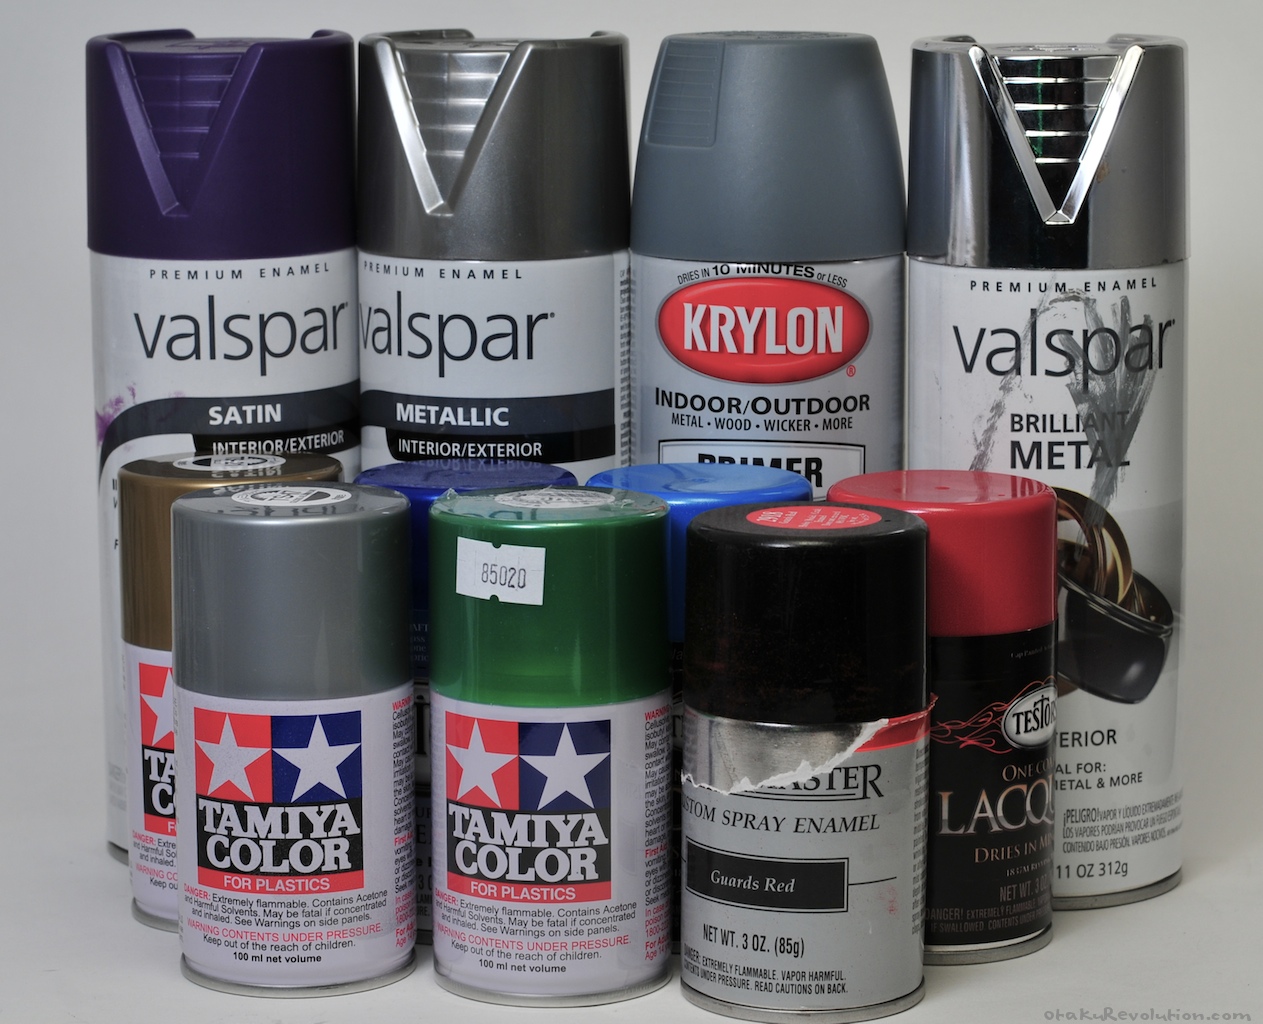
In general, a layer of spray paint is going to be thicker than a layer from an air brush. In most cases, this isn’t an issue until you start applying multiple coats over intricate details. Small details can, in a sense, be washed out. Note that connection points between pieces may not fit as easily with extra layers of paint. Also note that not all cans have the same density. Thus far, I’ve found out that Tamiya’s lacquers apply thinner than the Testors enamels. A matter of paint type perhaps? But even then I’ve had different results with between Testors colors.
Control
Compared to an airbrush, the diameter of spray from a can is larger. This means you can cover a larger piece more effectively to the disadvantage of smaller pieces. The can’s rate of flow is generally higher and combined with the thicker paint, will result in areas of uneven thickness. The negative results you could end up with depends on the paint. Sometimes it will hardly be noticeable. In other instances, such as metallic paints, blotching or tonal differentiation may occur. It’s easily enough to neglect this issue by spraying from a distance while moving over the piece. As with using an airbrush, never stop or start painting on the piece. This is where impatience bites me in the ass. It’s much easier to find yourself with dripping or pooling when using spray cans.
Cost
While the cost of an airbrush and compressor might be a deterrent early on, for many the continual use of cans adds up quickly. A 3oz can could run anywhere between $4 and $8. While it’s more paint than those half ounce jars, the amount of overspray from the diameter can result in more usage. The price of spray could be an advantage though, should you shop at a home improvement store. I’ve found that off the shelf cans of spray paint can sometimes do just as well as a specialty paints. A can four times the size could cost you less than something from your hobby shop. A word of warning though, I take no responsibility of it goes horribly south. Always test or accept the risks. The benefit of using Tamiya or Testors is that they’re made for this sort of thing.