


Dry brushing is an extremely simple and easy way to add scratch marks around your kit or depth to its internal frame. What makes the process easy is that you only need a brush and some paint. What makes the process special is that you’re applying the paint when it’s nearly dry. This allows for only a little bit of paint to be applied at a time and in thinner, narrower streaks than you’d get with regularly applied paint.
Dry Brushing the Internal Frame
The only equipment you need for this method is stiff bristled brush, some paint, and paper whose color contrasts with the paint you’re using. I like to use an old toothbrush and save myself the trouble of buying a brush just for this purpose.
The entire process is quite simple,
- Apply a little bit of paint to the end of your brush. You don’t want to saturate the brush.
- Lightly brush the paper until only a small amount of paint transfers. You only want to apply light amounts of paint to the kit and this step will help prevent you from over-saturating your surface. A contrasting color of paper helps you better see the paint (eg. white paint on white paper would be hard to see). Paper towels work as well, and will soak up the moisture in the paint better, but I prefer the mark visualization that a bit of paper provides.

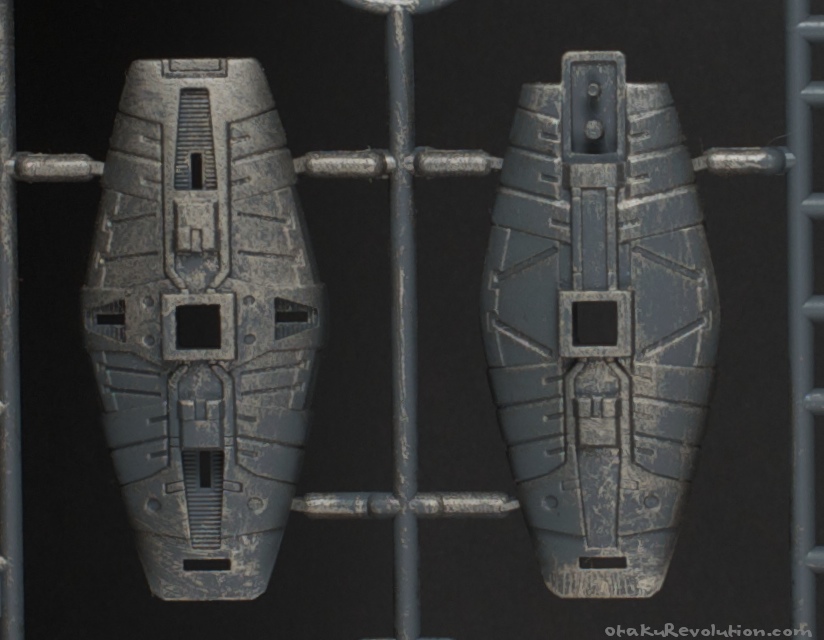
Click to Enlarge - Brush the plastic in light strokes, repeat as necessary. Personally, I like to do a few light coats and avoid the risk of applying too much paint all at once. How much paint you apply is entirely up to you and the effect you’re trying to achieve. Here’s an example of a piece after some dry brushing and a dull coat to protect it…
Click to Enlarge
The one on the left has a pass or two more of paint. It looks even better if you apply some touch ups beforehand…
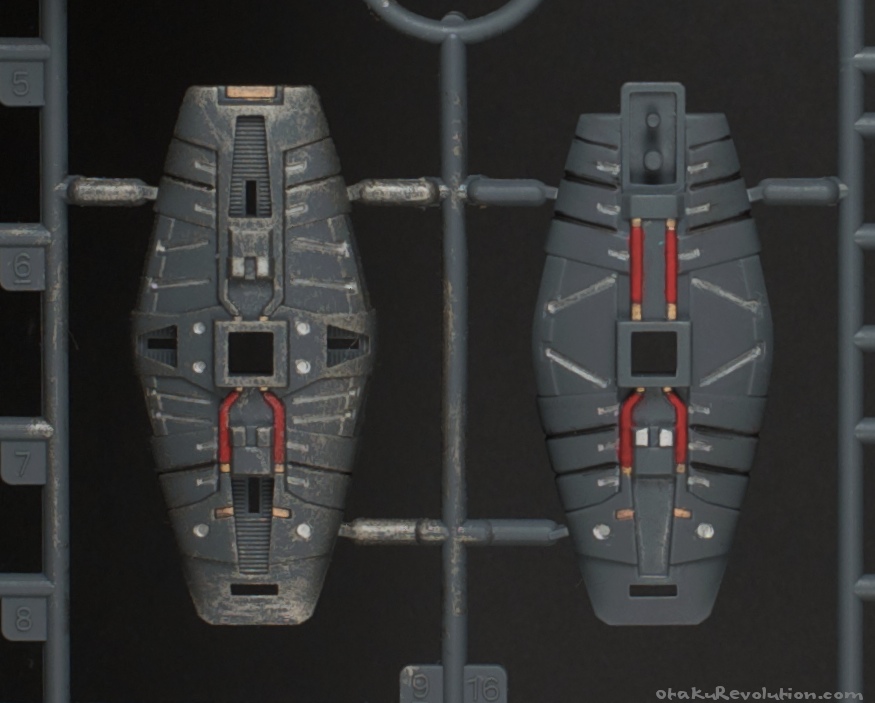
Click to Enlarge
Note that I detailed and dry brushed these on the runner just for example purposes. Under normal circumstances I would do parts individually. If you were in a hurry you could do sections of a kit at at a a time (shin, foot, torso, that sort of thing). Doing a whole limb is not recommended as you’d miss out on areas covered and exposed by articulation.
Small Details
If you’re going to apply scratches to the external frame going with something as a tooth brush isn’t such a good idea. Subtle is usually name of the game. In this scenario grab a thinner brush, one with stiff bristles if you’ve got it. Using the above method apply like marks here and there. While an inner frame is user more apt to receive silver marks, outer armor pieces can better benefit from duller shades of gray, black, or other contrasting colours.
Besure to plan out the markings beforehand, it’s easy to get carried away with dry brushing. These kinds of details tend to follow the the outer edge of a piece, raised edge, or friction points.