


Some people like their kits nice, clean, and pristine, Others like them looking like they just got kicked down a hill. Weathering can add detail from the subtle to the extreme depending on your preferences. The best part is that it’s extremely easy (and cheap) to do. It’s also a lot of fun. There are many different ways to weather a kit. Here are just a few.
 Distressing Decals
It stands to reason that if your gunpla is getting worn down, so would the markings. This part’s easy. After you’ve fully applied your decals, simply scratch away with a toothpick. I think it adds character.
Dry Brushing
Dry brushing is the perhaps the most prominent and useful weathering method out there. Proper application can result in effects ranging from heavy scratches to subtle shadowing. It has it’s own page on the guide which I suggest you check out first. The basic tenant of multiple, light coats, is very important when it comes to weathering. It’s easy to go overboard, and depending on what tools you’re using, it’s hard to reset. I suggest doing a little bit at a time until you reach the stage you’re looking for.
Chipped Paint
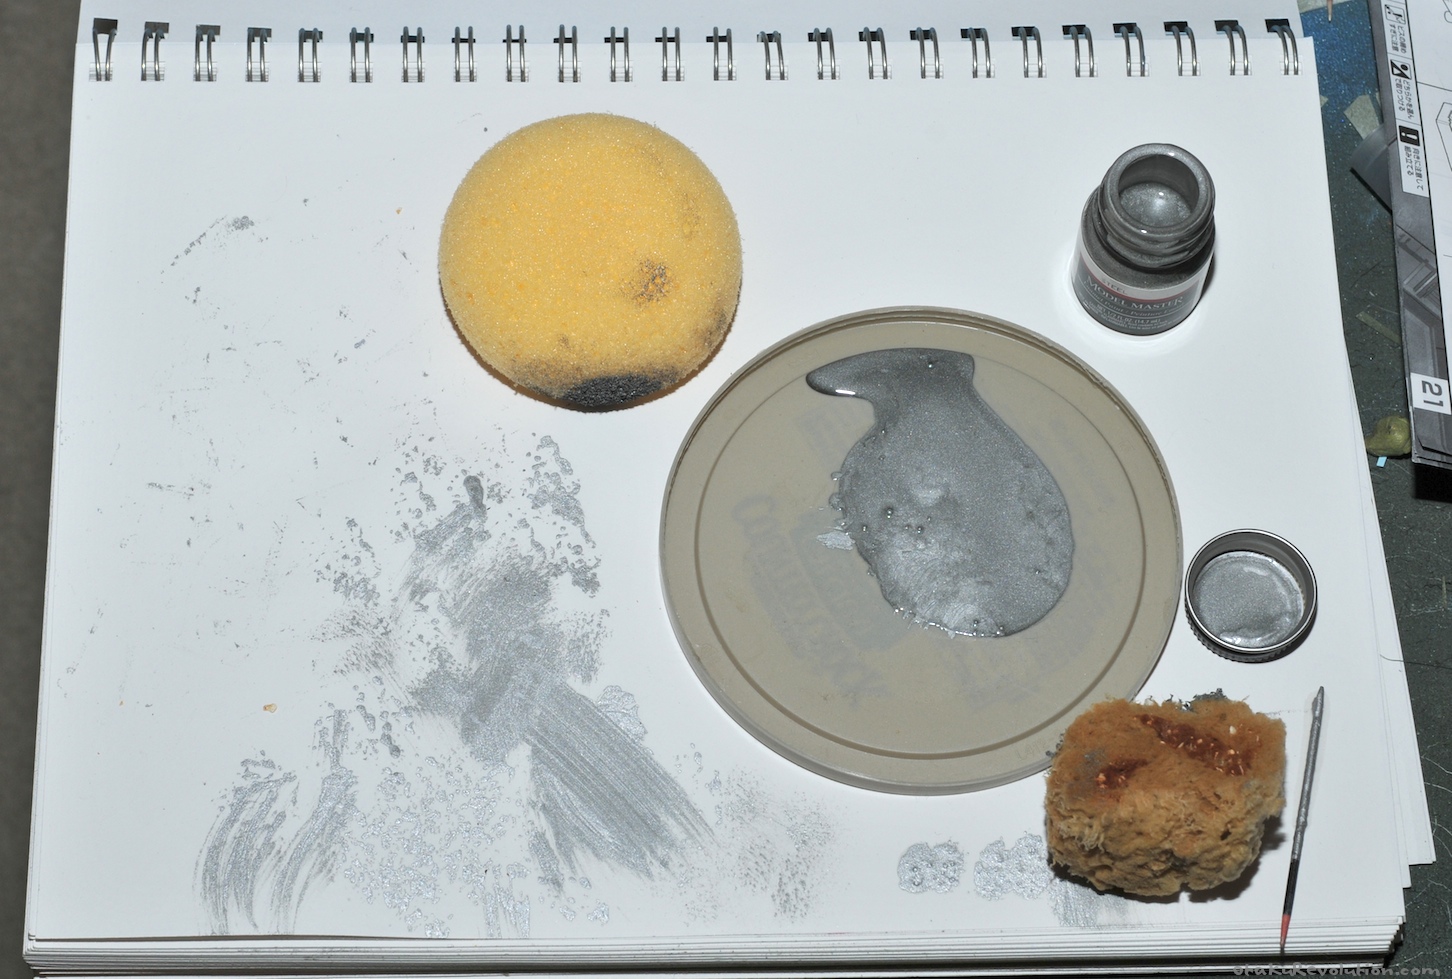
Nothing lets people know your mobile suit’s been through hell like chipped up paint job. As I understand it there are two main ways to achieve this effect. While I’ve never tried it, the first requires a bit of work but seems to produce more realistic looking effects. The premise is simple, start with an underlying base coat, perhaps a rust or bare metal colored paint. After it has thoroughly dried coat the surface with some hair spray and allow it to dry. Now paint the kit with your exterior color of choice. Once that has dried you can go to town with a wet, stiff bristled brush or toothpick. You’ll begin to chip away the outer paint revealing the bottom layer. You can read a bit more about the technique here. The results look stunning. A tad too much work for a lazy man like myself though. I like to use a sponge. It’s quick, easy, and will only cost you next to nothing.
Click to Enlarge
Besides your regular assortment of modeling equipment you’ll need some sponges. You can pick up a small pack of water coloring sponges at your local Michaels for $3. The pack I picked up came with a mix of fine and coarse pored sponges. Depending on which type of sponge you use the results will be different. The one with fine pores will produce small dots while the coarse will produce a larger chip effect. For your weathering pleasure, a comparison. The fine pored sponge…

Click to Enlarge
And the coarse sponge…

Click to Enlarge
Whichever you use the process is the same. Simply dab your sponge into some paint, and akin to dry brushing, dab it on some paper. When you reach an output you like (such as heavy or light spotting) simply dab your kit. Also akin to dry brushing, try and apply little amounts here and there until you reach the constancy you’re looking for. It’s very easy to go overboard. It’s very important to dab your kit with the same pressure as when you dabbed the paper. Remember, sponges will soak up paint, so if you essentially squeeze harder against your kit, it will result in more paint transferred. The upside to using a sponge is if you apply to much you can simply wipe up the area with a clean part of the same sponge. My first attempt using the sponge method was pretty successfully. My Ez-8 went from…
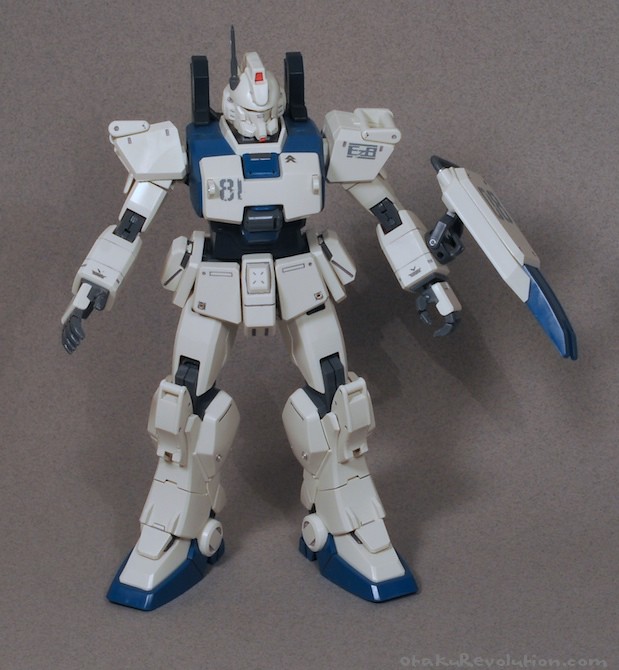
Click to Enlarge | On Flickr
…to…

Click to Enlarge | On Flickr
Not bad, huh? (hurray for forgetting to set the white balance)
Gundam Weathering Markers
[Note to Self – Image of Gundam Weathering Markers]
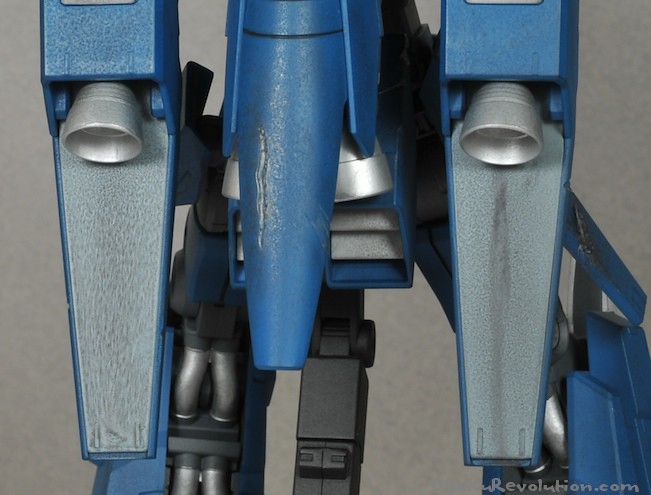
Gundam markers are new to me and I haven’t had much of an opportunity to really dive into their best use. Until then I’m going to explain how I recently used on my Ez-8 and await someone to tell me I did it wrong. 😉 Gundam Weathering Markers are available individually and in a set of six different colors. They can provide a really easy and inexpensive way to dirty up a kit. It’s even easier than the sponge technique detailed above. For my Ez-8 I simply applied a dab or line from the marker on my kit, waited a few seconds for it to dry, and wiped it off with my finger. The longer the mark has to sit and dry the more residue will be left when you wipe. If you apply too much you can wipe it away while leaving hardly a trace. I started off by using some q-tips, then paper towels, before just using my fingers. I found that they wiped away too much and I couldn’t achieve the look I was going for. I imagine that on a lightly weathered kit they would leave just enough behind. Using my fingers was just a lot easier, and a lot more fun. The best part is that after a little bit I had enough residue on my thumb that I could just wipe in certain areas to dirty it up. It also made controlling how much was left a lot easier. Think of it as finger painting. Of course, as it everything else on this page, take it a little bit at a time. What’s nice about this method, vs using paint, is that the Weathering Markers, even when dry, wipe up with water. I’ll be giving it another, more subtle, go later on and will update this section appropriately. Until then, any tricks, tips, or observations from your own experience are more than appreciated. As for that Ez-8 I mentioned, before…
Click to Enlarge | On Flickr
…and after…

Click to Enlarge | On Flickr
You can see more pictures of this guy here.
Pastel Weathering
Pastel weathering is a common method used by modelers across the field. It’s easier than using Gundam Markers and you can pick up everything you need at local craft stores. Some of which you probably have laying around…

Click to Enlarge
– Dull Coat (Recommendations Below) – Oil Free Pastels (color of weathering choice) – Hobby knife – Disposable Dish (I used a top from an old plastic container. Pick something that you don’t mind getting dirty, and staying dirty.) – Stiff bristled brush (many use older brushes with the top 2/3 cut off) – Recommended by not necessary, gloves The over all process is very simple. As with all weathering methods I stress doing a little at a time. It’s easy to go overboard, harder to reset. Step 1 – Give your kit a good dull coat. Pastels don’t stick very well to a smooth surface. Applying a dull coat now will allow it to better stick to the kit. Step 2 – Shave some of the pastels off into your dish with a hobby knife. Depending on your creativity you can mix and match different pastel colors to achieve different shades. Step 3 – Using your brush dab a little bit into the pastel shavings then dab onto your kit. Technique here is important, something I haven’t developed yet. Some people dab it where necessary, others brush it on. As with painting, the more you have on the brush the more goes on the kit. Step 4 – Depending how much you had on your brush loose particles may have fallen on other parts of the kit. As long as you didn’t press them into the kit accidentally or with a brush they should just blow off. For kits where you don’t mind a dirty look all around, brush it off with a large headed brush. Step 5 – Apply another layer of dull coat to seal in the pastels. Here’s where I’ve had most of my troubles. On my initial kit I used Testors’ Dull Cote which sucked up all the pastels and left a horrid mess. It looked akin to a dusty car getting caught in a quick rainfall. It just soaked up and essentially beaded all the pastels. The second time around I used Mr. Clear Flat which did a good job. As always light, even coats from a distance. No matter what the product applying a lot, up close, will cause it to run. An example of the damage done…
Click to Enlarge | On Flickr
The left side is what happens when you apply too much. The right is how my kit looked after being hit with Testors. Step 6 – Repeat as needed. If your kit isn’t dirty enough, go at it again. Some people are able to layer for fantastic effects. My ReZEL is an example (albeit too much) pastel weathering.
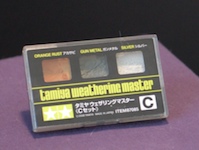
Tamiya Weathering Sets
Battle Damage
I decided to give battle damage its own page, check it out!