


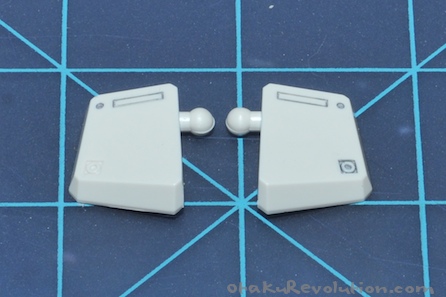
Seen these before?
Click to Enlarge
They’re little thruster nozzles found on a lot of older kits. Most of the time they get a little lining and are left alone. A shame because with a little effort they can add great detail to a kit. It’s probably one of the oldest tricks in the book but I don’t see it that often. Maybe it’s because newer kits don’t feature these as prevalently, maybe it’s because fallen out of style or out of mind. All I know is that it looks great, is very inexpensive, and it’s really easy to do. All it takes besides your usual tools are some round IC sockets and a screwdriver.
Click to Enlarge
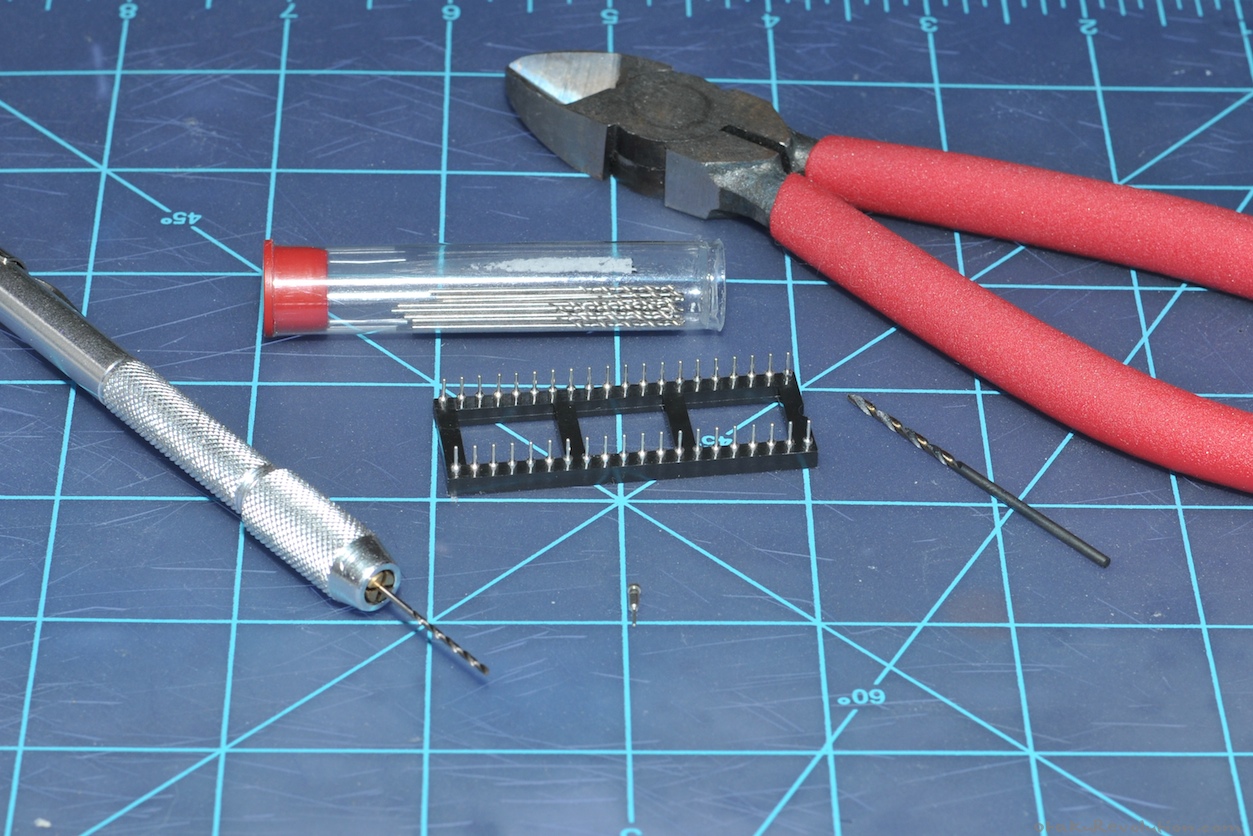
Pictured above is everything thing you need, except for glue, which I forgot to include in the shot. Some of those round IC sockets I mentioned, a pair of heavy clippers, and some drill bits and driver. The most important bit you’ll need is a 1/16 which comes with a lot of driver sets. A smaller one, while not exactly necessary, helps out a lot. The round IC sockets are really cheap, you can get 40+ on eBay for less than $5. A bit of warning though, careful when ordering from suppliers in China. Unlike my decals from Samuel Decal shipping took ages and my first build with these guys was delayed by a few weeks.
 Step 1: Removal

Click to Enlarge
Start by removing the sockets from the plastic runner. The plastic my runners were encased in is rather hard so I chose to use my heavy wire cutters instead of risking my normal plastic snips. Be careful, because as you snip parts will go flying. I recommend placing the cutters in a good position and placing a hand over the piece during the snip to control debris.
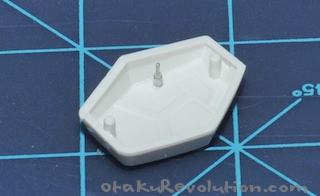
Step 2: Drilling
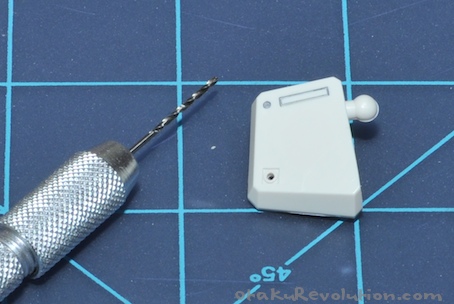
Once you have your loose sockets in hand it’s time to drill the kit. I like to start of with one of my smaller bits and create a nice pilot hole in the center of the thruster.
Click to Enlarge
This helps provide a center point when you make a larger hole with the 1/16 bit. You could probably skip the pilot and go straight to the 1/16 but you’ll need more patience and steadier hands than I have to get things centered properly. The end result is a slightly larger hole…

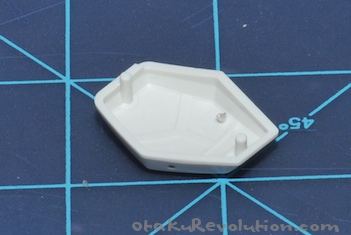
Click to Enlarge
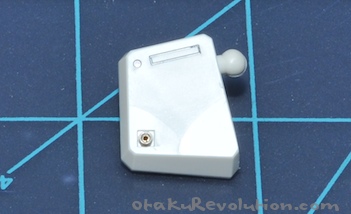
You’ll now notice that the socket fits in perfectly…
Click to Enlarge
Step 3: Everything Else
Before finally attaching the socket now is the time to paint your kit and finish all of the details. It’s also the best time to do the any detail lines around where the socket will go.
Step 4: Final Attachment
Attaching the sockets once and for all is simple. Place a dab of glue on the rear of the piece and insert the socket from the front. Let the glue dry. If you did it right piece will be held in place without any glue seepage on the front.
Click to Enlarge
Now to deal with the rest of the socket. Simply take your clippers from before, get as close as you can to the plastic, and make a quick snip. Again, watch out, the snipped piece may go flying.
Click to Enlarge
There will be a little left on the inside but I have yet run into an instance where there’s enough to keep the piece from fitting properly. There are probably better ways to do this but it’s the easiest and most effective I’ve tried. Cutting the socket before hand is really difficult. Attempting to snip the socket ahead of time will squeeze the ends and prevent it from fitting through your nice hole.
Step 5: You’re Done!
Congratulations, you’ve just added some awesome detail to your kit! Here’s how my Ez-8 Gundam looks with IC sockets in all the nozzle spots…
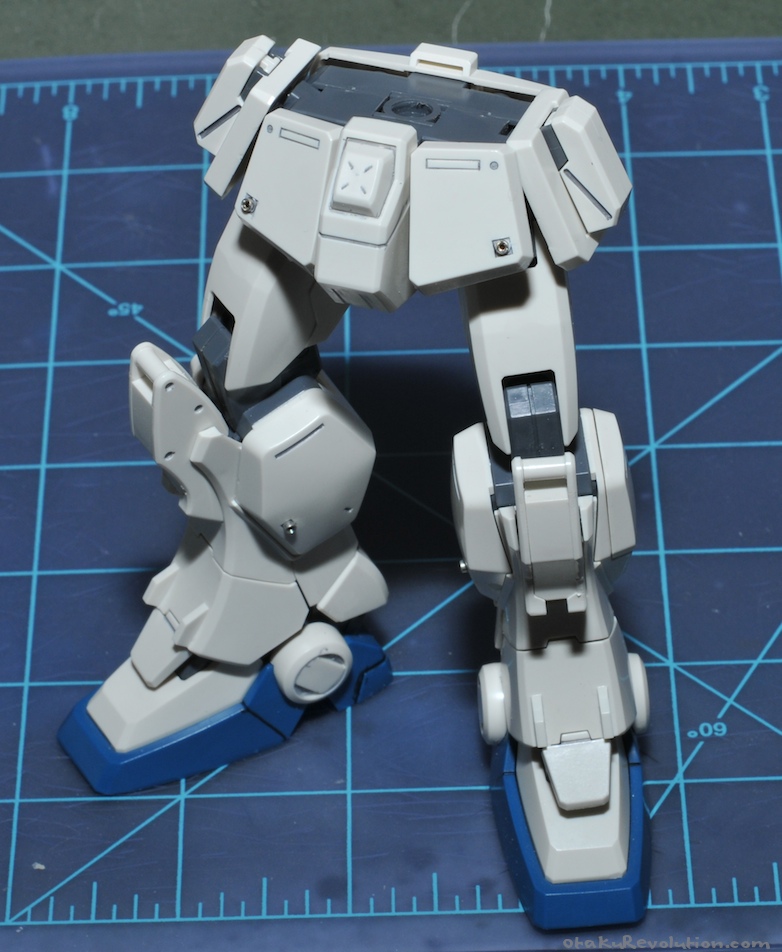
Click to Enlarge
Now you don’t need to restrain yourself to only using these where there is preexisting nozzle detail. With a bit of planning you could put these anywhere on your kit.
Using IC Sockets with Thrusters
Another cool trick with those IC sockets is to glue them into the thrusters of your kit. Take a look at how they look on my MG Nu…
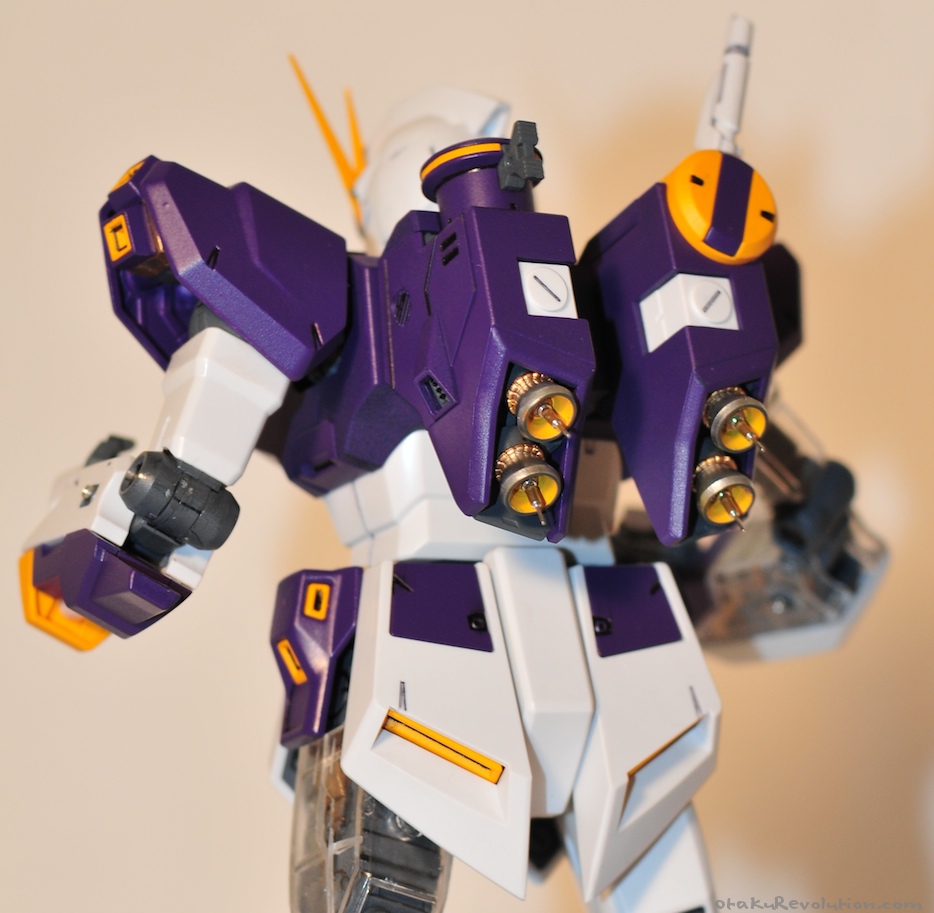
Click to Enlarge | On Flickr
Simply dab some glue on the wide end and place it in the thruster. You’ll need to hold it in place for a little bit until the glue dries enough to let go without it falling out of center.