
Click to Enlarge
Welcome to my review of Bandai’s Master Grade Victory Gundam, Ver. Ka. Since this isn’t a straight build I’ve broken up my review into two segments. The first talking about the kit itself and the second a review of my design and paint choices.
Note that for some images in my review I use images from dalong.net’s review. Let’s just say I’m too frustrated/lazy to transform and photograph.
 The Kit
The Victory Gundam is one of my favorite Gundams from a design perspective. To me its simple design and functionality are more aesthetic than anything from SEED or 00.
When the kit was announced there was a small deal of controversy stemming from Hajime Katoki’s design adjustments, mainly the chunkier legs. I really don’t have a problem with the change and didn’t get the random outrage. If anything people should be annoyed at his continual use of over-the-top red decals. Especially on such a small kit. Below is a size comparison to the MG MK-II…

Click to Enlarge
Okay, I jest, that’s really the PG MK-II. Since it’s one of the smallest Gundams the kit measures around 14.5cm in height.
The MG Victory is one of the first kits to be released with optional clear parts to celebrate the 30th anniversary of gunpla. The optional clear parts can be used as an alternative to the blue parts which are all on a single runner.
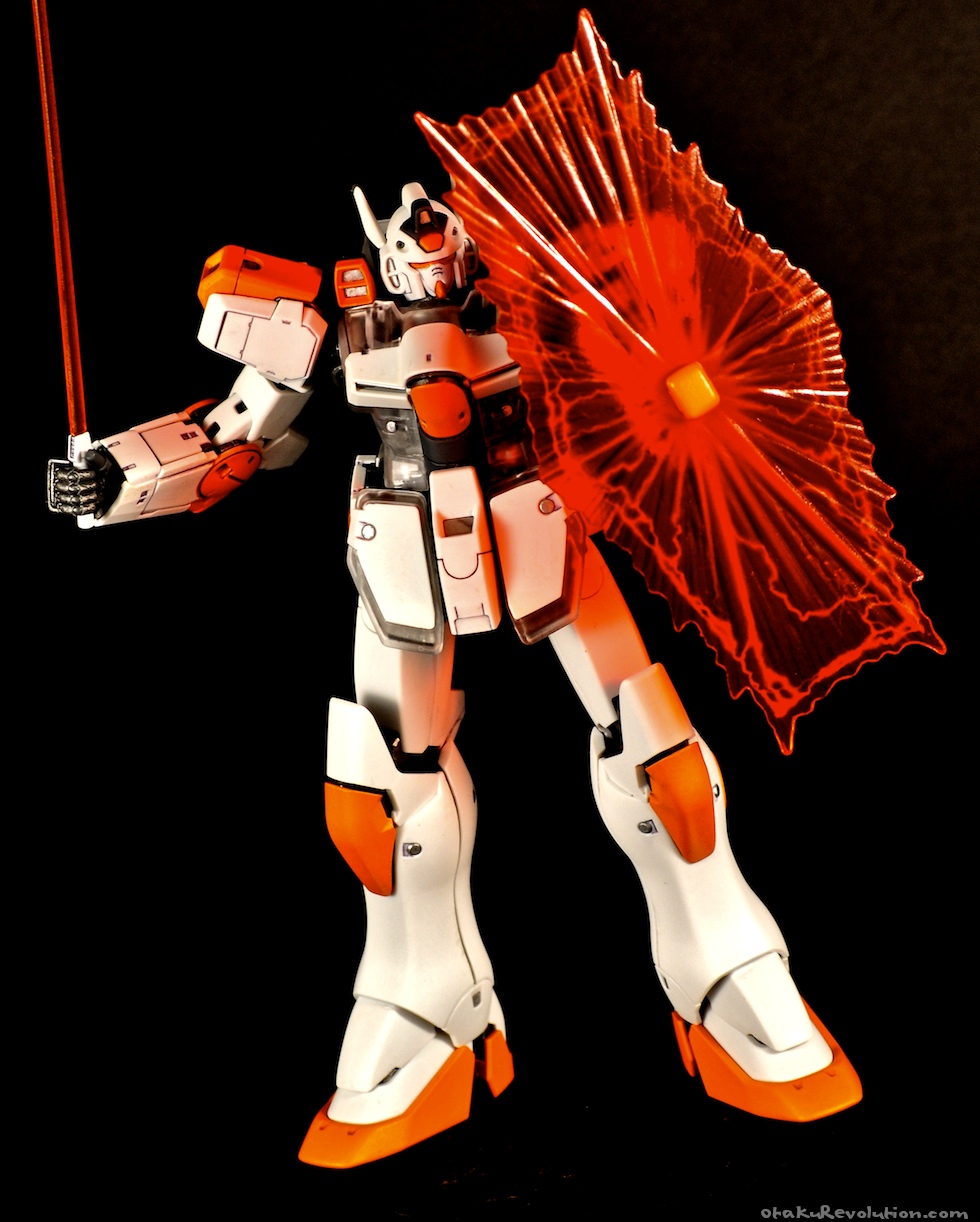
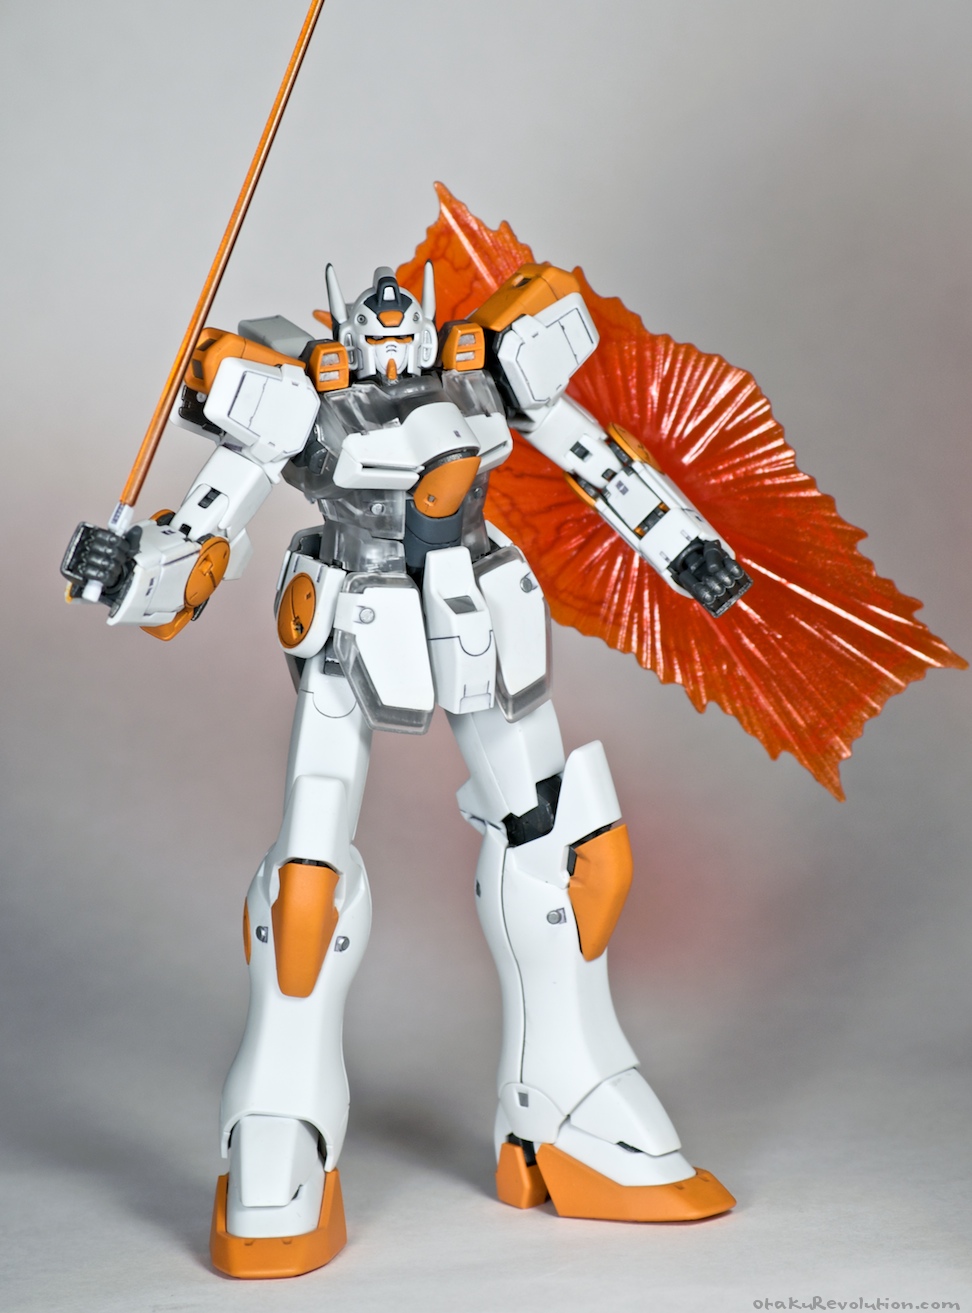
This kit comes with the standard weapon armament of previous Victory kits: swords, gun, fan sword, and shield. For the master grade kit the shield is considerably more detailed with a reflective finish a-la the Destiny Burst kit. One downside I should note is that unlike the animated version the gun can’t attach to any of the model’s hard points.
Screw Transformations
Somewhere along the line I was given the impression that transforming gunpla were a terrible idea. I’ve heard poor things about the MG and PG Zetas and even the recent Macross Frontier kits. As far as I’m concerned if you can make a kit that transforms, without violating it’s normal structural integrity and poseability – go ahead. The MG Victory does that… almost.
Anyone who’s seen the series knows that Victory is constructed of three main parts, the core fighter with head, the arms, and the legs. They often fly around waiting for the right opportunity to combine and form Voltron… err Victory. Thanks to some clever engineering the master grade is able to do the same. Surprisingly, uniting the parts is easy and the connections are quite strong. Only minor problems come into play around the hip and neck regions.
Click to Enlarge
When the core fighter prepares to join up with the rest of the body the cockpit slides back while the head and neck slide upward. The kit uses two tracks in which the pieces slide along. The problem is that the head and neck don’t have any locking mechanism when going up. A minor nuisance at best but it makes things tricky when you’re dealing with the small size and potentially fragile head. That’s why the kit comes with a second, more elastic pair of V-fins.
Click to Enlarge
The hip can be more troublesome since it splits down the middle. They only lock together at the bottom via small clips that can move independently of each other. During posing this area came undone. I imagine with each use they wear down a little bit more.
These small complaints are a mere segue into the kit’s all to glaring issue, the hip joints.
FFFFUUUU
Arguably the most important component of any kit are the hip joints. MG Victory’s engineers completely forgot about this and gave the hip the worst joints on the entire kit.
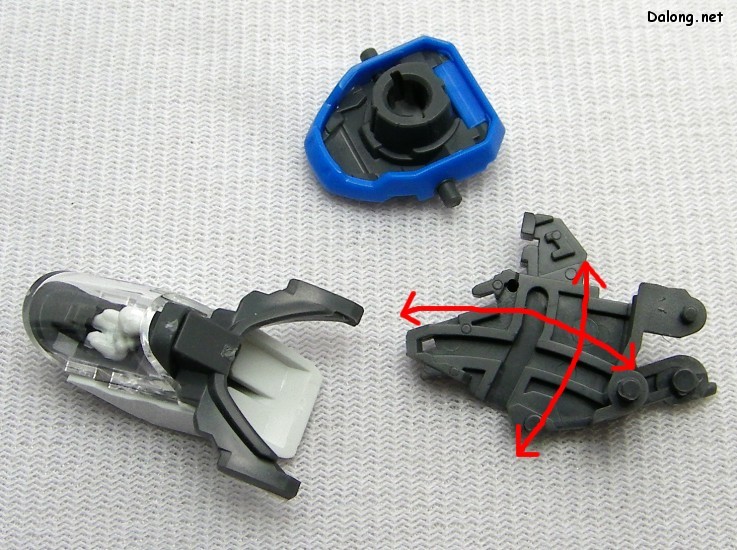
In one of Victory’s few uses of polycap joints a small round piece is attached to the hip which pops into the upper thigh.
Click to Enlarge
This connection is very weak and the leg often pops off during posing. Because of this limitation you can’t twist the legs around too much and you lose a lot of potential positions. This looseness also means that the legs don’t stay in position when held aloft. You’ll notice that none of my shots feature the kit on an action base, simply because in all the potential poses the legs sag down almost immediately. This is partly why it looks so stiff in all of my photographs.
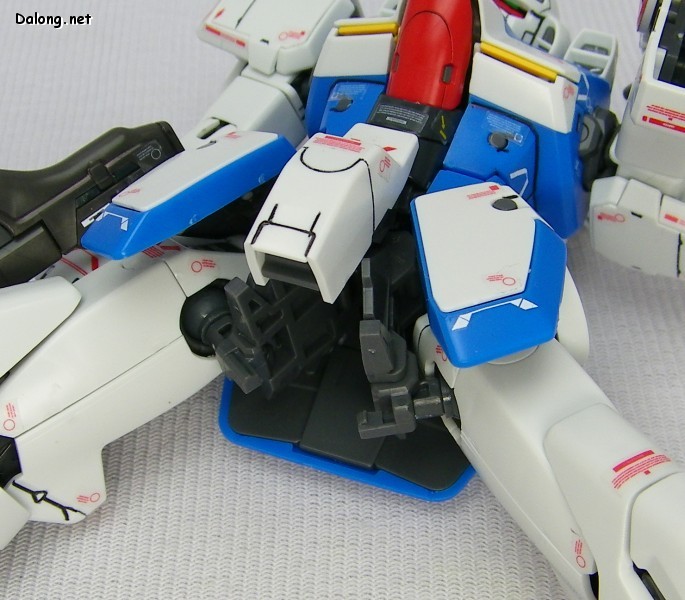
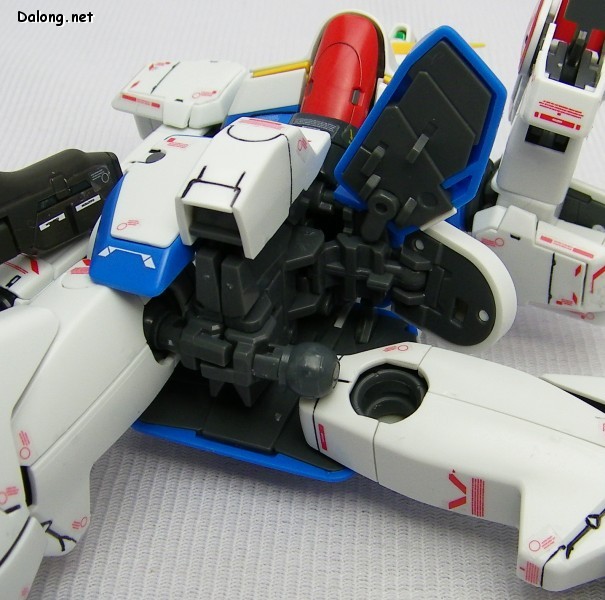
The polycap pieces are open at both ends, like a doughnut. Myself, and apparently other builders, have first reacted to the legs coming lose by assuming that they just haven’t pushed the pieces in far enough. A little bit of pressure later and you’ve actually pushed the cap up over a stopper and too far back.
Going from,

to
A simple, yet frustrating, oversight by Bandai.
In the end the MG Victory is a fine little kit for those who love the design and have a bit of patience. If you’re looking to buy a kit and aren’t too fond of the design, consider the already released Sinanju, MG Blue Frame, or hold out for the GN-X or MG Red Frame coming out soon. However, I suggest you go out and purchase ten kits in order to convince Bandai to release a MG V2 kit.
My Work
Click to Enlarge
Initially for my kit I had intended to keep the original colors but fade the blues and reds. After the clear parts were announced I decided that scheme wouldn’t work so well. Considering that I had an over abundance of orange paint left over from other projects that fell through and my MG Blue Frame I figured I could use that as a replacement for the red.
The orange paint I used was a Model Master ‘Customer Lacquer System’ spray called Grabber Orange. Apparently it’s that ugly orange color Ford uses. I didn’t realize on my Blue Frame how thick and inconsistent the paint spray was. Between the primer and the a coat or two of orange the paint was thicker than some of the clearances allowed. I had to touch up several parts where contact exposed the primer. It’s even soft enough that a thumbnail can leave a blatant impression. In summary, I don’t recommend the paint for any gunpla modeler.
Click to Enlarge
For the silver parts I tried using a chrome Valspar Brilliant Metal enamel. It comes in a spray can and my early tests showed it looks great sprayed. However for all of the small parts on the kit I used the usual method of removing paint from an aerosol can and applying it with a brush. What I found is that unlike Testors’ chrome the color and the solution it’s in quickly separated. It was also so liquid that minor imperfections one the plastic are exaggerated. I plan to use this on another kit, spraying it properly, hopefully to better results. I can’t recommend this paint for small details.
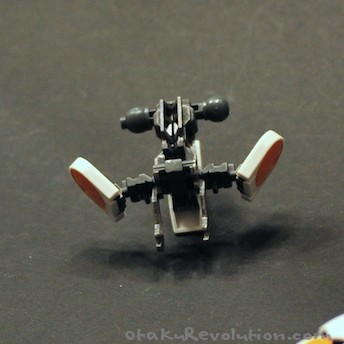
To change the color of the shield and sword I airbrushed some Tamiya clear orange. Over all it worked great, giving the sword and shield an orange color while retaining the translucency. The only problem, which is probably unavoidable, is that under certain light the shield appears more redder as the internal pink shows through. This is more evident on the first set of photos I took against a black background.

Click to Enlarge
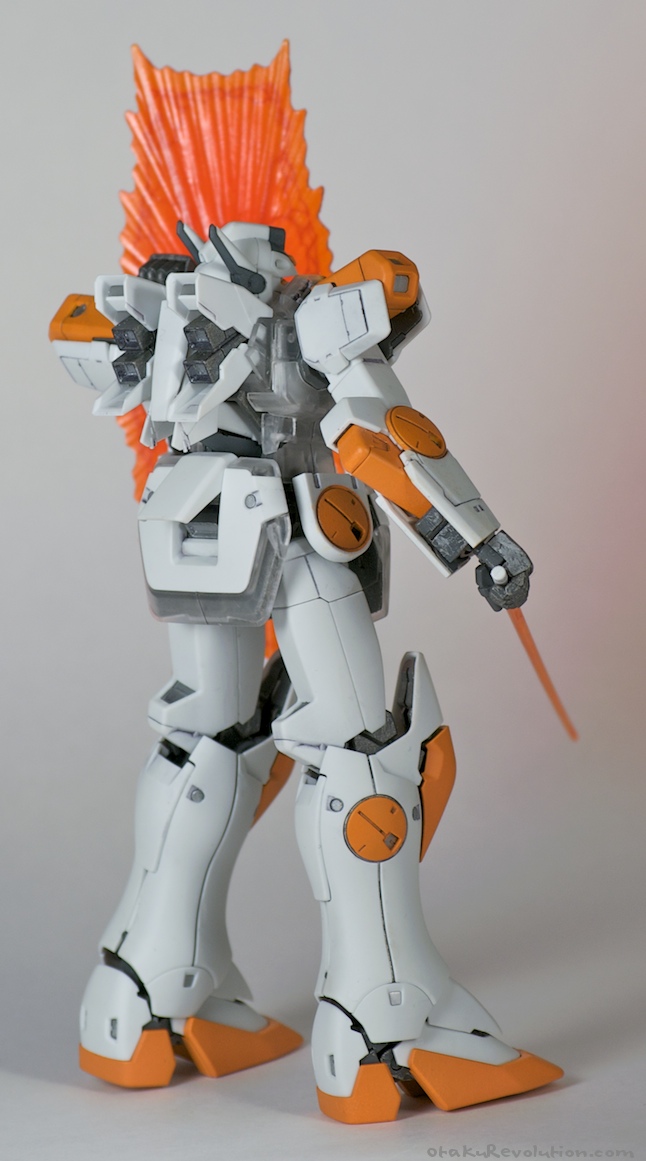
One thing that turned out well was applying a dull coat over the clear parts. Since there’s not a whole lot of detail under the clear parts (as per it’s all transformation mechanism) I tested the coat on some extra clear pieces. It gave them a frosted look that I think goes really well with my kit. I’d like to possibly incorporate the same look into future kits.
A few more images from my flickr site…


As always, questions and comments on both the kit and my modeling work are always welcome!