
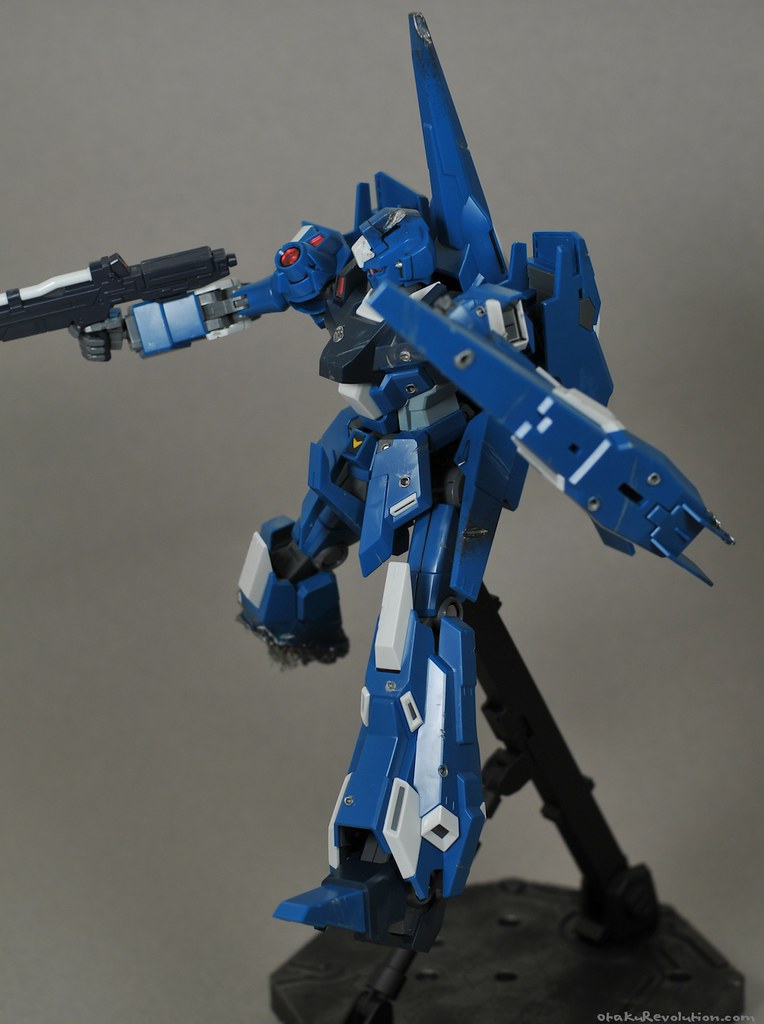
After an initial disaster at my first attempt at pastel weathering, my wounded MG ReZEL has been completed. It didn’t turn out like I wanted to. Some people like, some don’t. Take a look at decide for yourself. My thoughts on the project at the bottom.

Click to Enlarge | On Flickr
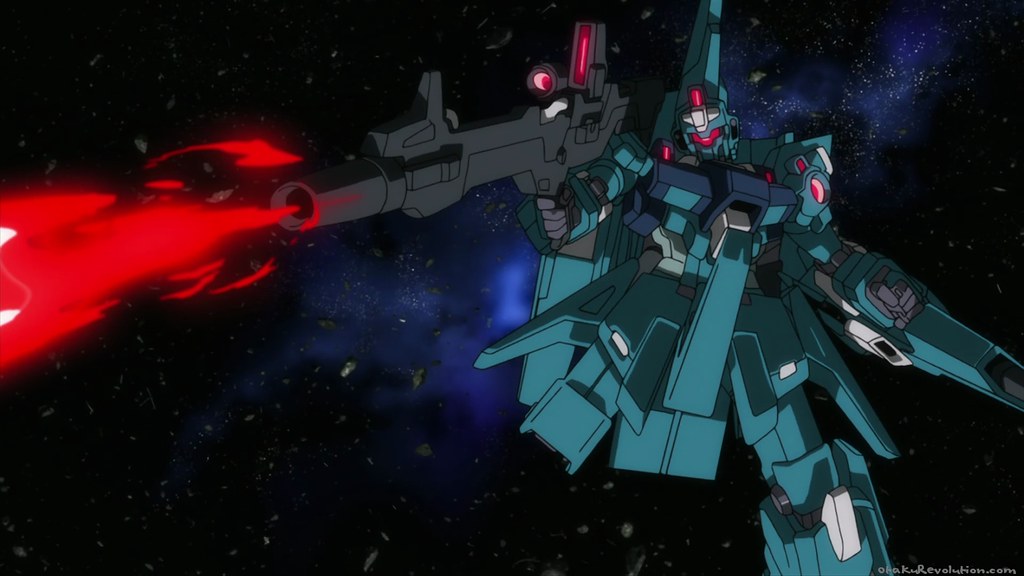
And the reference pose…
Click to Enlarge | On Flickr
Click to Enlarge | On Flickr
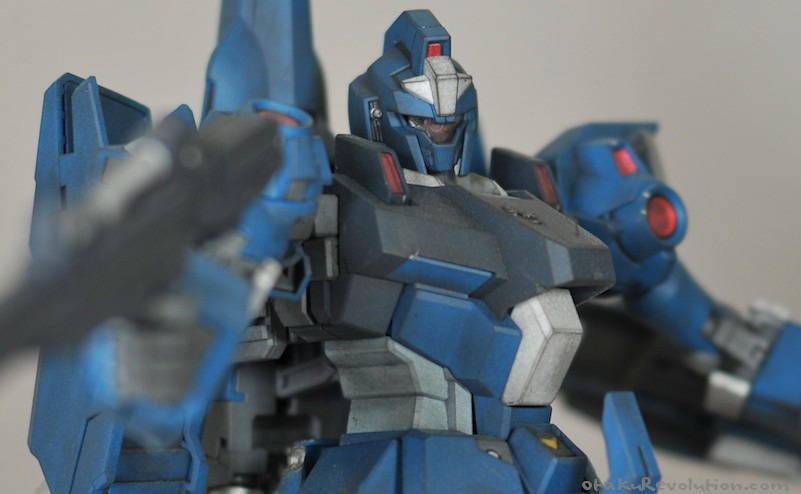
Note the damaged visor.
Click to Enlarge | On Flickr

Click to Enlarge | On Flickr
Click to Enlarge | On Flickr
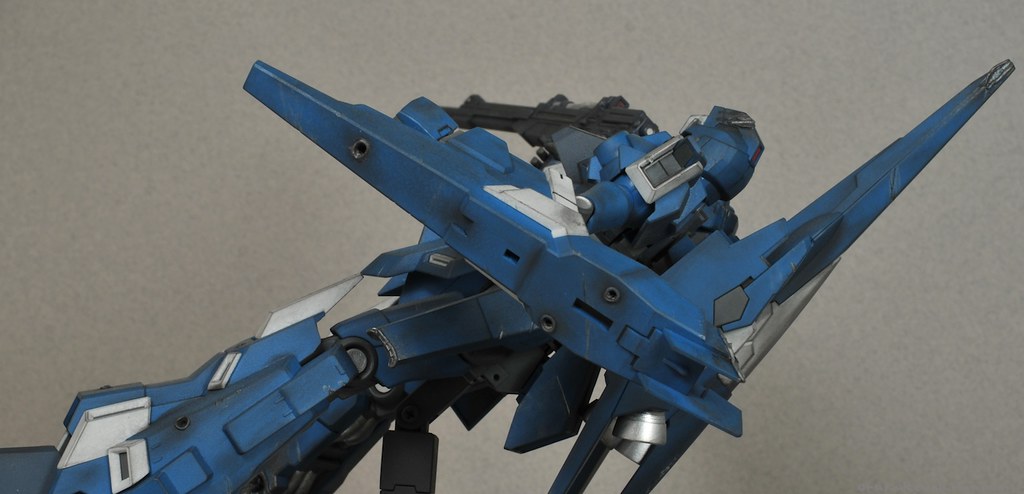
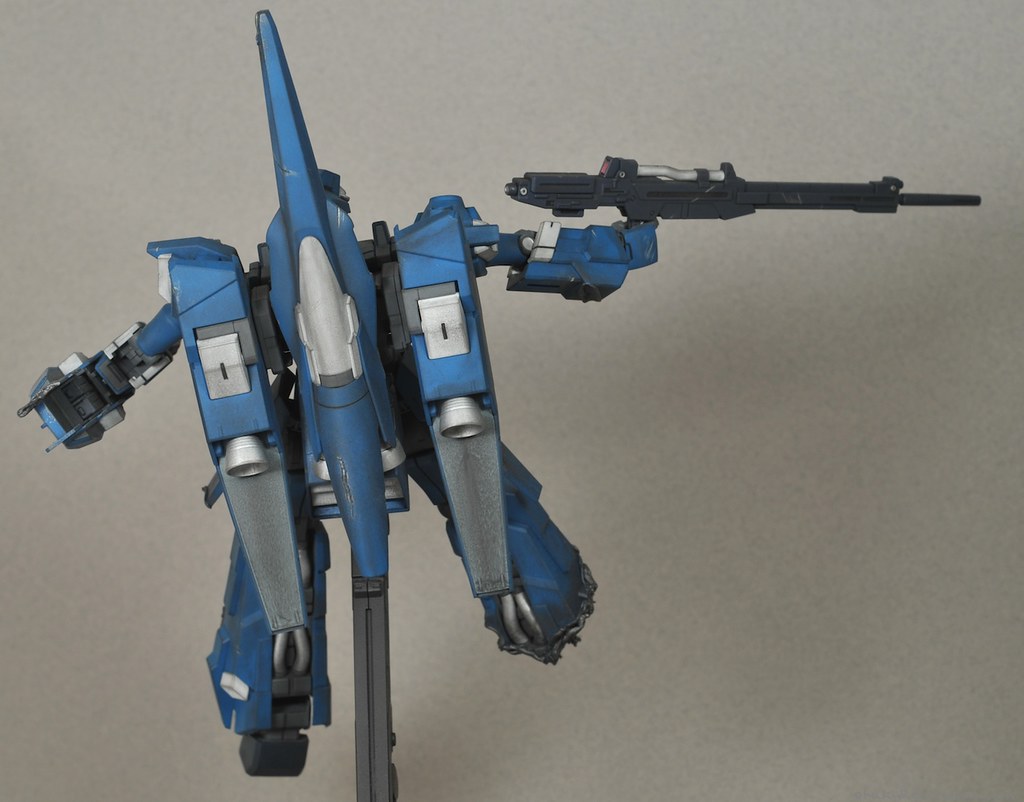
For the most part the kit is a straight build. Just a few silver touch ups and lining here and there. I intended for this kit to be a quick and easy build, nothing elaborate.
In addition, there’s the weathering. Some might say it’s elaborate but it’s really quite easy and run of the mill. I tried a few things I never did before so I could properly complete the weathering section of my guide.
The bullet (or energy blast marks or whatever terminology will satisfy the dumbfucks out there) holes and sliced parts were all done with a soldering iron. Same teqhnique I used on my Zombie Nemo kits which I will hopefully write about in detail soon. Each one I touched up with some paint, black or silver pending on the effect I wanted. All of the scratches were made with the corner of my file, painted silver.
Staring to slice through the leg. Kept this process up slowly tapering down, working from around the whole leg, until I was through. You can’t tell in the video but I marked out where I wanted to cut with a pencil before hand.
Here I created the bullet holes on the shield…
The trouble with the kit occurred when I attempted to weather with pastels. It was my first attempt at the method, which in it’s essence, is quite simple. The kit looked good at first but when I hit it with some Testor’s dull coat it sucked up all the pastel. It ended up looking like a dusty car that just got with with a sprinkle of rain. Not very appealing.
How the kit looked prior to the pastels…
Click to Enlarge | On Flickr
I went back, gave it another go, this time used some Mr. Super Clear, flat. It worked a lot better. Unfortunately two coats of pastels, combined with a lack of experiance, created a very dirty kit. In my initial vision the weathering was a bit more subtle.
Oh well. It’s still a decent looking kit and I didn’t put so much time into it that I’m completely turned off by how it looks. It’ll fit nicely on my shelf with MG Sinanju and three MG Unicorns.